Table of contents
Before you start
Have a registered domain ready and make sure you can edit its DNS records.
You’ll create a Vultr server, point the domain to it, install HestiaCP, enable HTTPS, and install WordPress.
Open Vultr to get started.
Create a Vultr account and add a payment method
Enter an email address you can access and choose a password that meets the on-screen requirements. Complete the I’m not a robot check, accept the terms, and select Create free account. Open the verification email and follow its instructions.

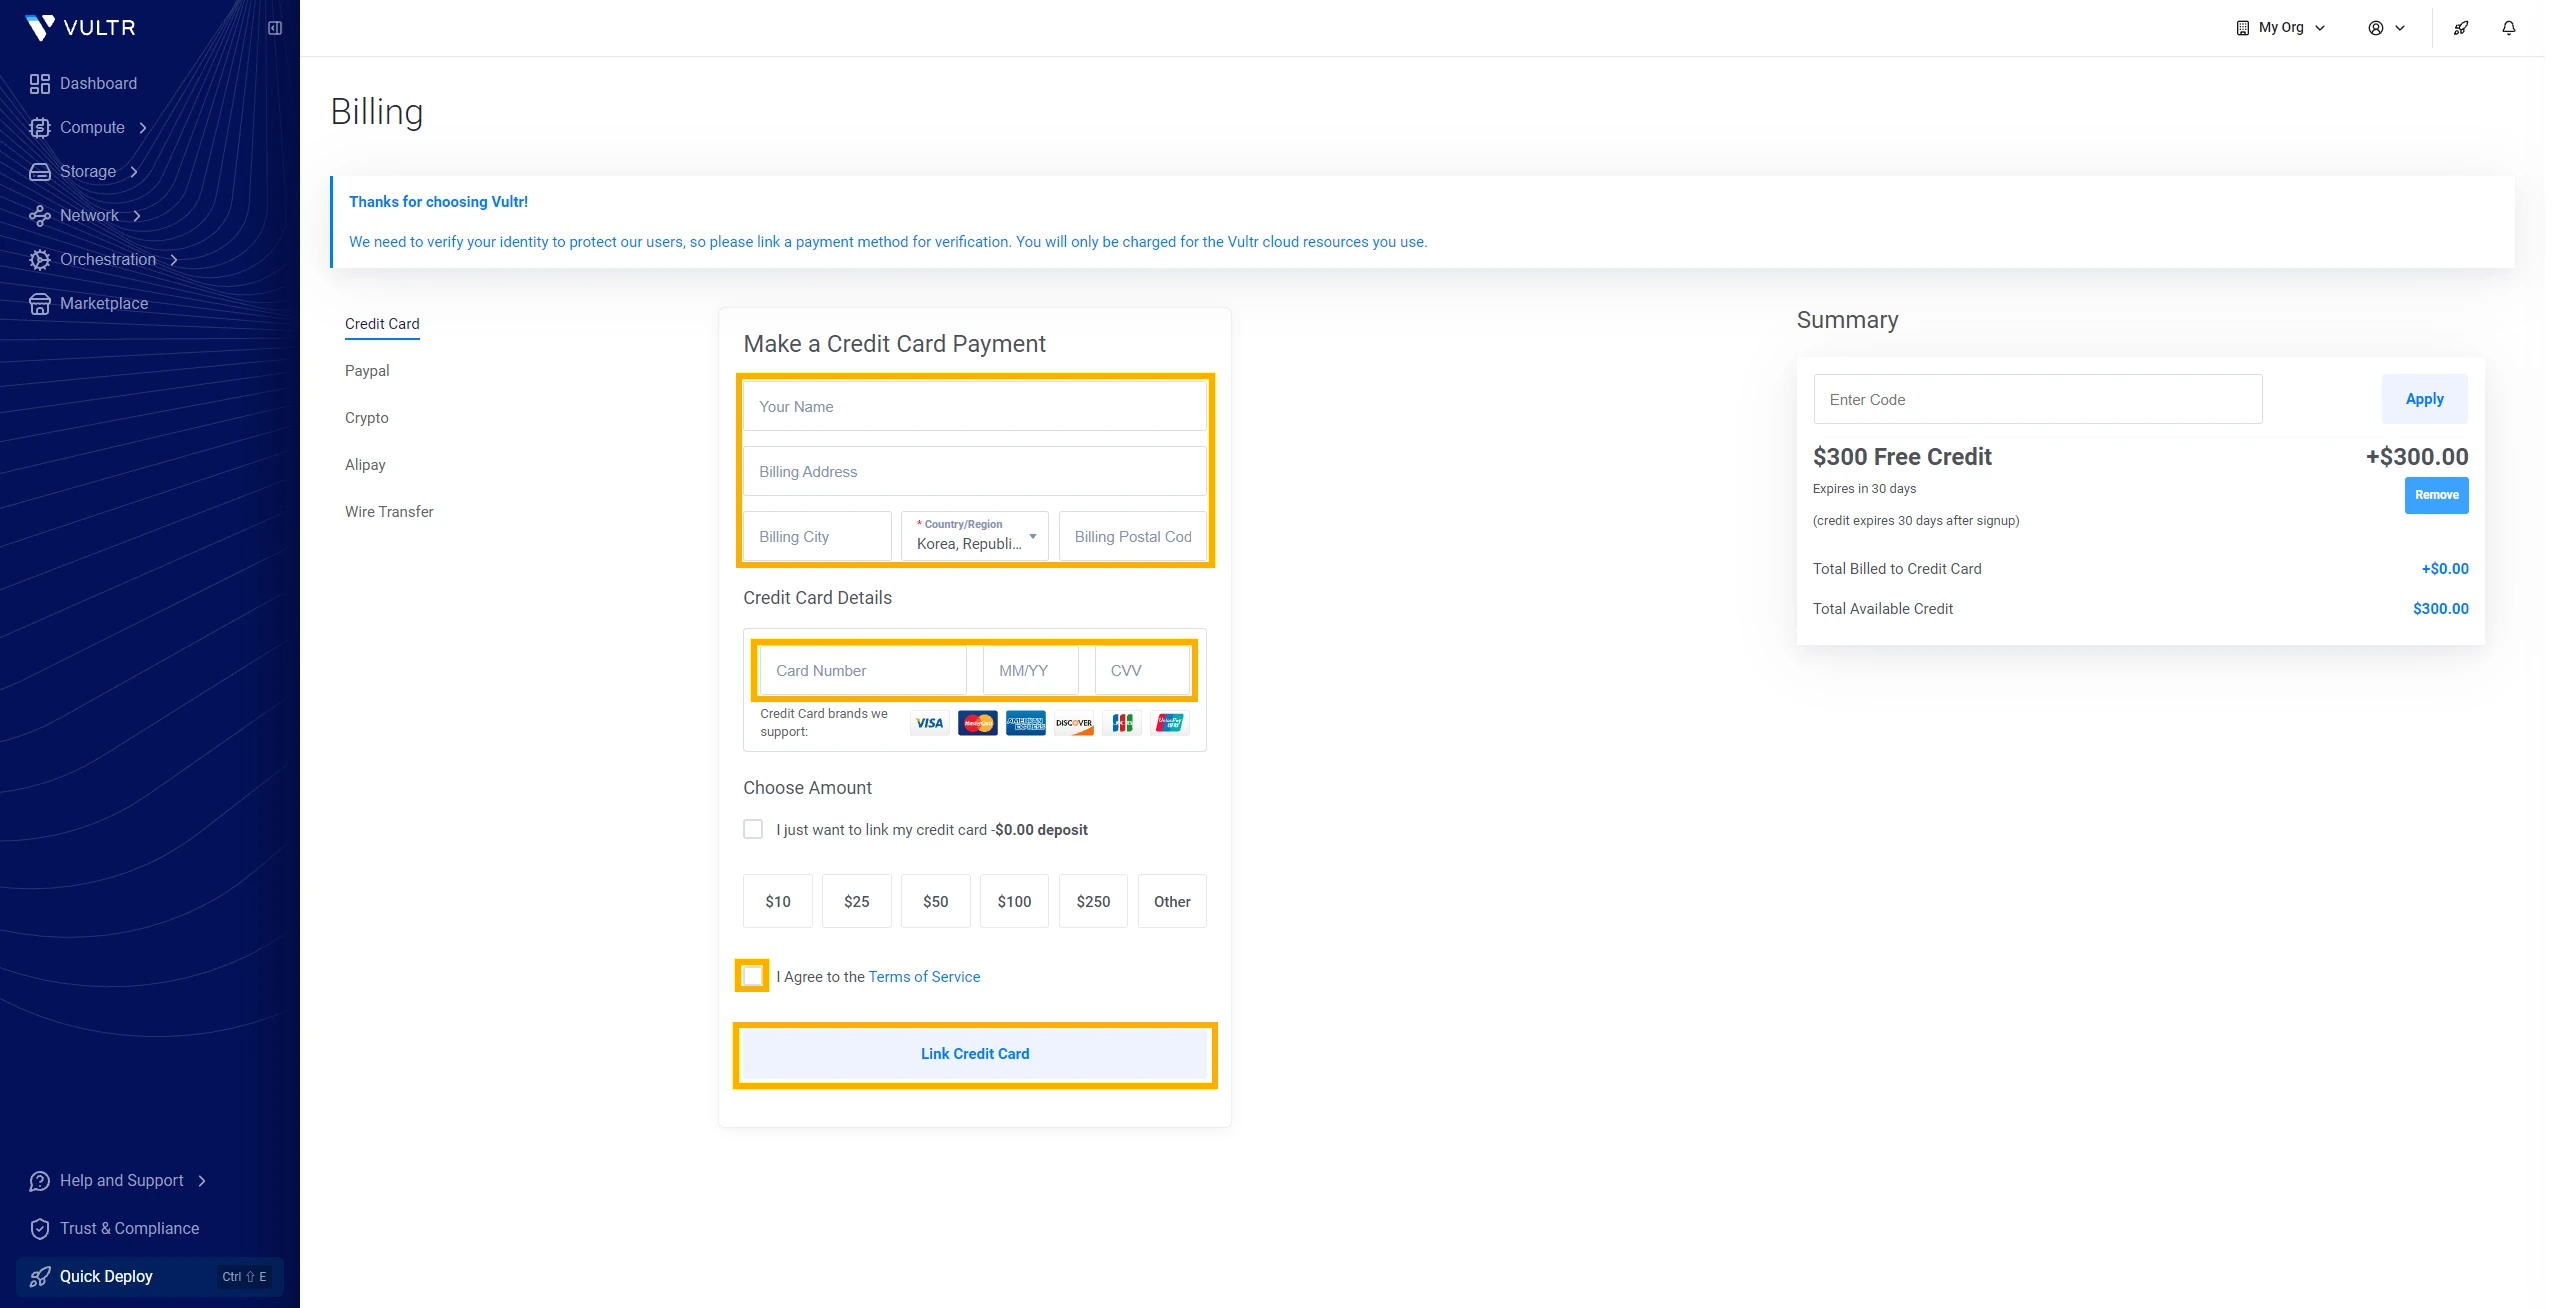
In Billing, enter your billing address and card details. Accept the payment terms and select Link Credit Card. If you select a deposit amount, check the amount due in Summary before submitting.
Deploy a Shared CPU server
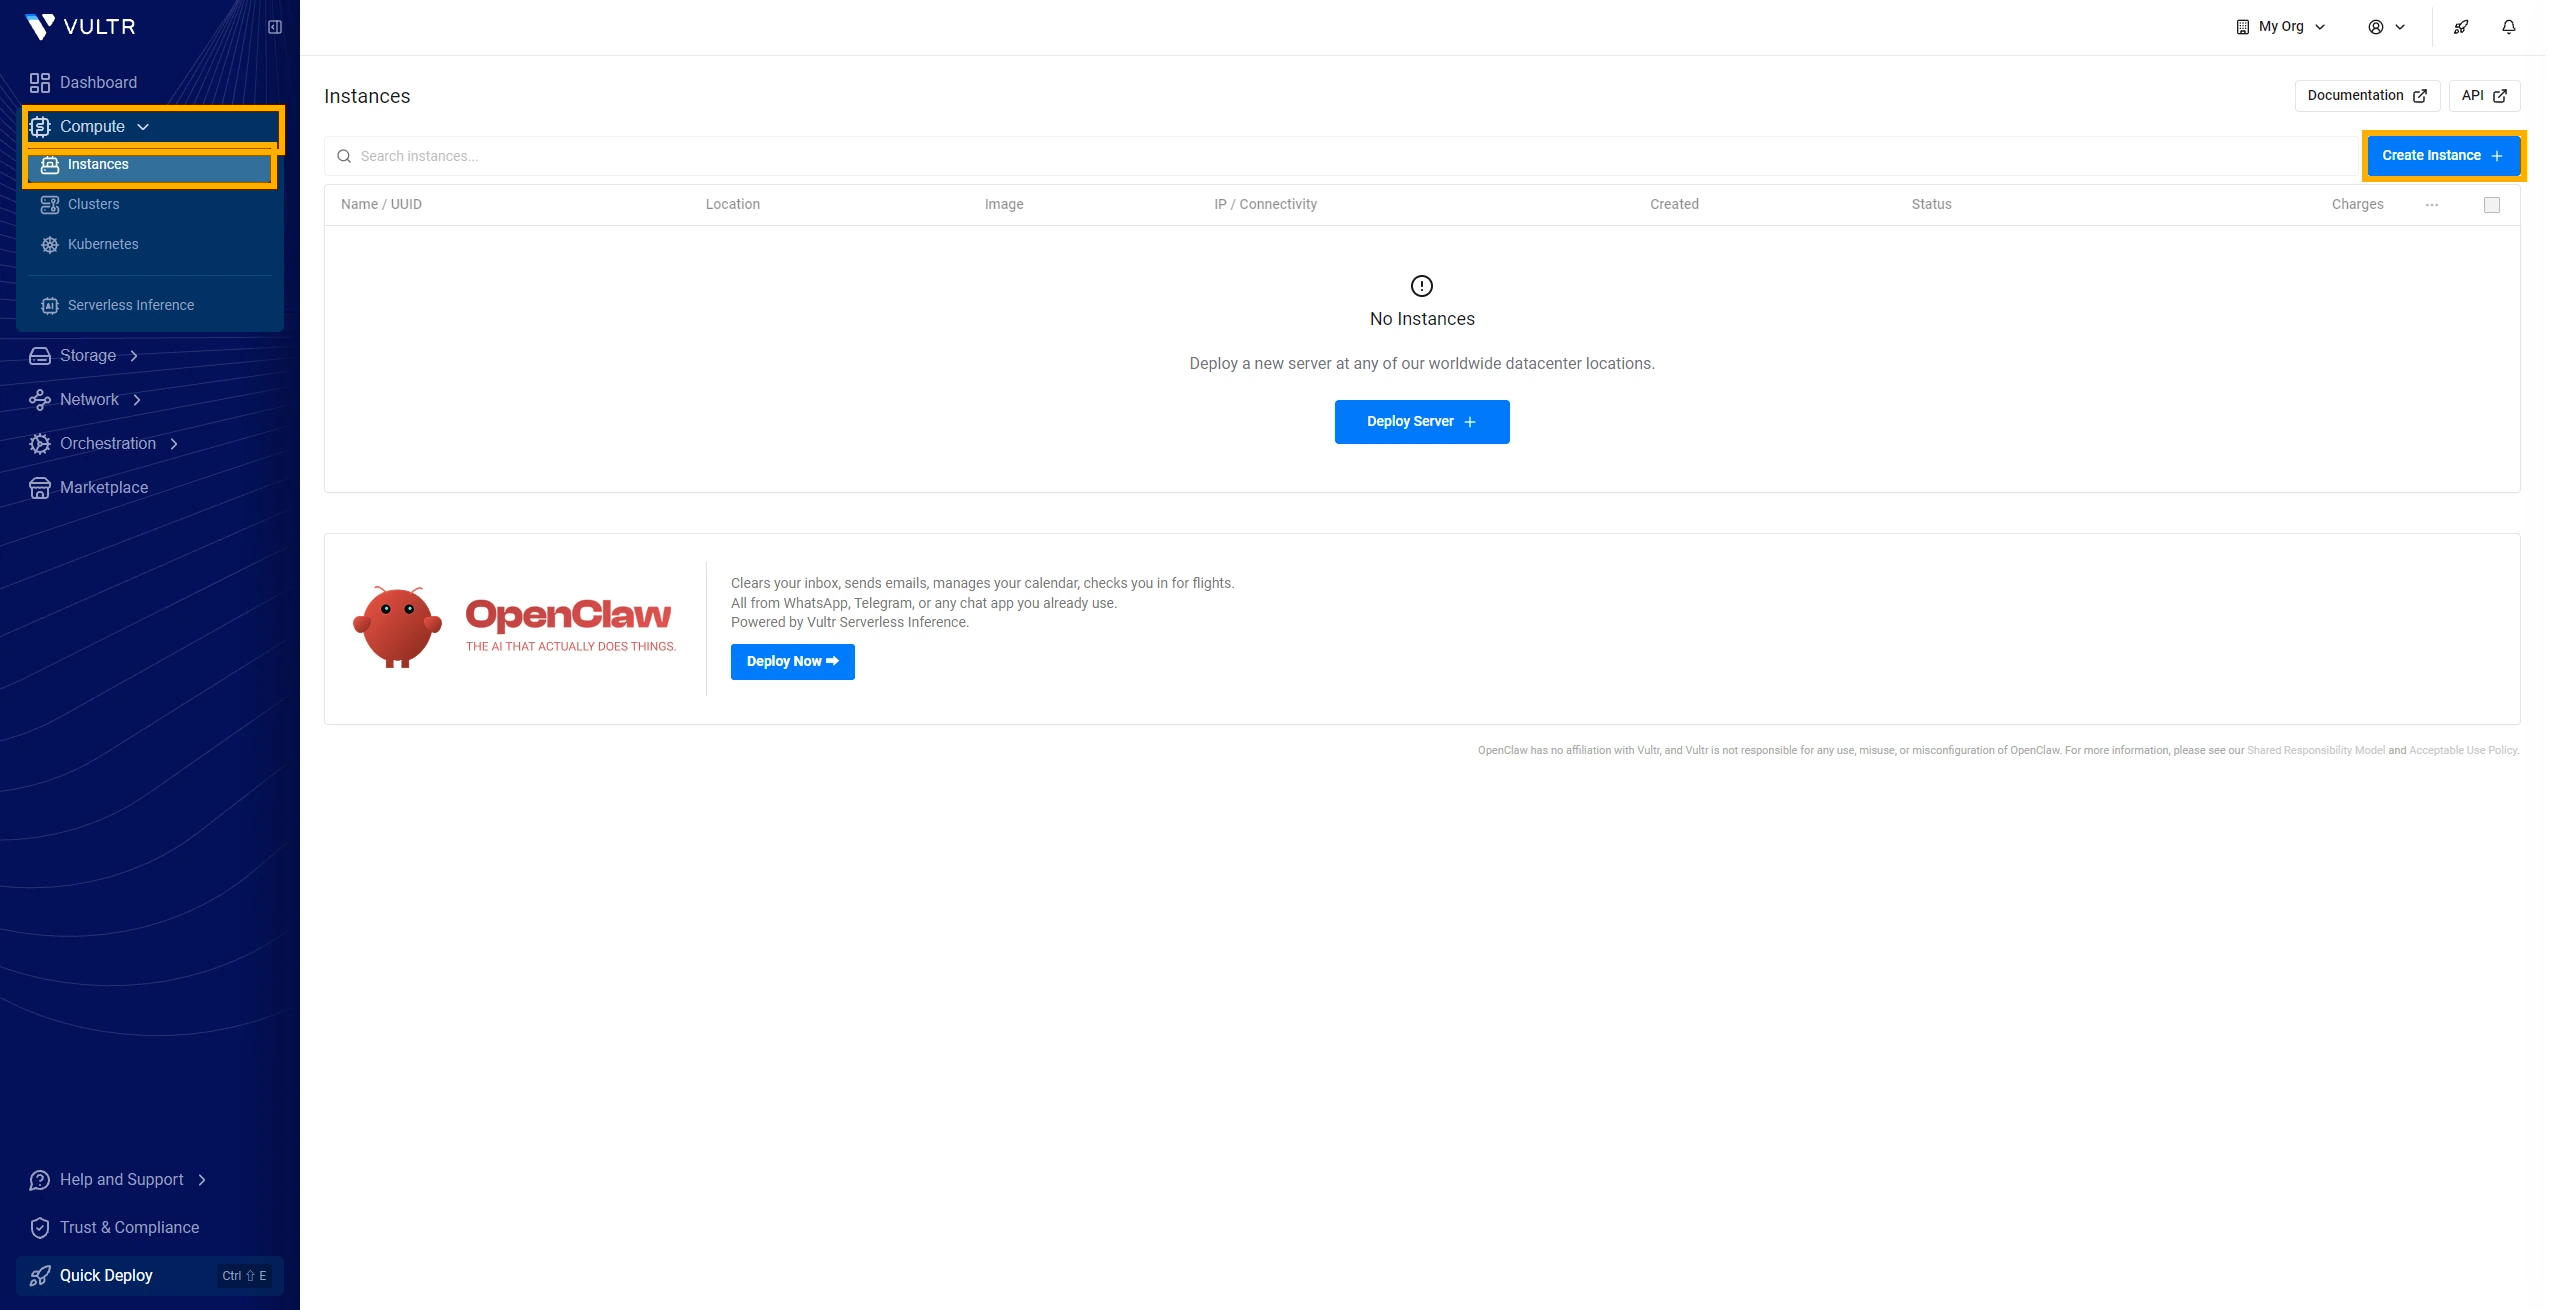
- Open Compute → Instances and select Create Instance.
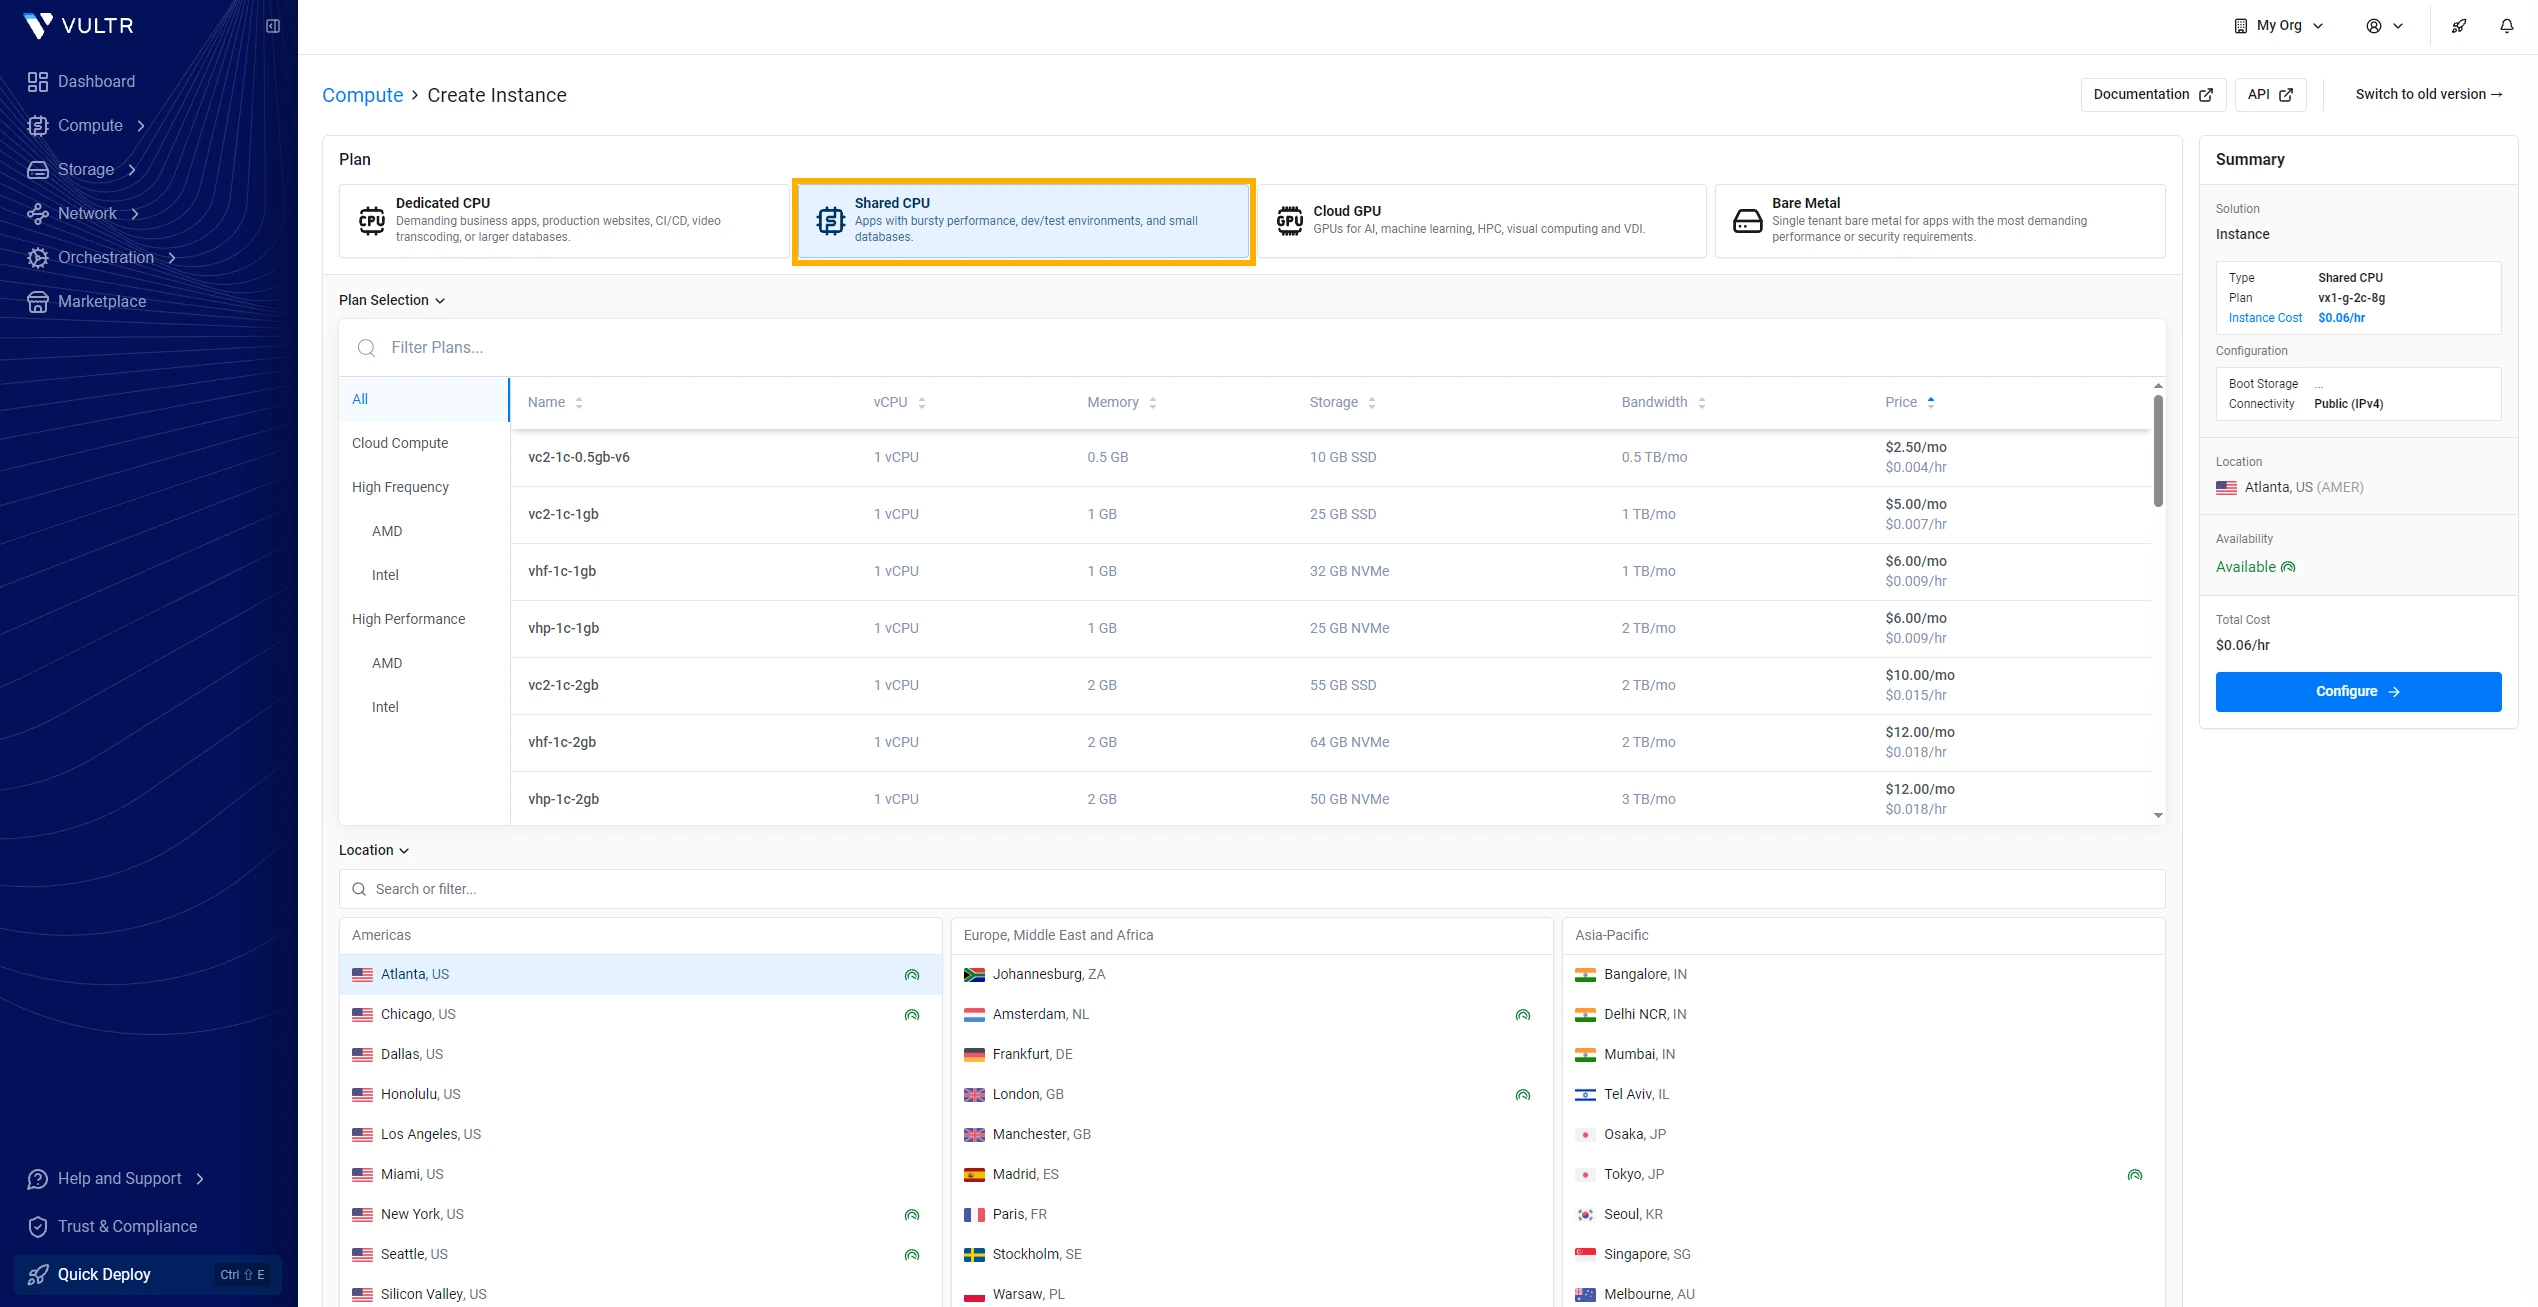
- Select Shared CPU. Choose a server location near your audience. This example uses Seoul, KR.
- Choose the $5/month configuration if it’s available in your region and select Configure. Check Total Cost before you deploy.
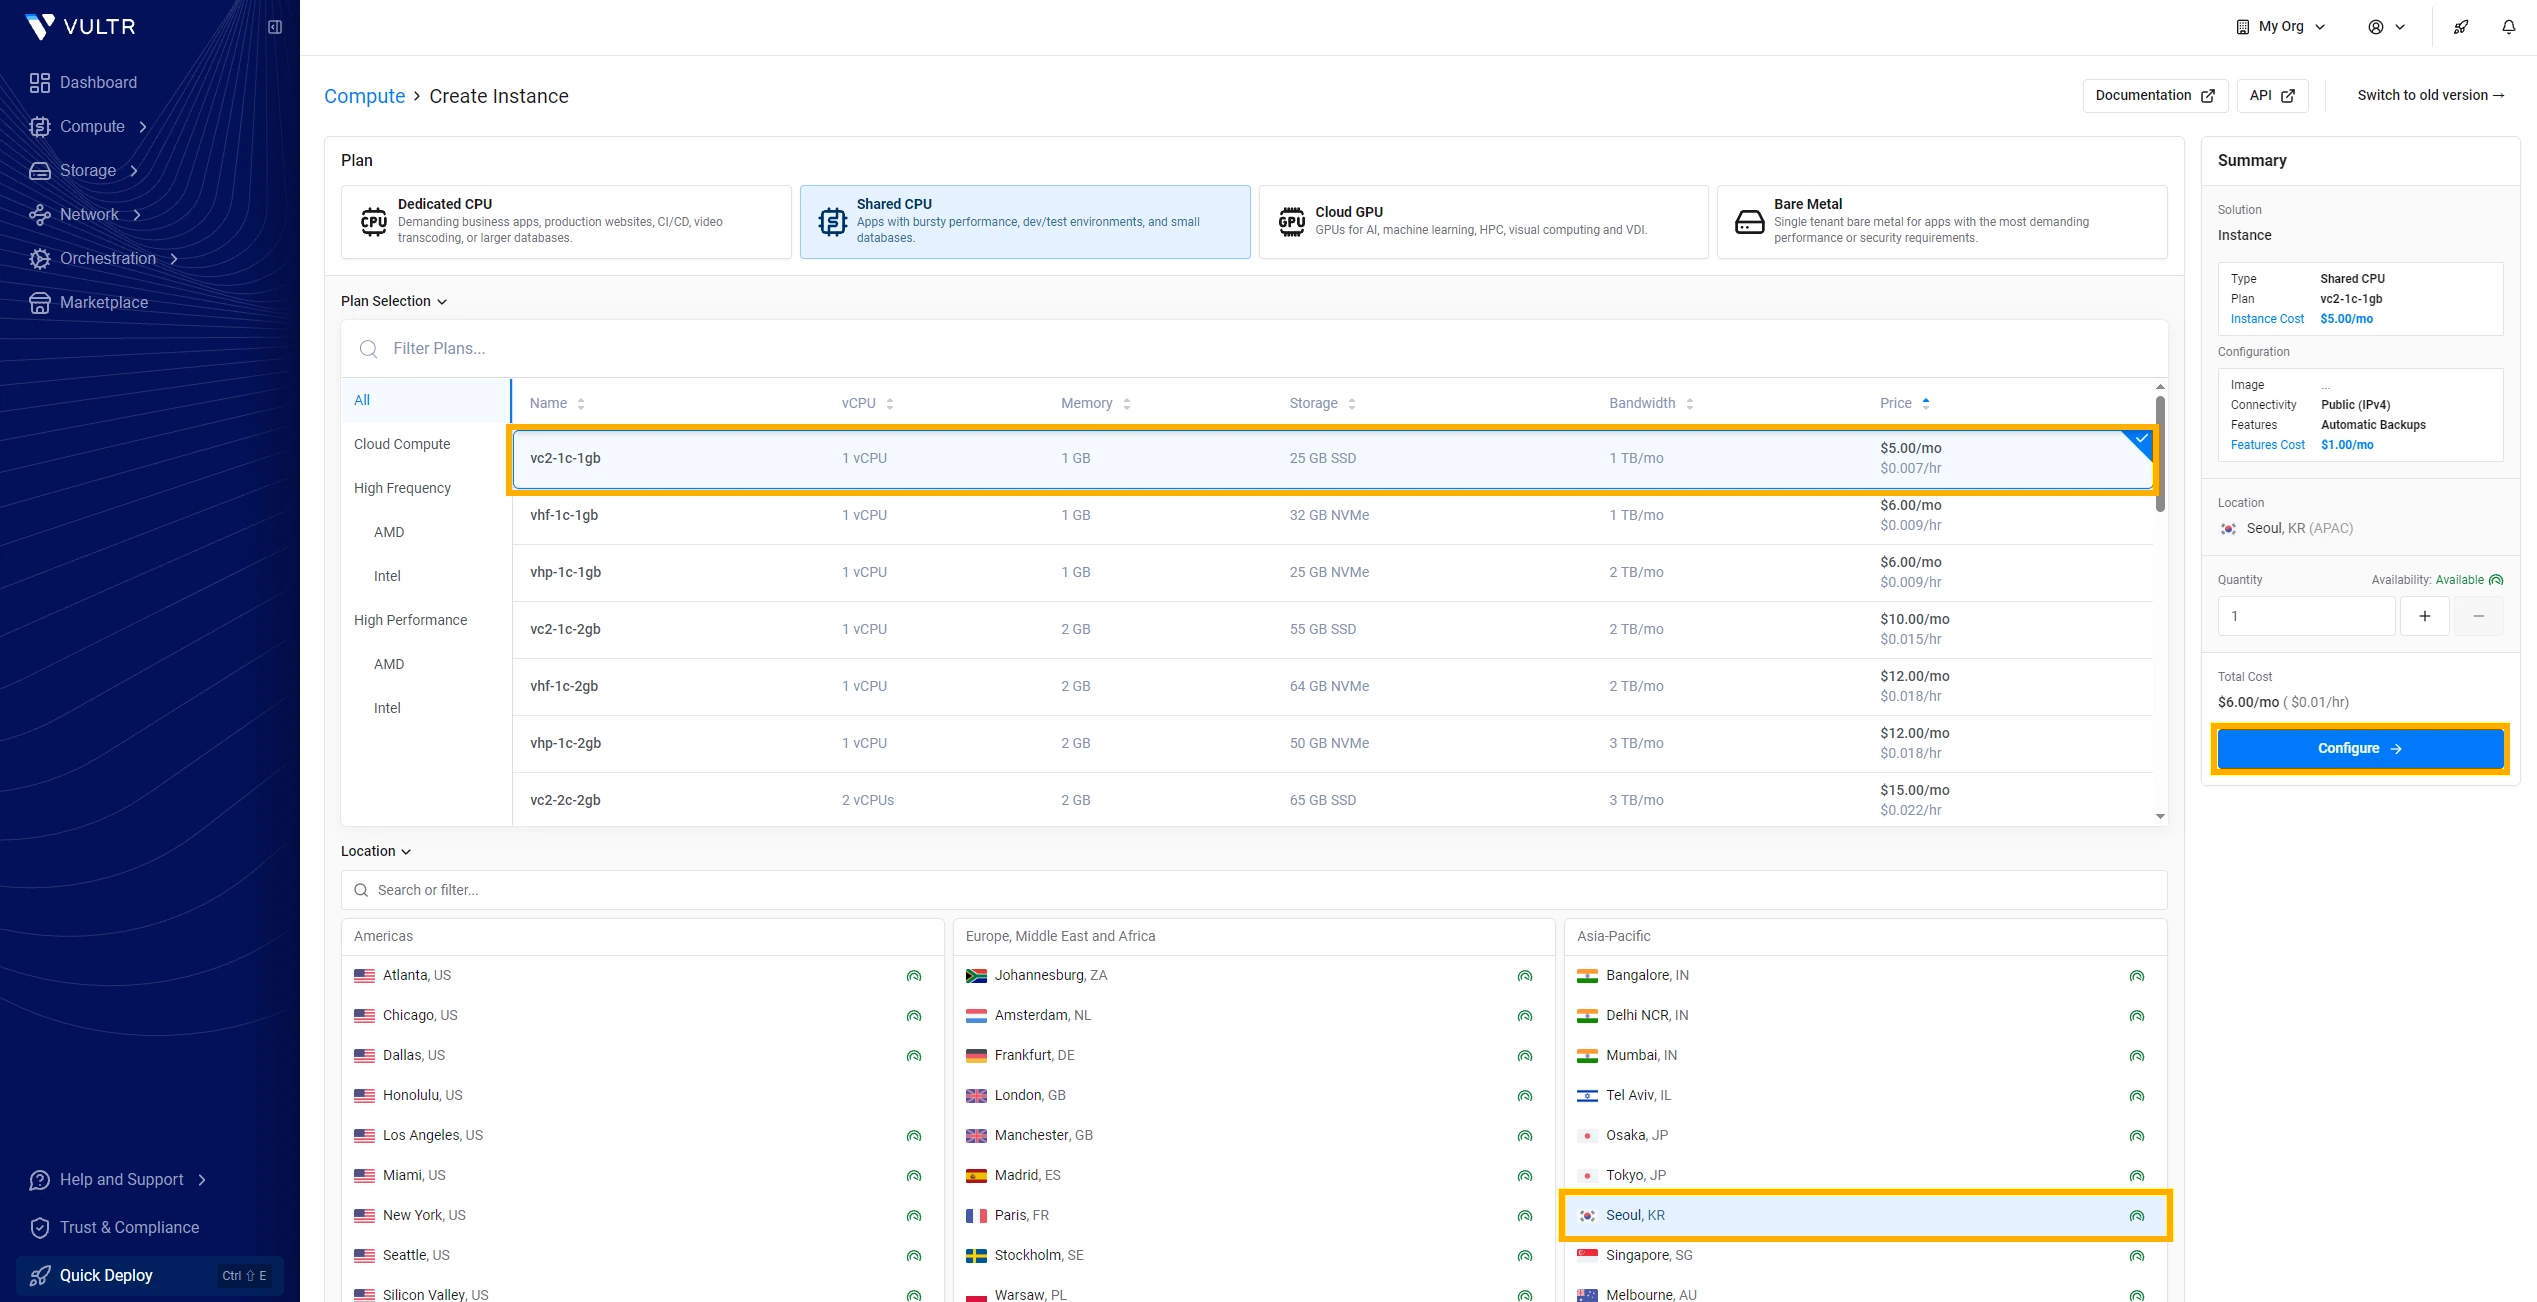
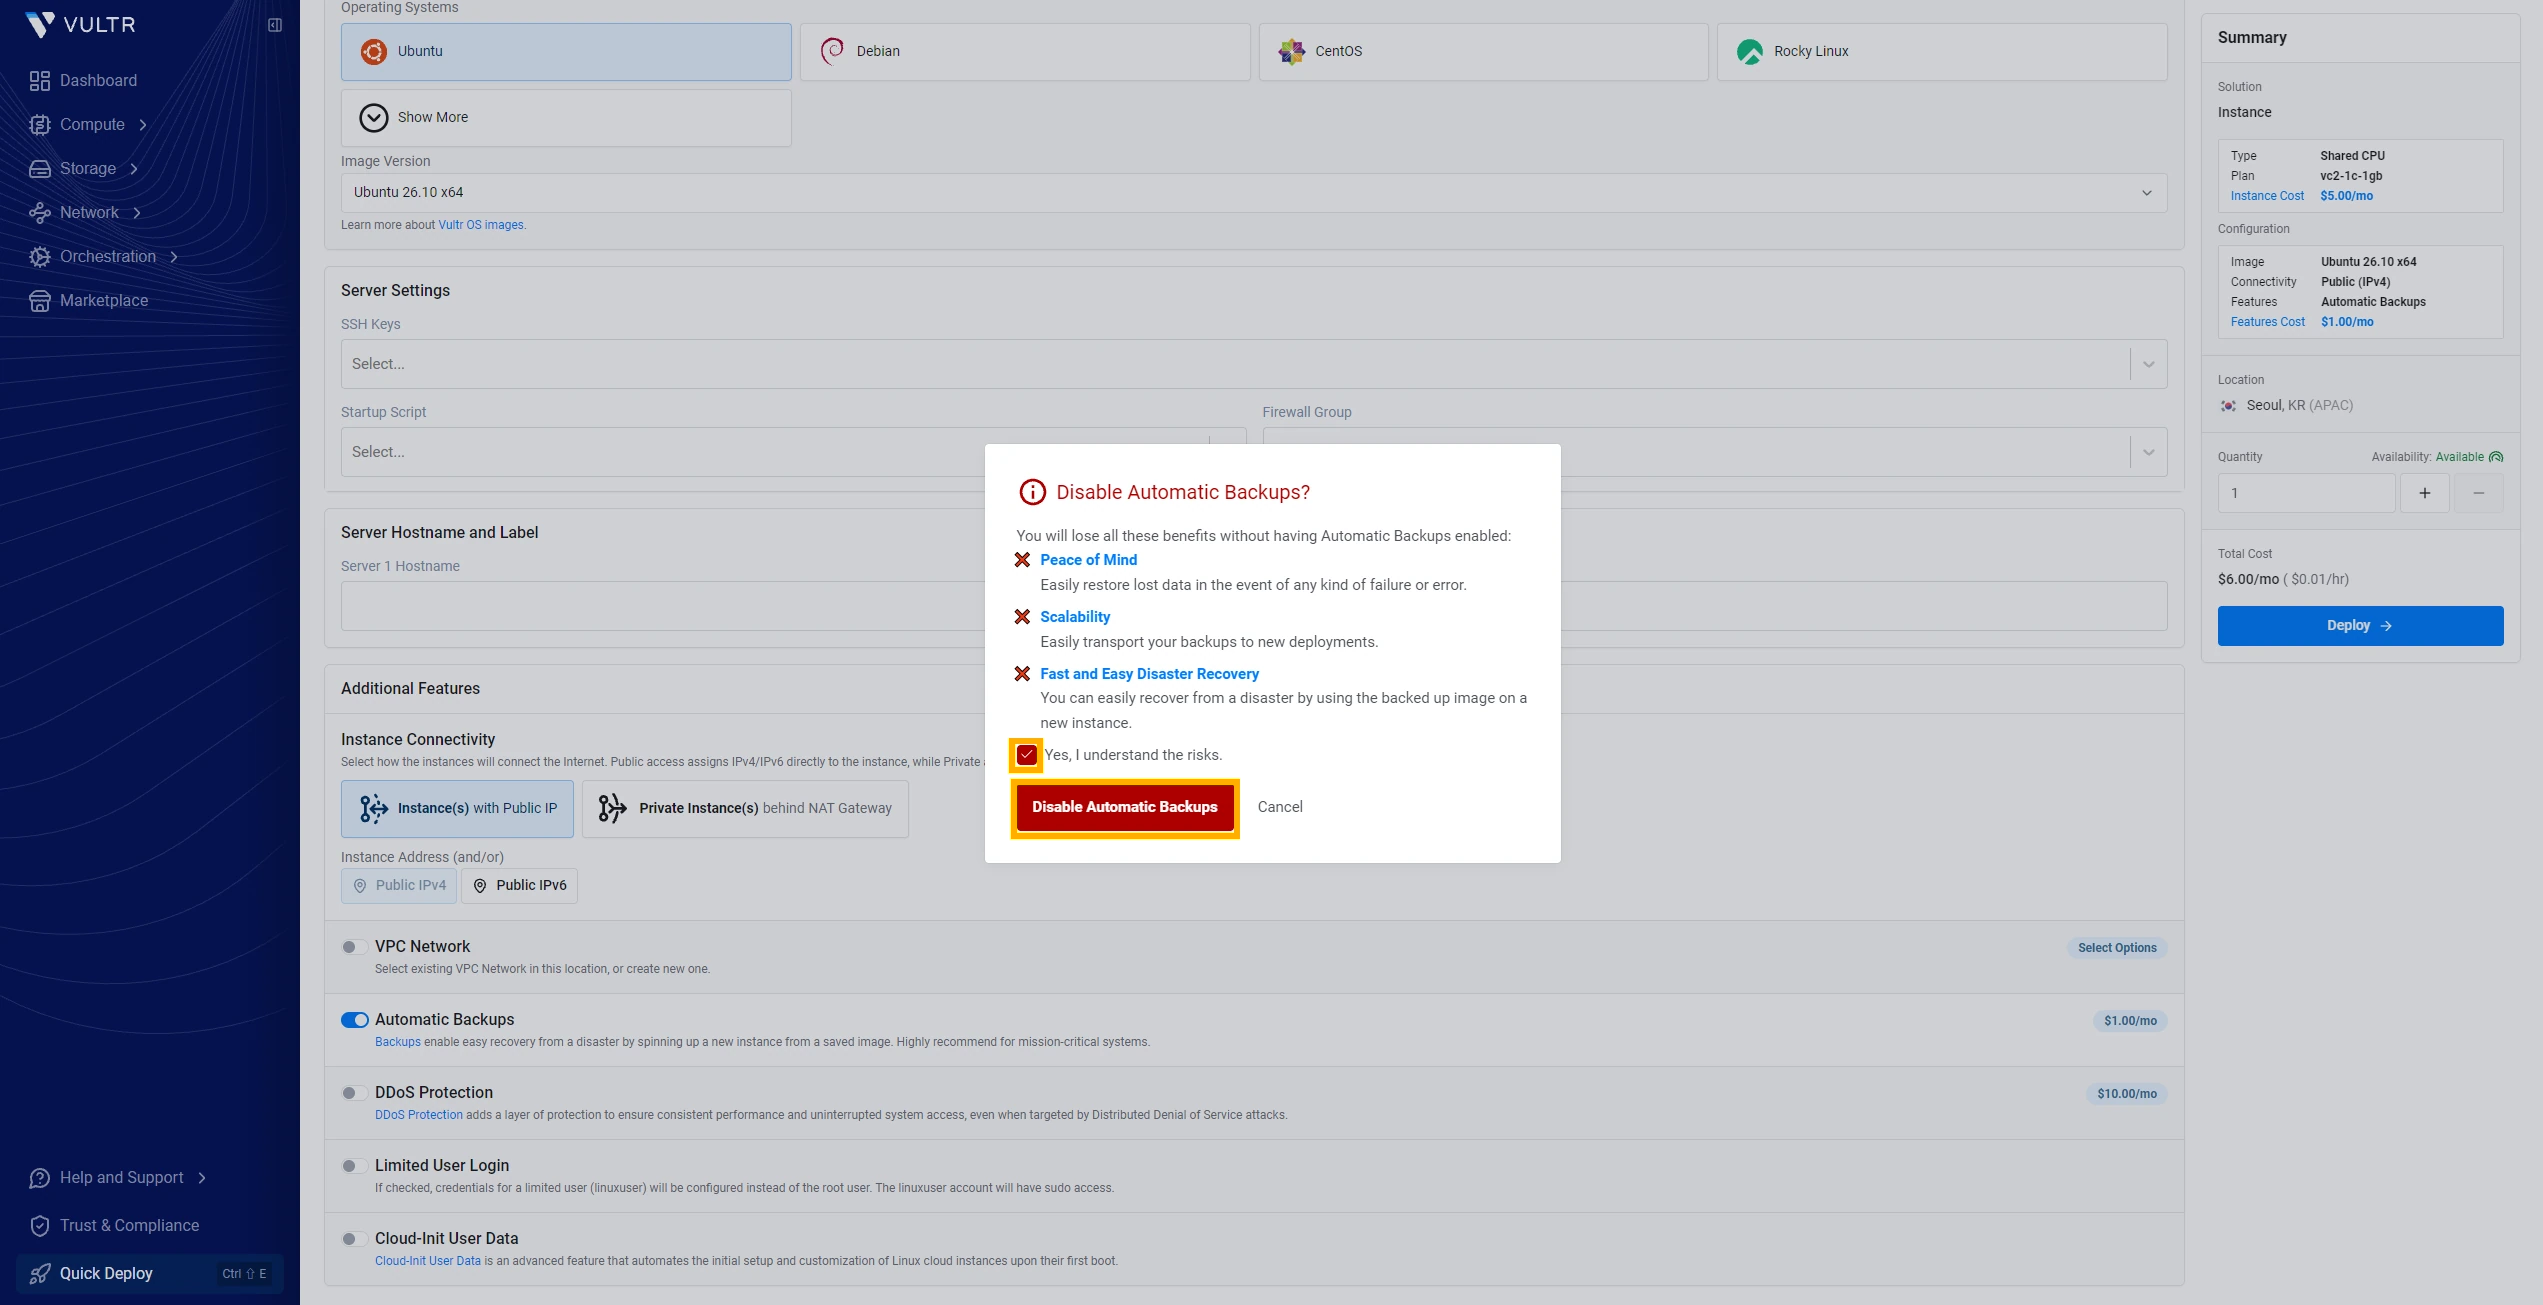
Automatic Backups add 20% to the instance price. When the base plan costs $5, the backup option adds $1 a month. If you have another way to back up the server, turn the option off, confirm that you understand the risks, and select Disable Automatic Backups. Vultr’s backup pricing
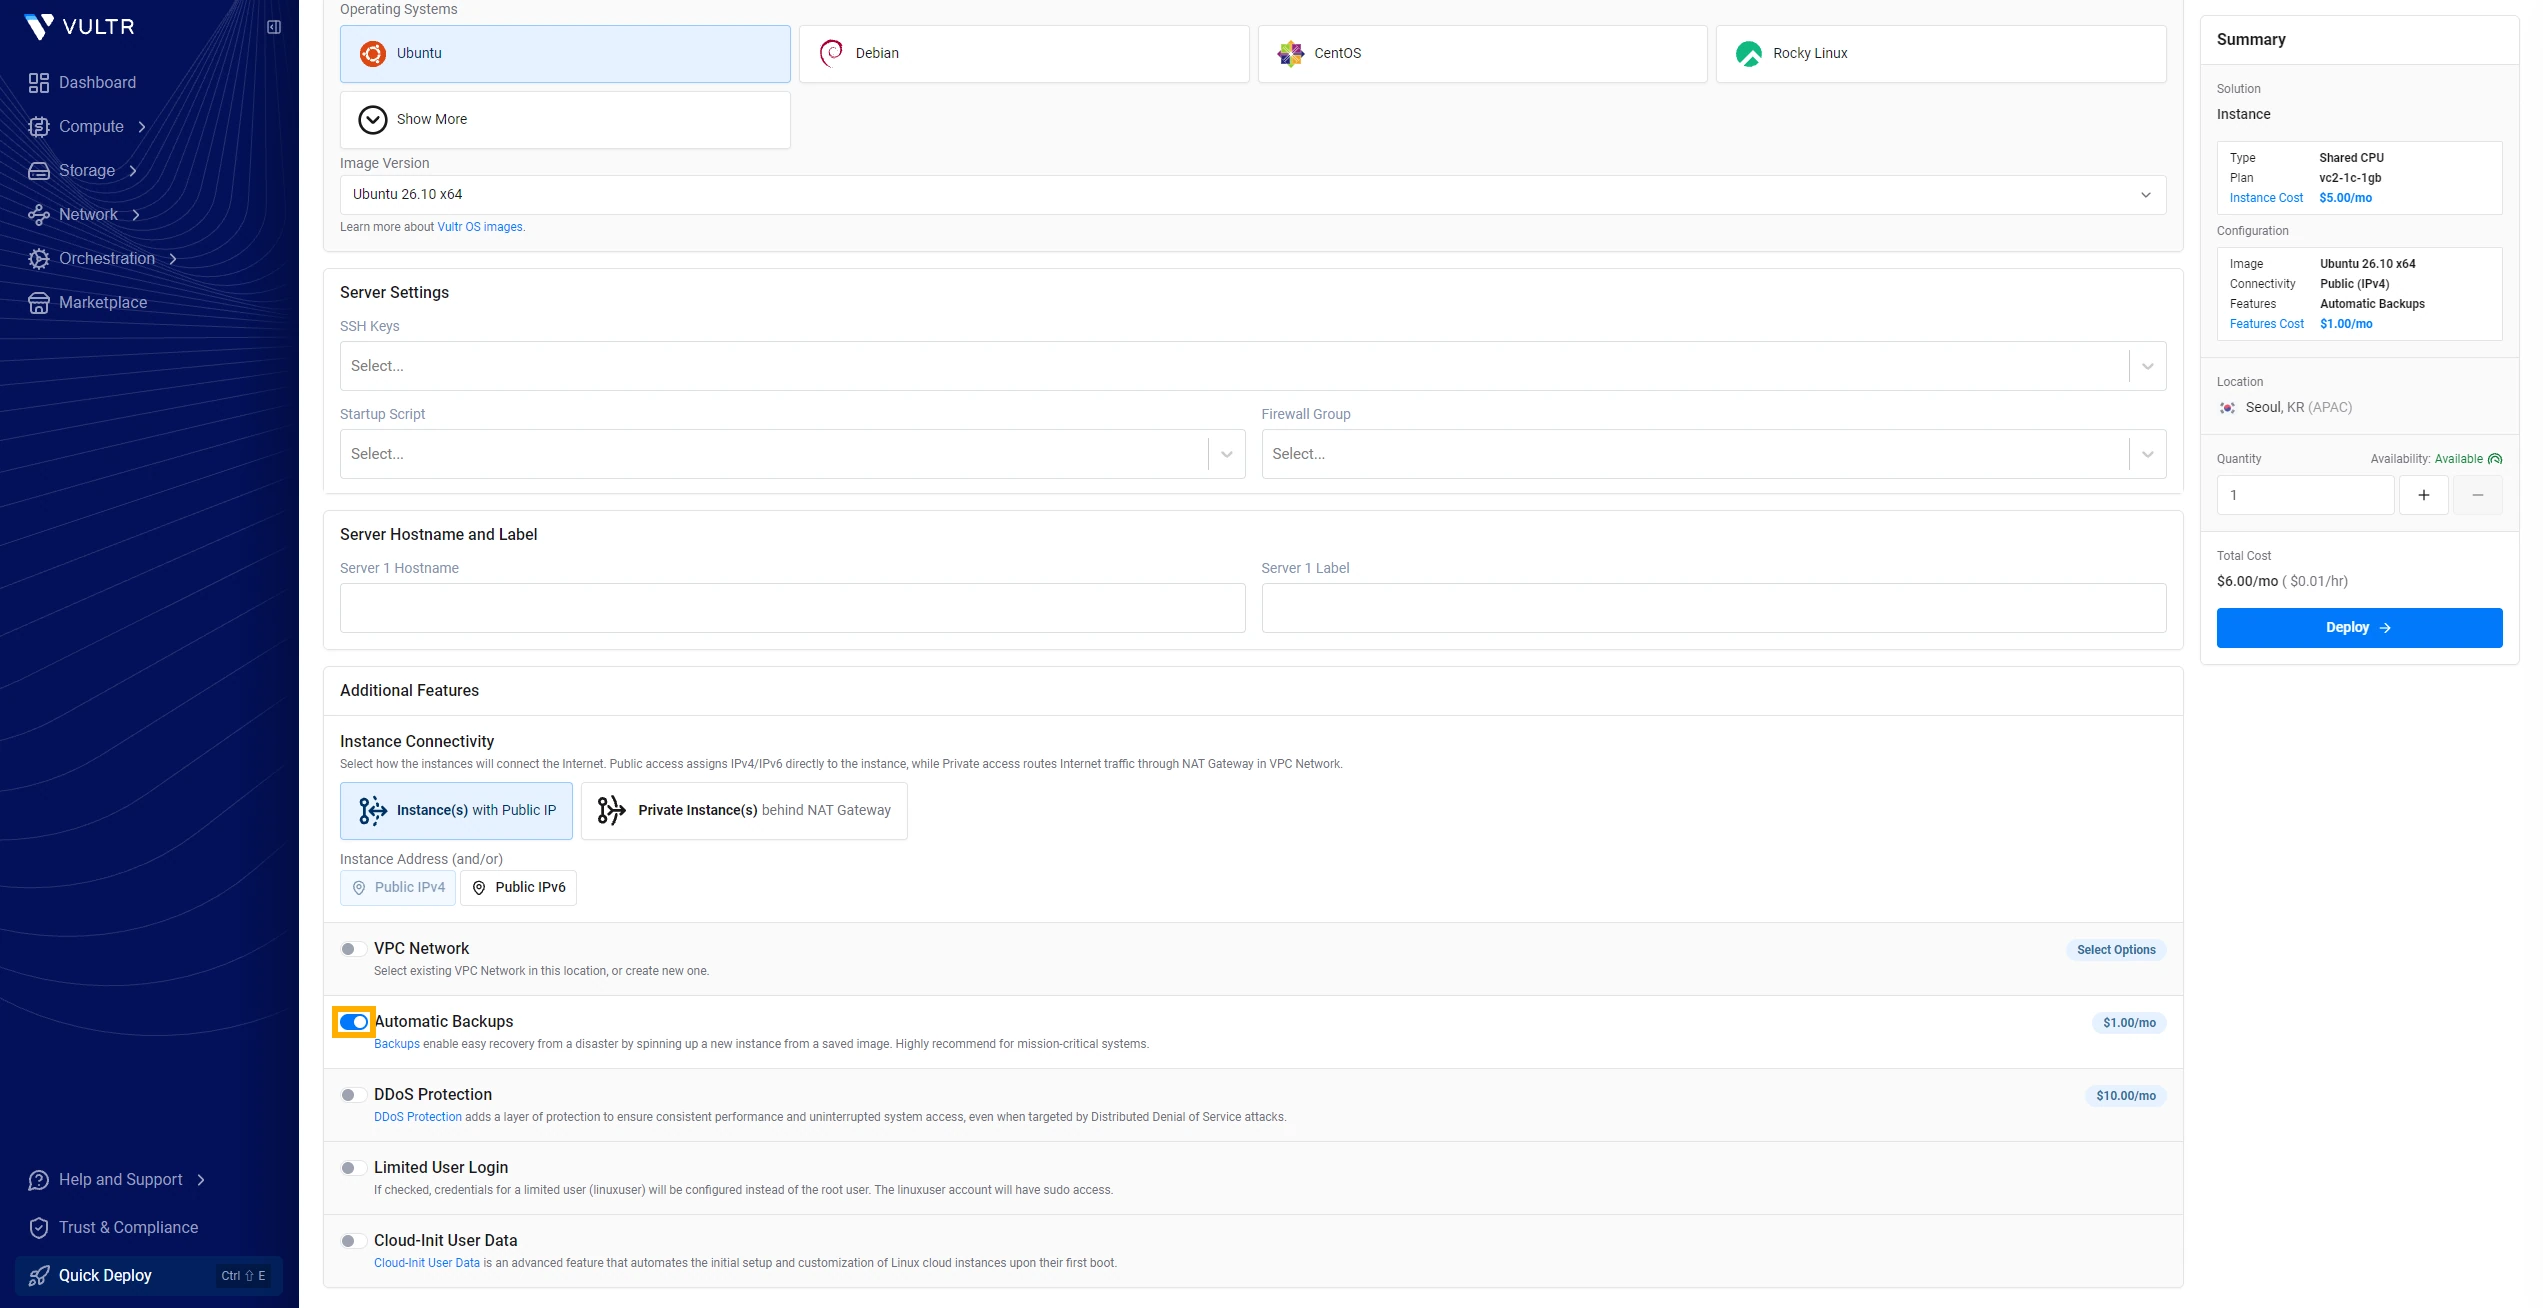
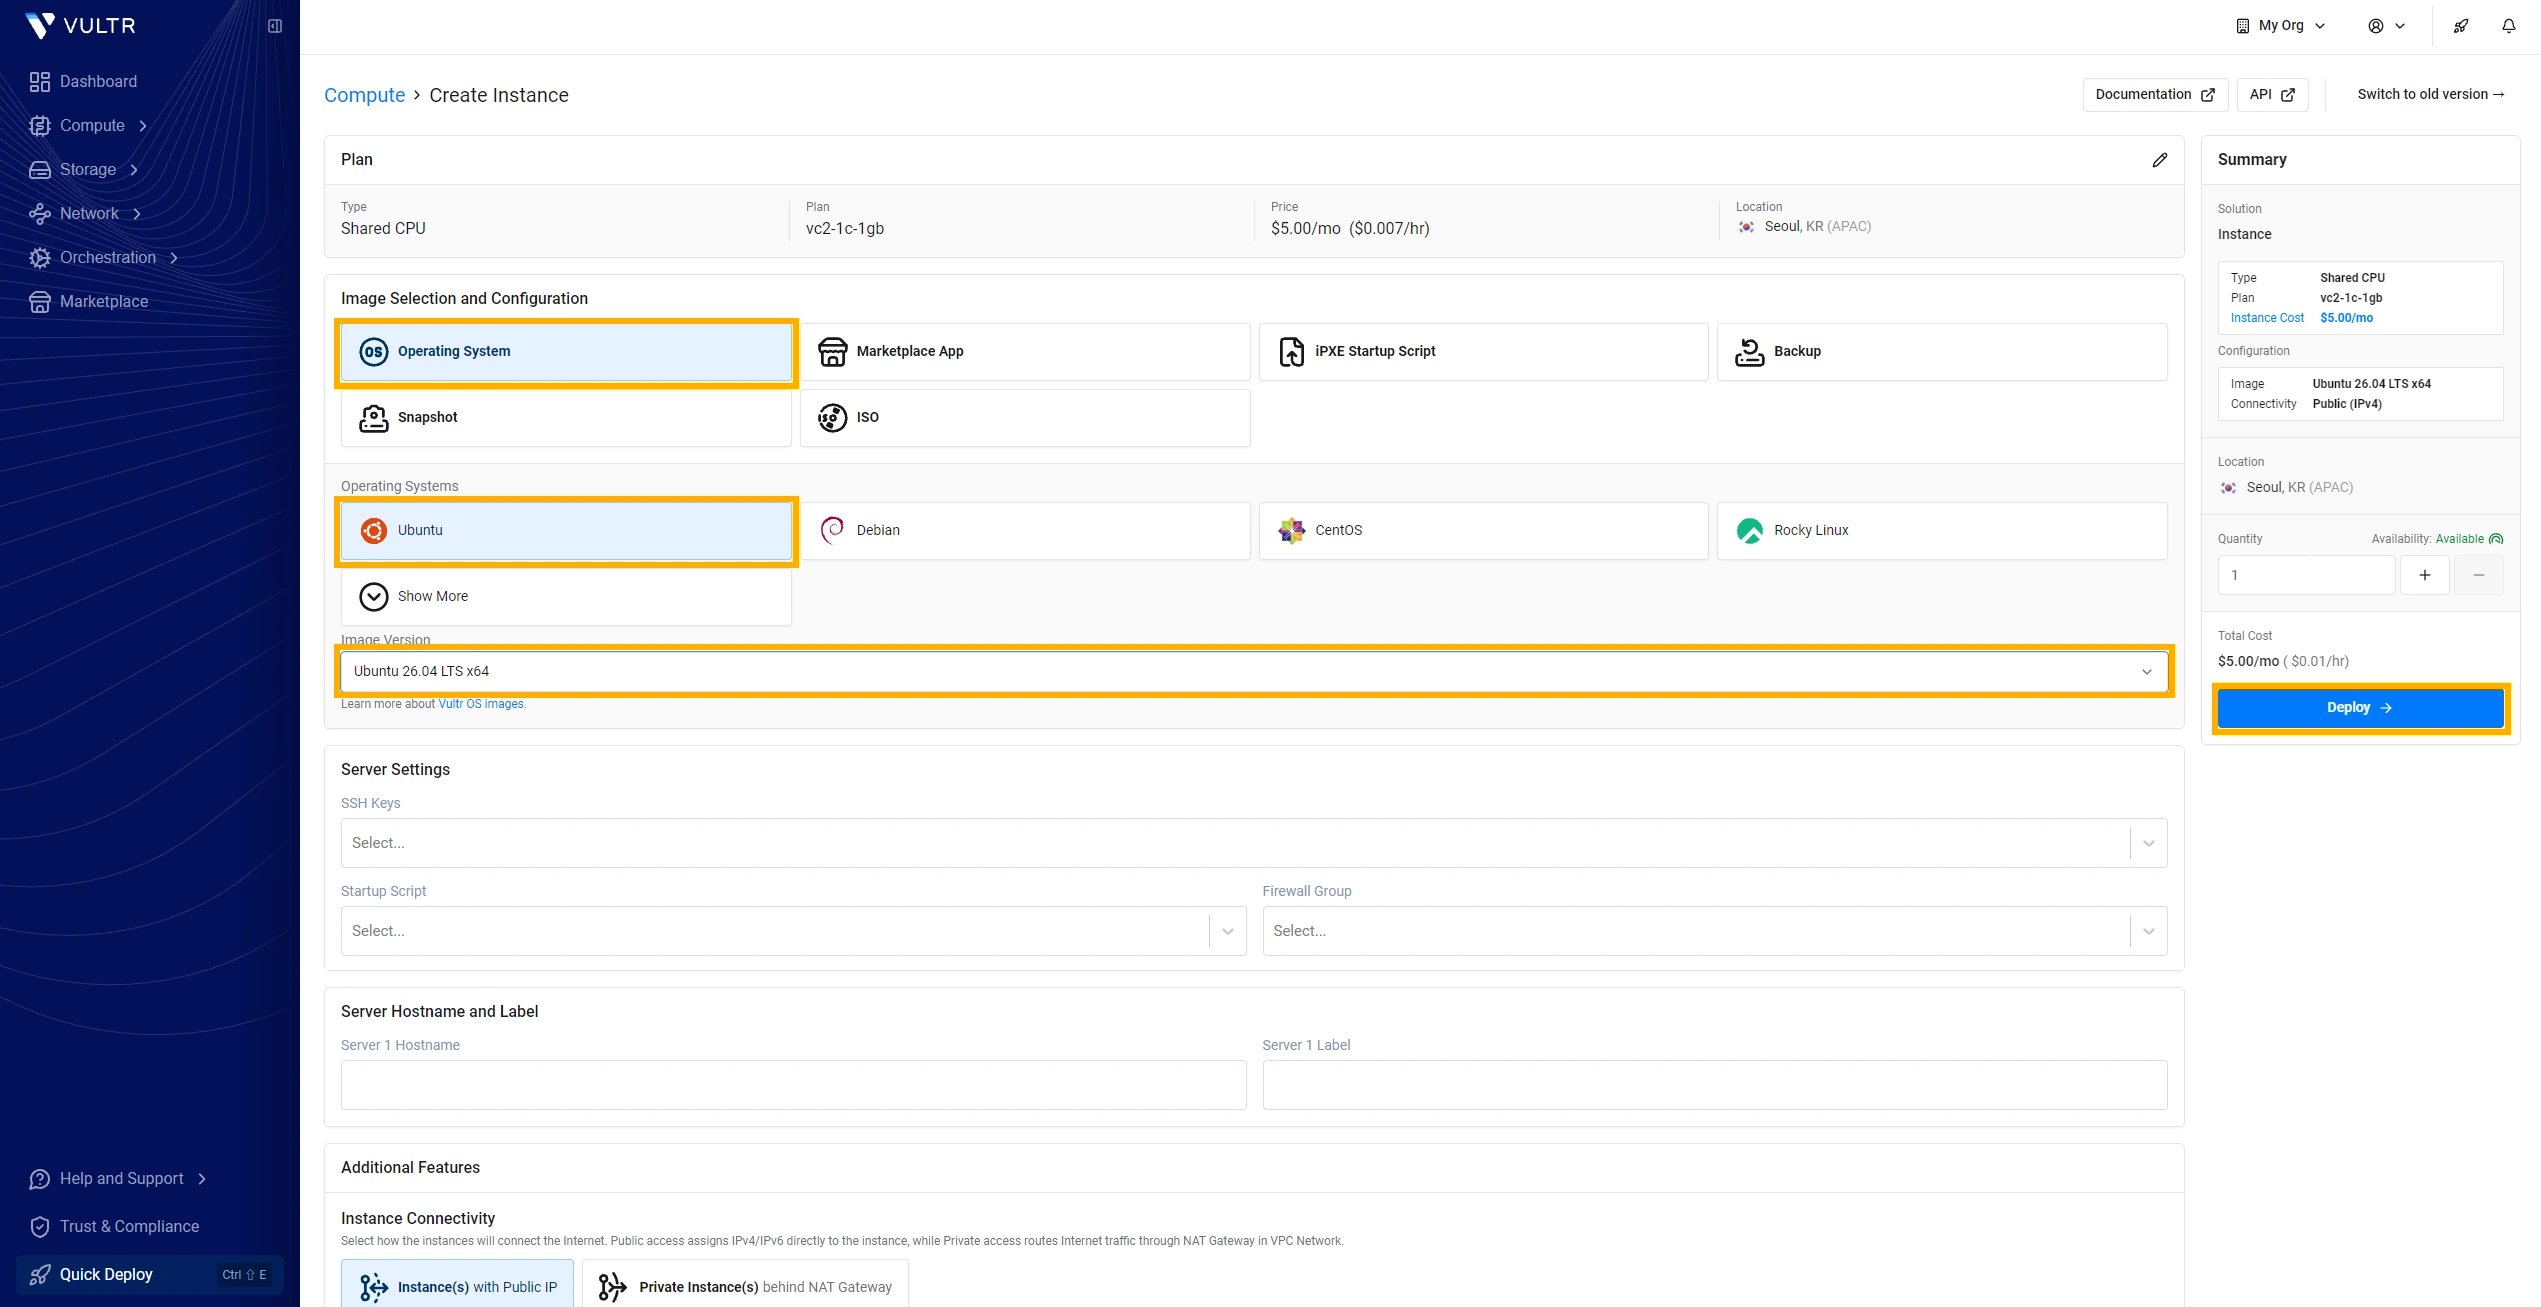
Under Image Selection & Configuration, select Operating System → Ubuntu and choose a supported LTS version under Image Version. The example shows Ubuntu 26.04 LTS x64. Hestia lists 1 GB of RAM as the minimum with SpamAssassin and ClamAV excluded, and recommends 4 GB. Choose a plan that supports the software you intend to install. Review your settings and select Deploy. Hestia installation requirements
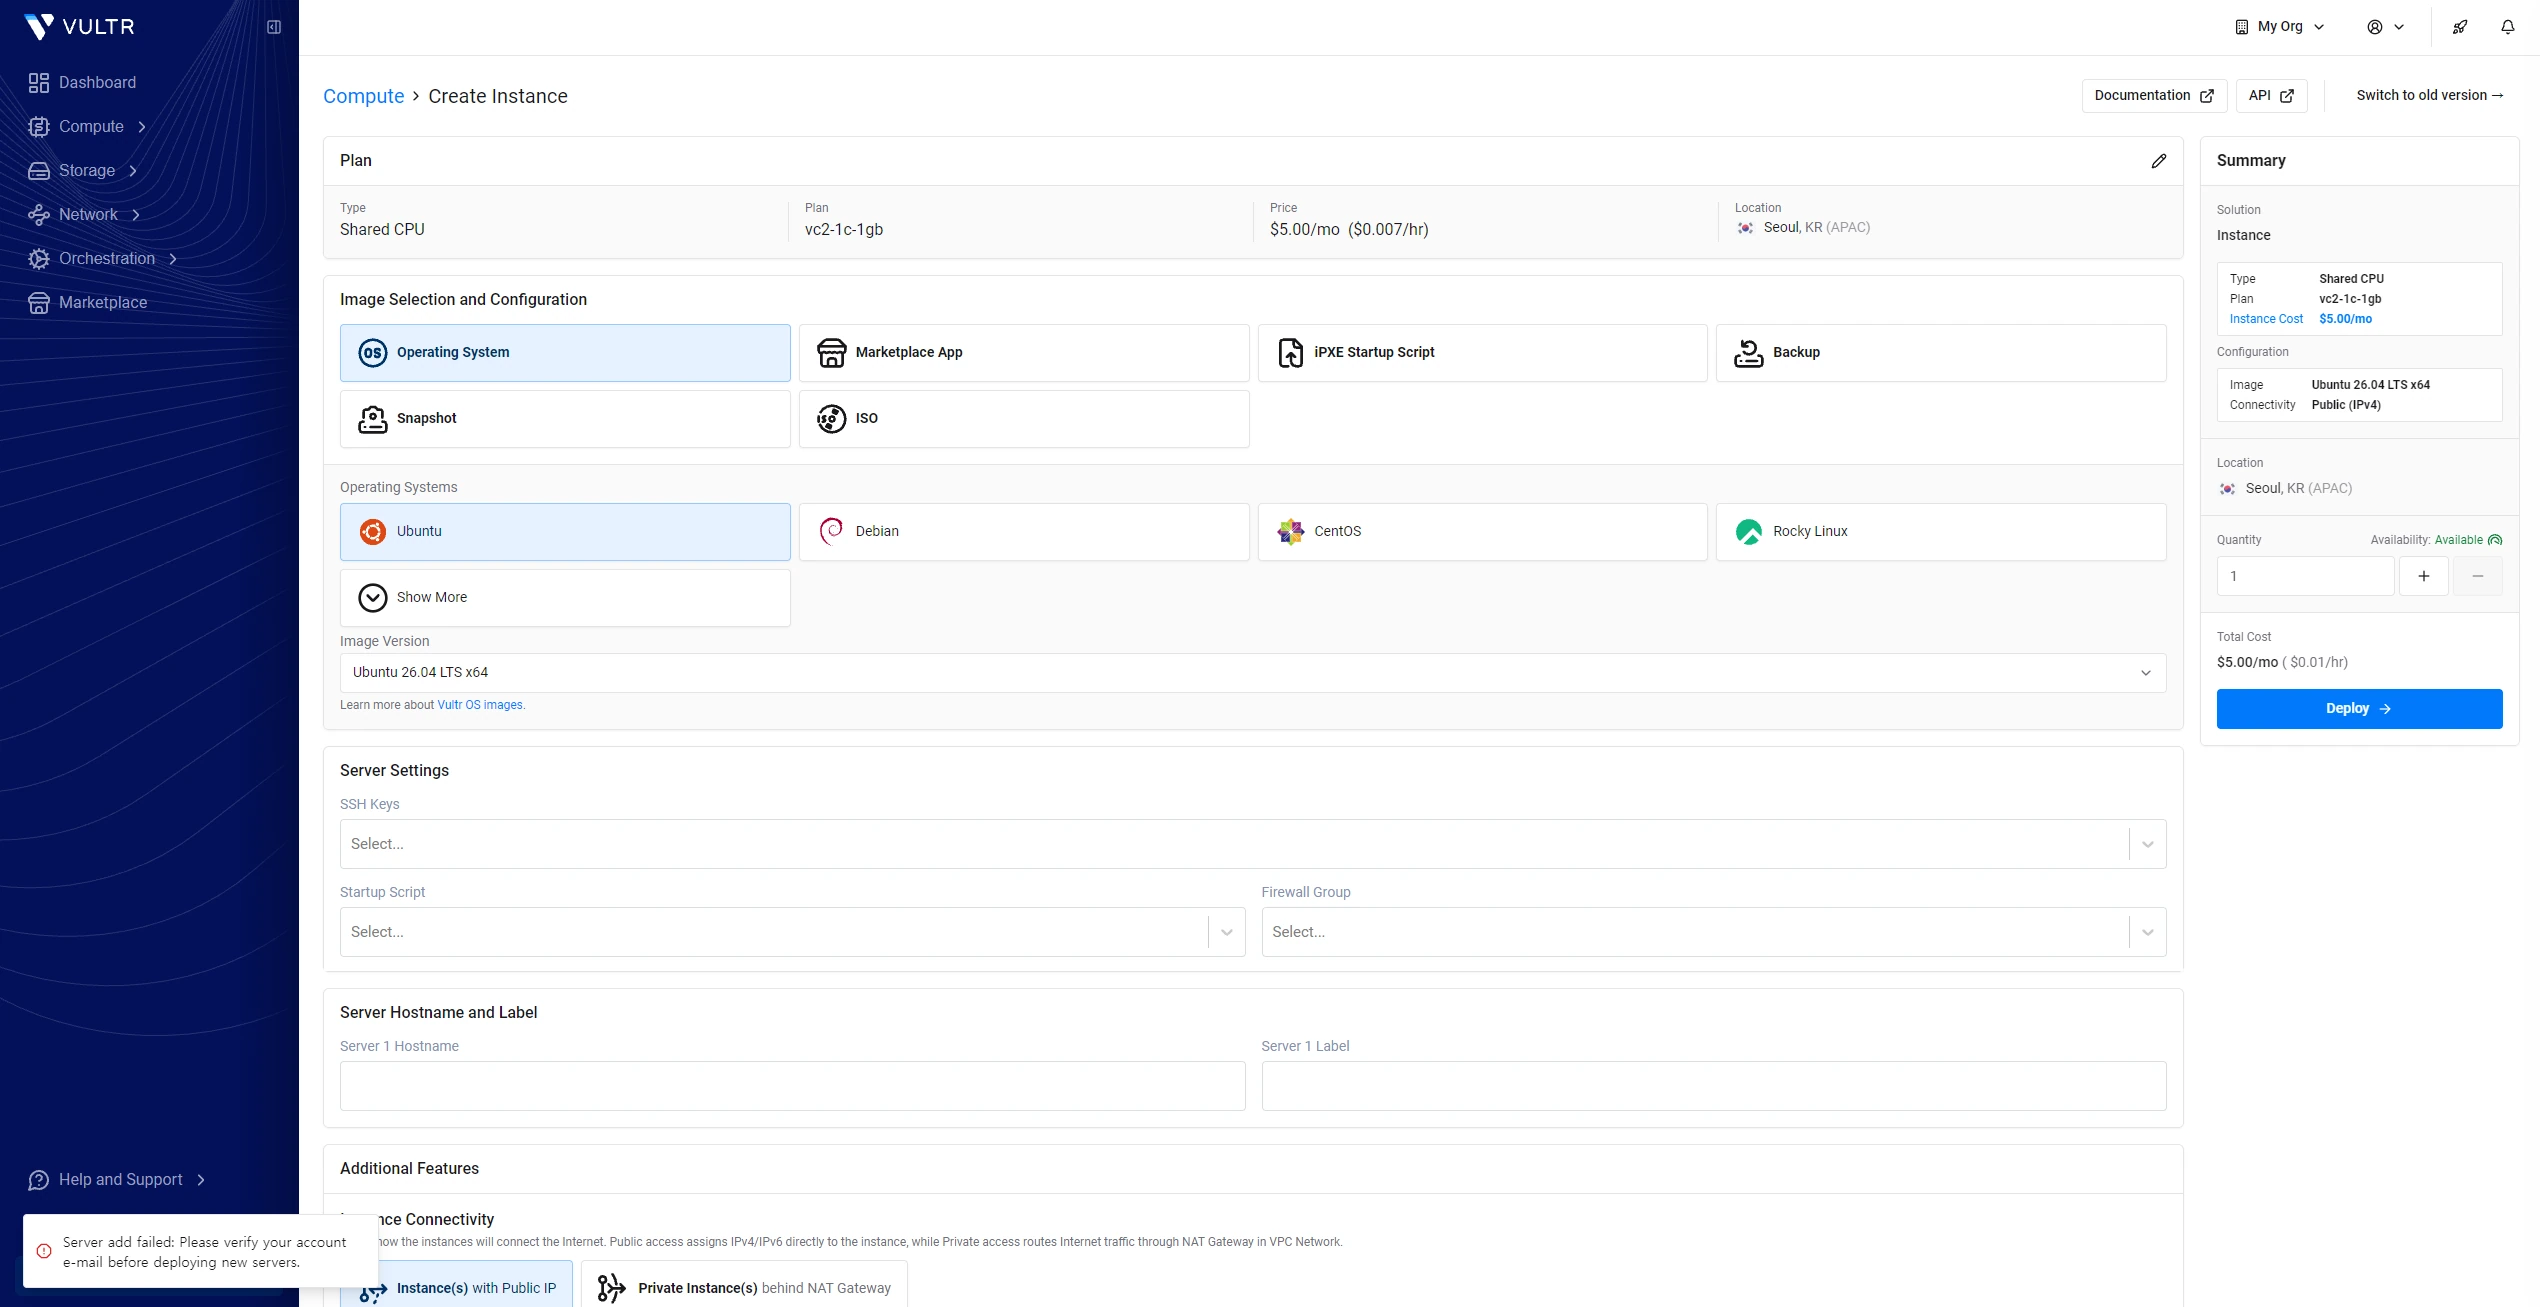
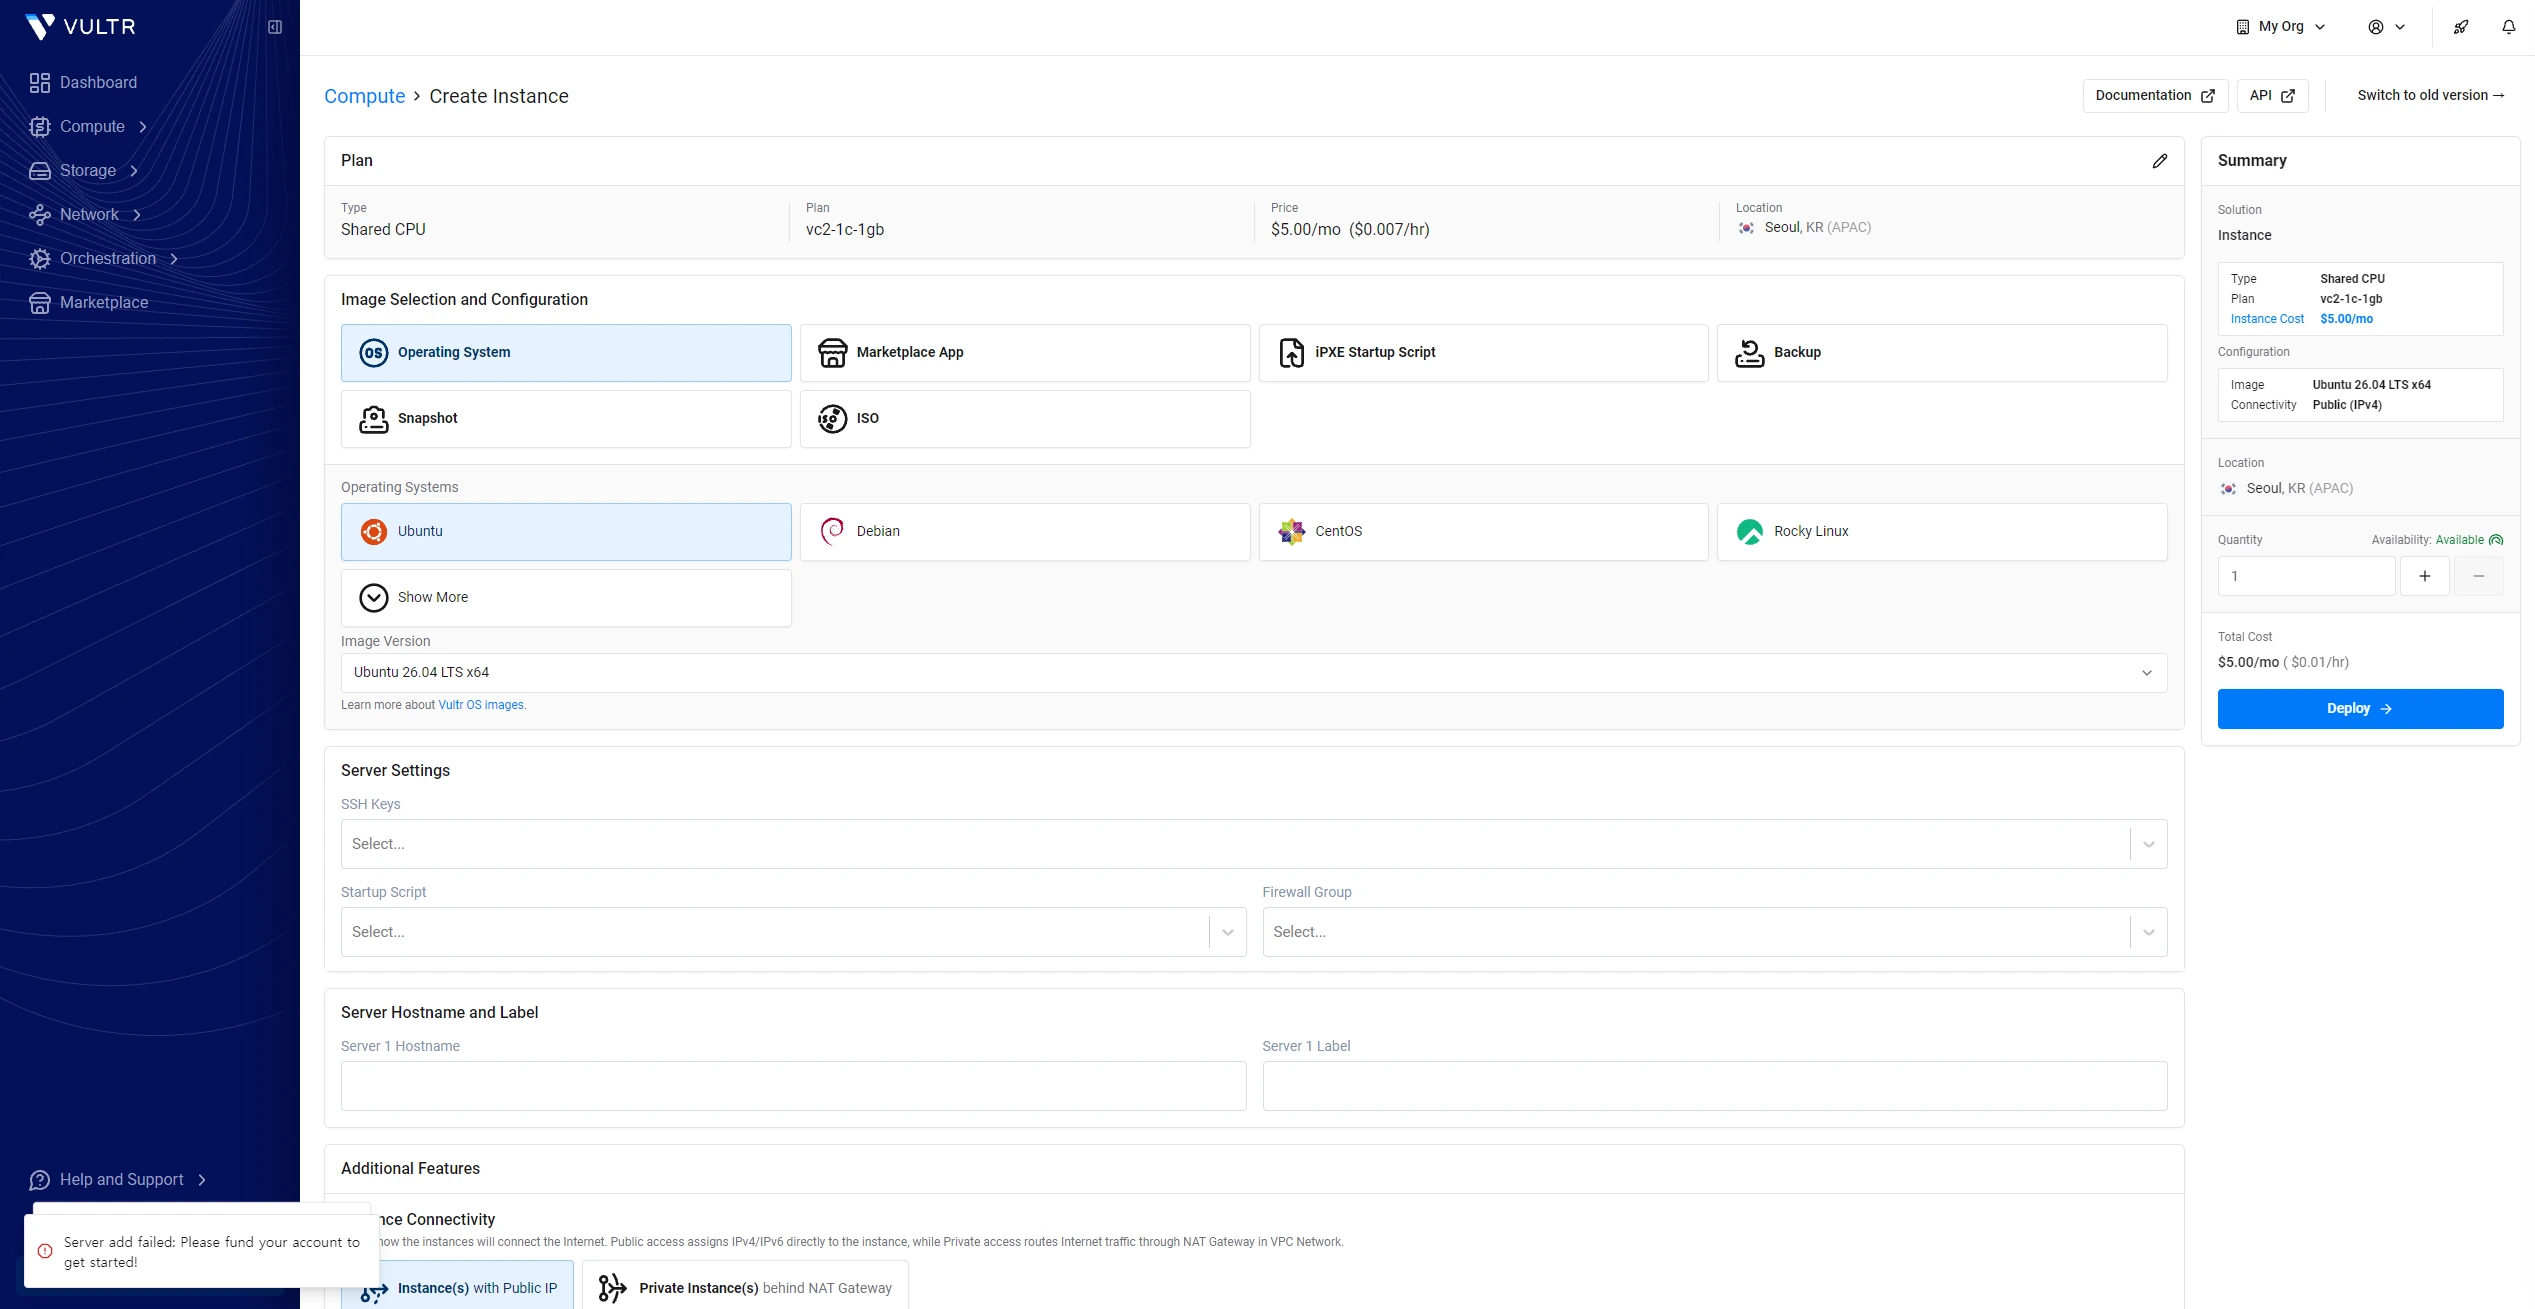
If deployment pauses for verification, check your email. If Vultr asks for a payment method or additional funds, resolve the prompt in Billing before you retry.
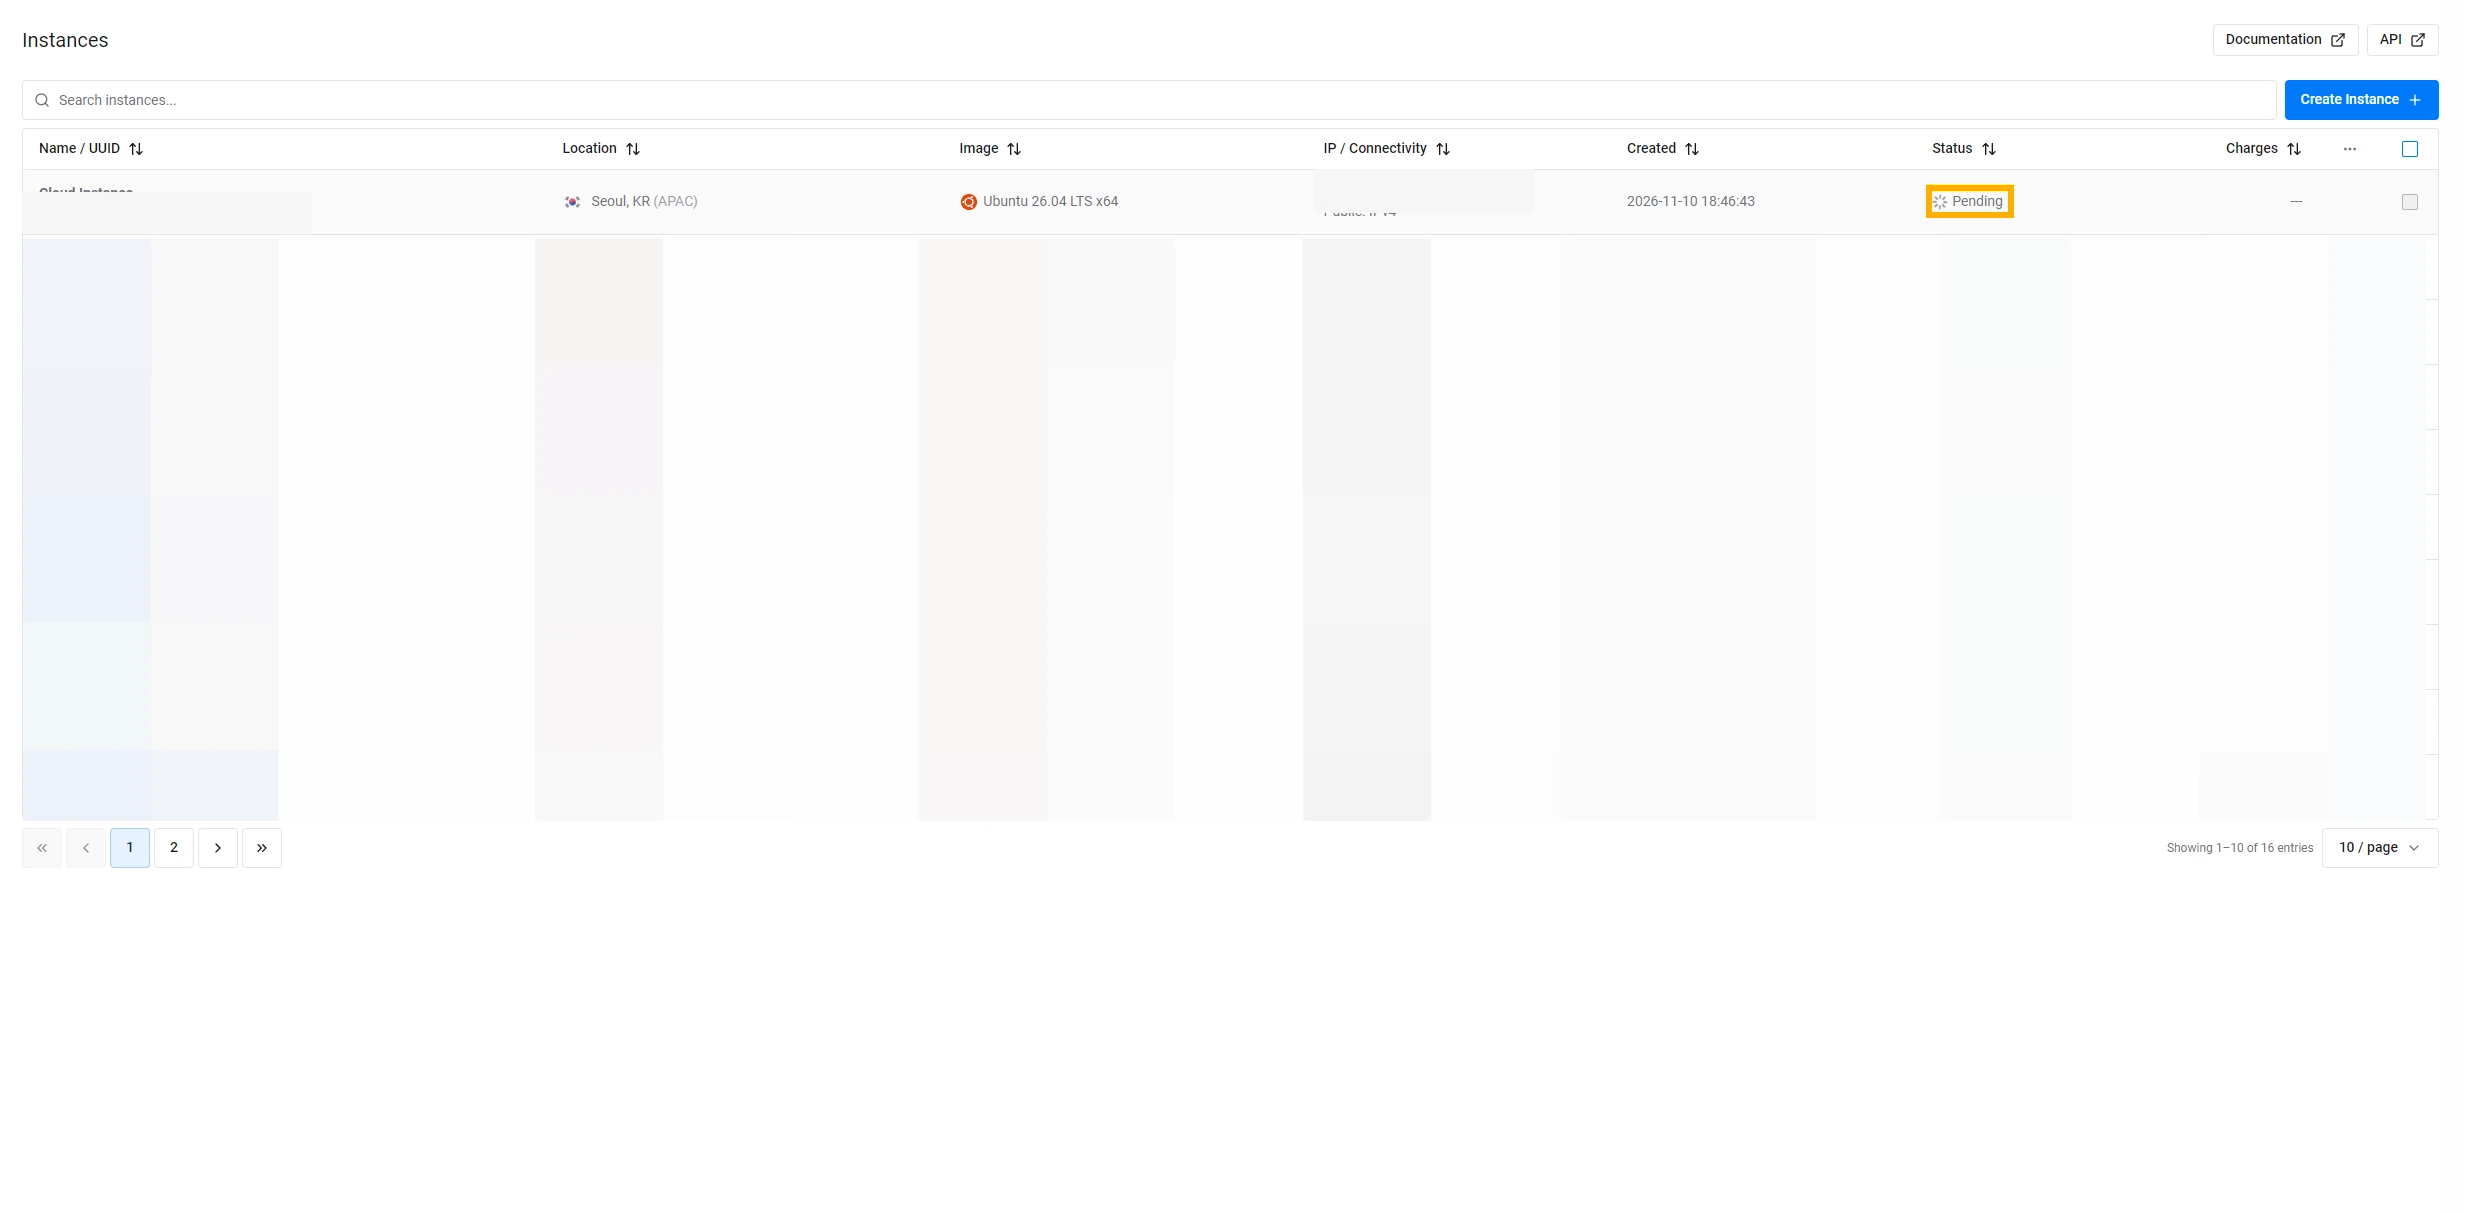
Return to Instances. When the status changes from Pending to Running, open the server. If it’s still pending after a minute or two, refresh the list once.
Point your domain to the server
Copy the server’s public IPv4 address from Server Information. Then open the DNS record editor at the provider that hosts your domain’s authoritative nameservers.
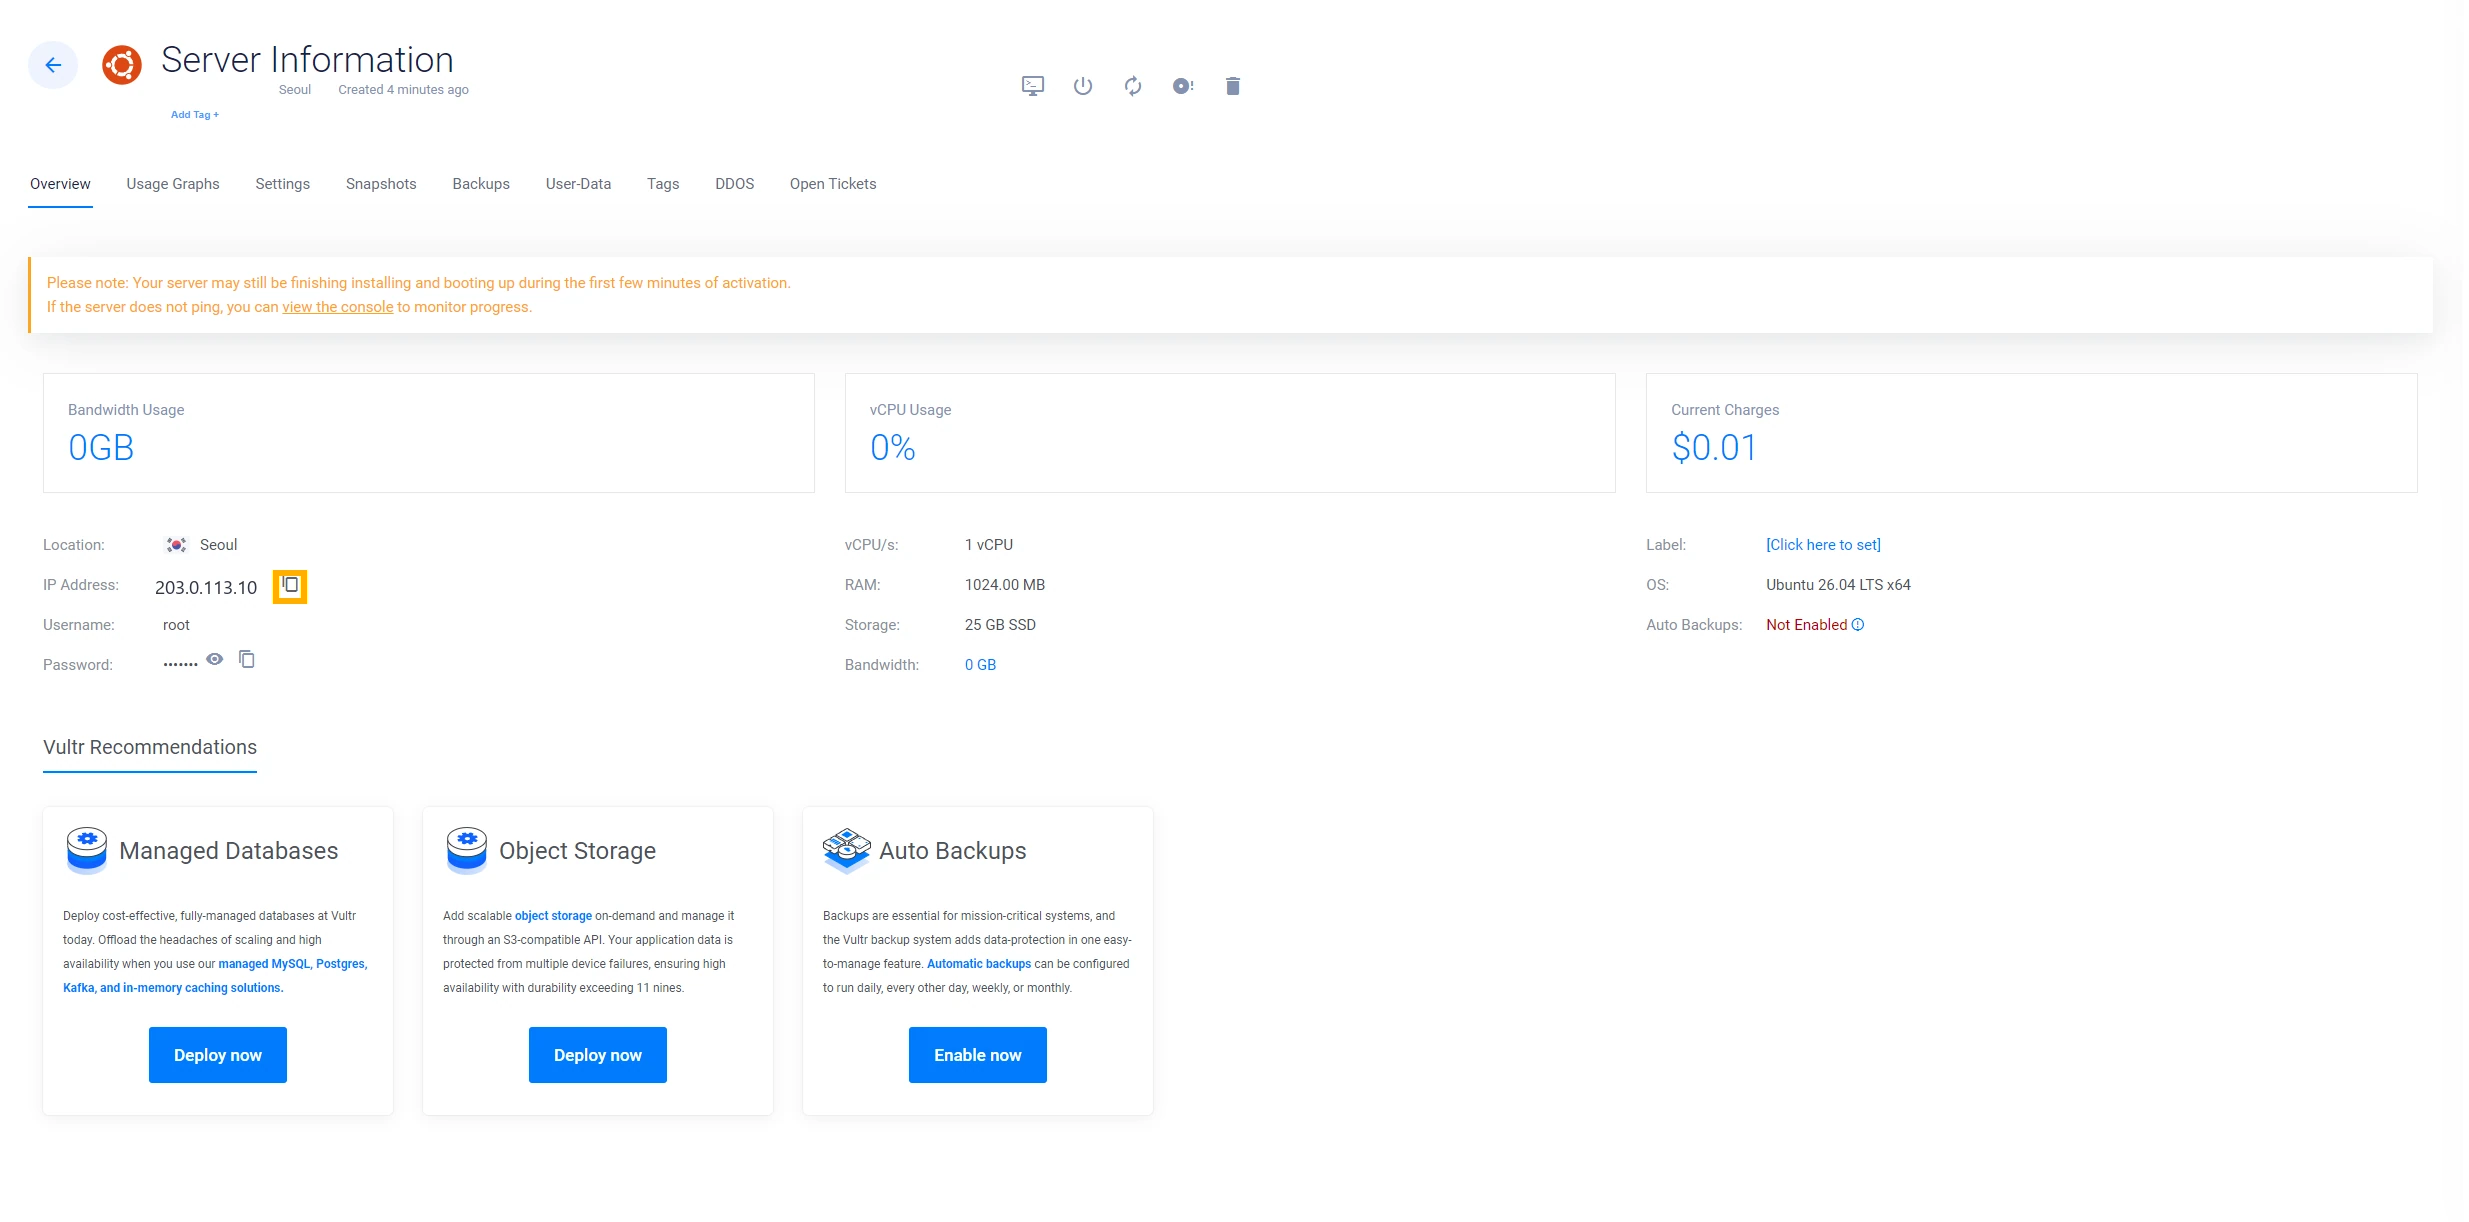
Add the following records using your own values. Some DNS editors use a blank hostname for the root domain instead of @. If a record for the same hostname already exists, review it before making changes to a live site.
| Type | Host | Value |
|---|---|---|
| A | @ | Your server’s public IPv4 |
| A | hcp | Your server’s public IPv4 |
| A | www | Your server’s public IPv4 |
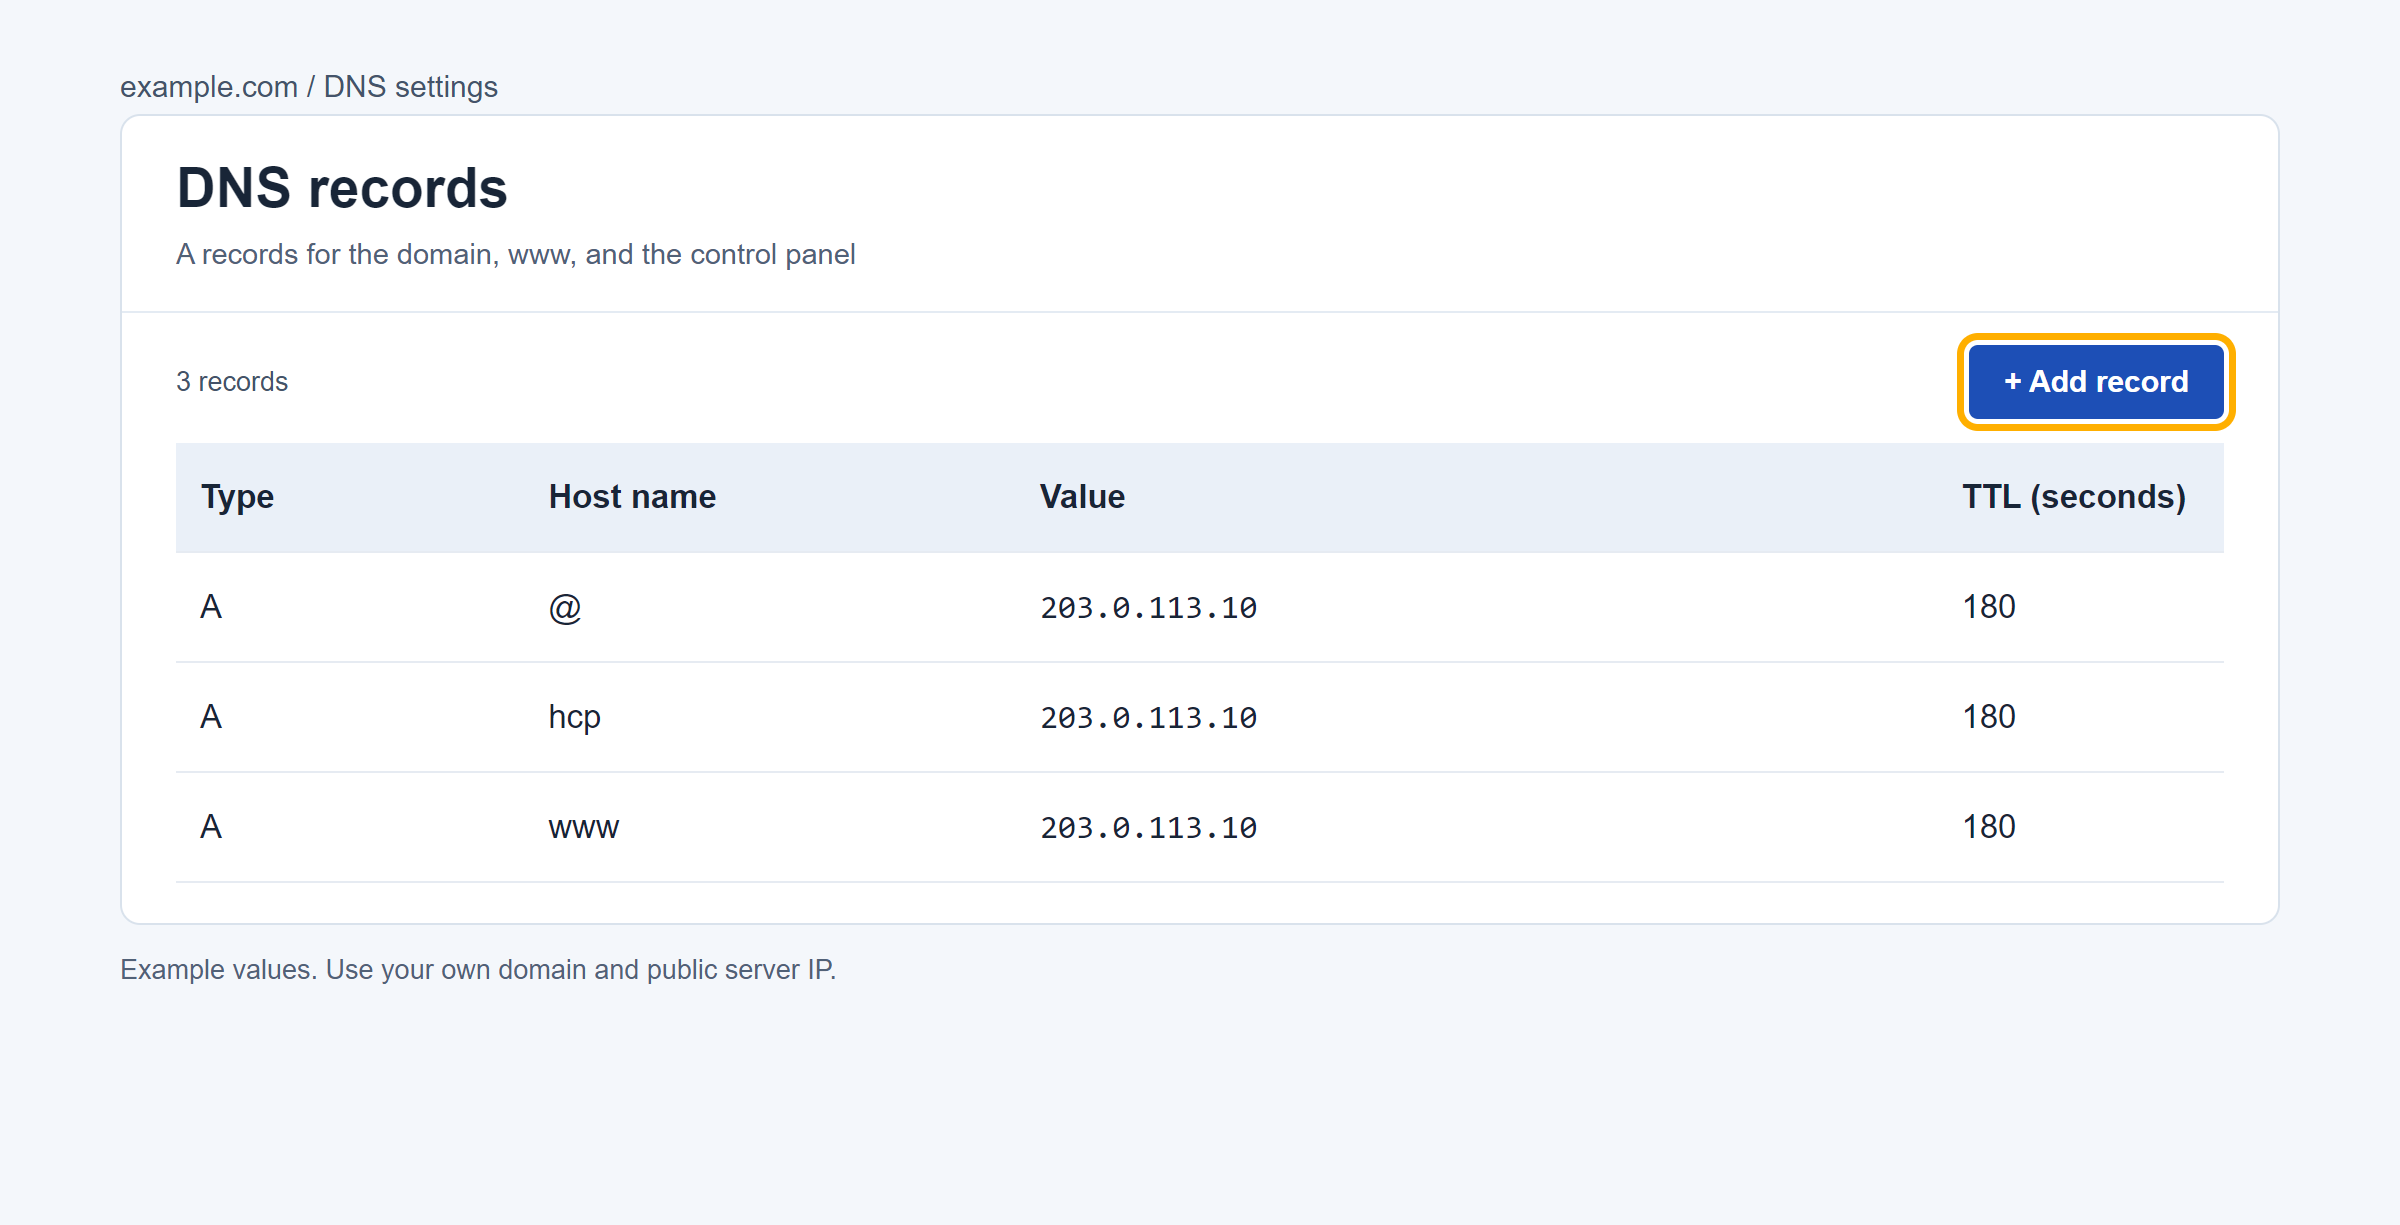
If you want www to follow the root domain, use a CNAME pointing to your domain instead of the A record for www. The examples use example.com and 203.0.113.10 as placeholders.
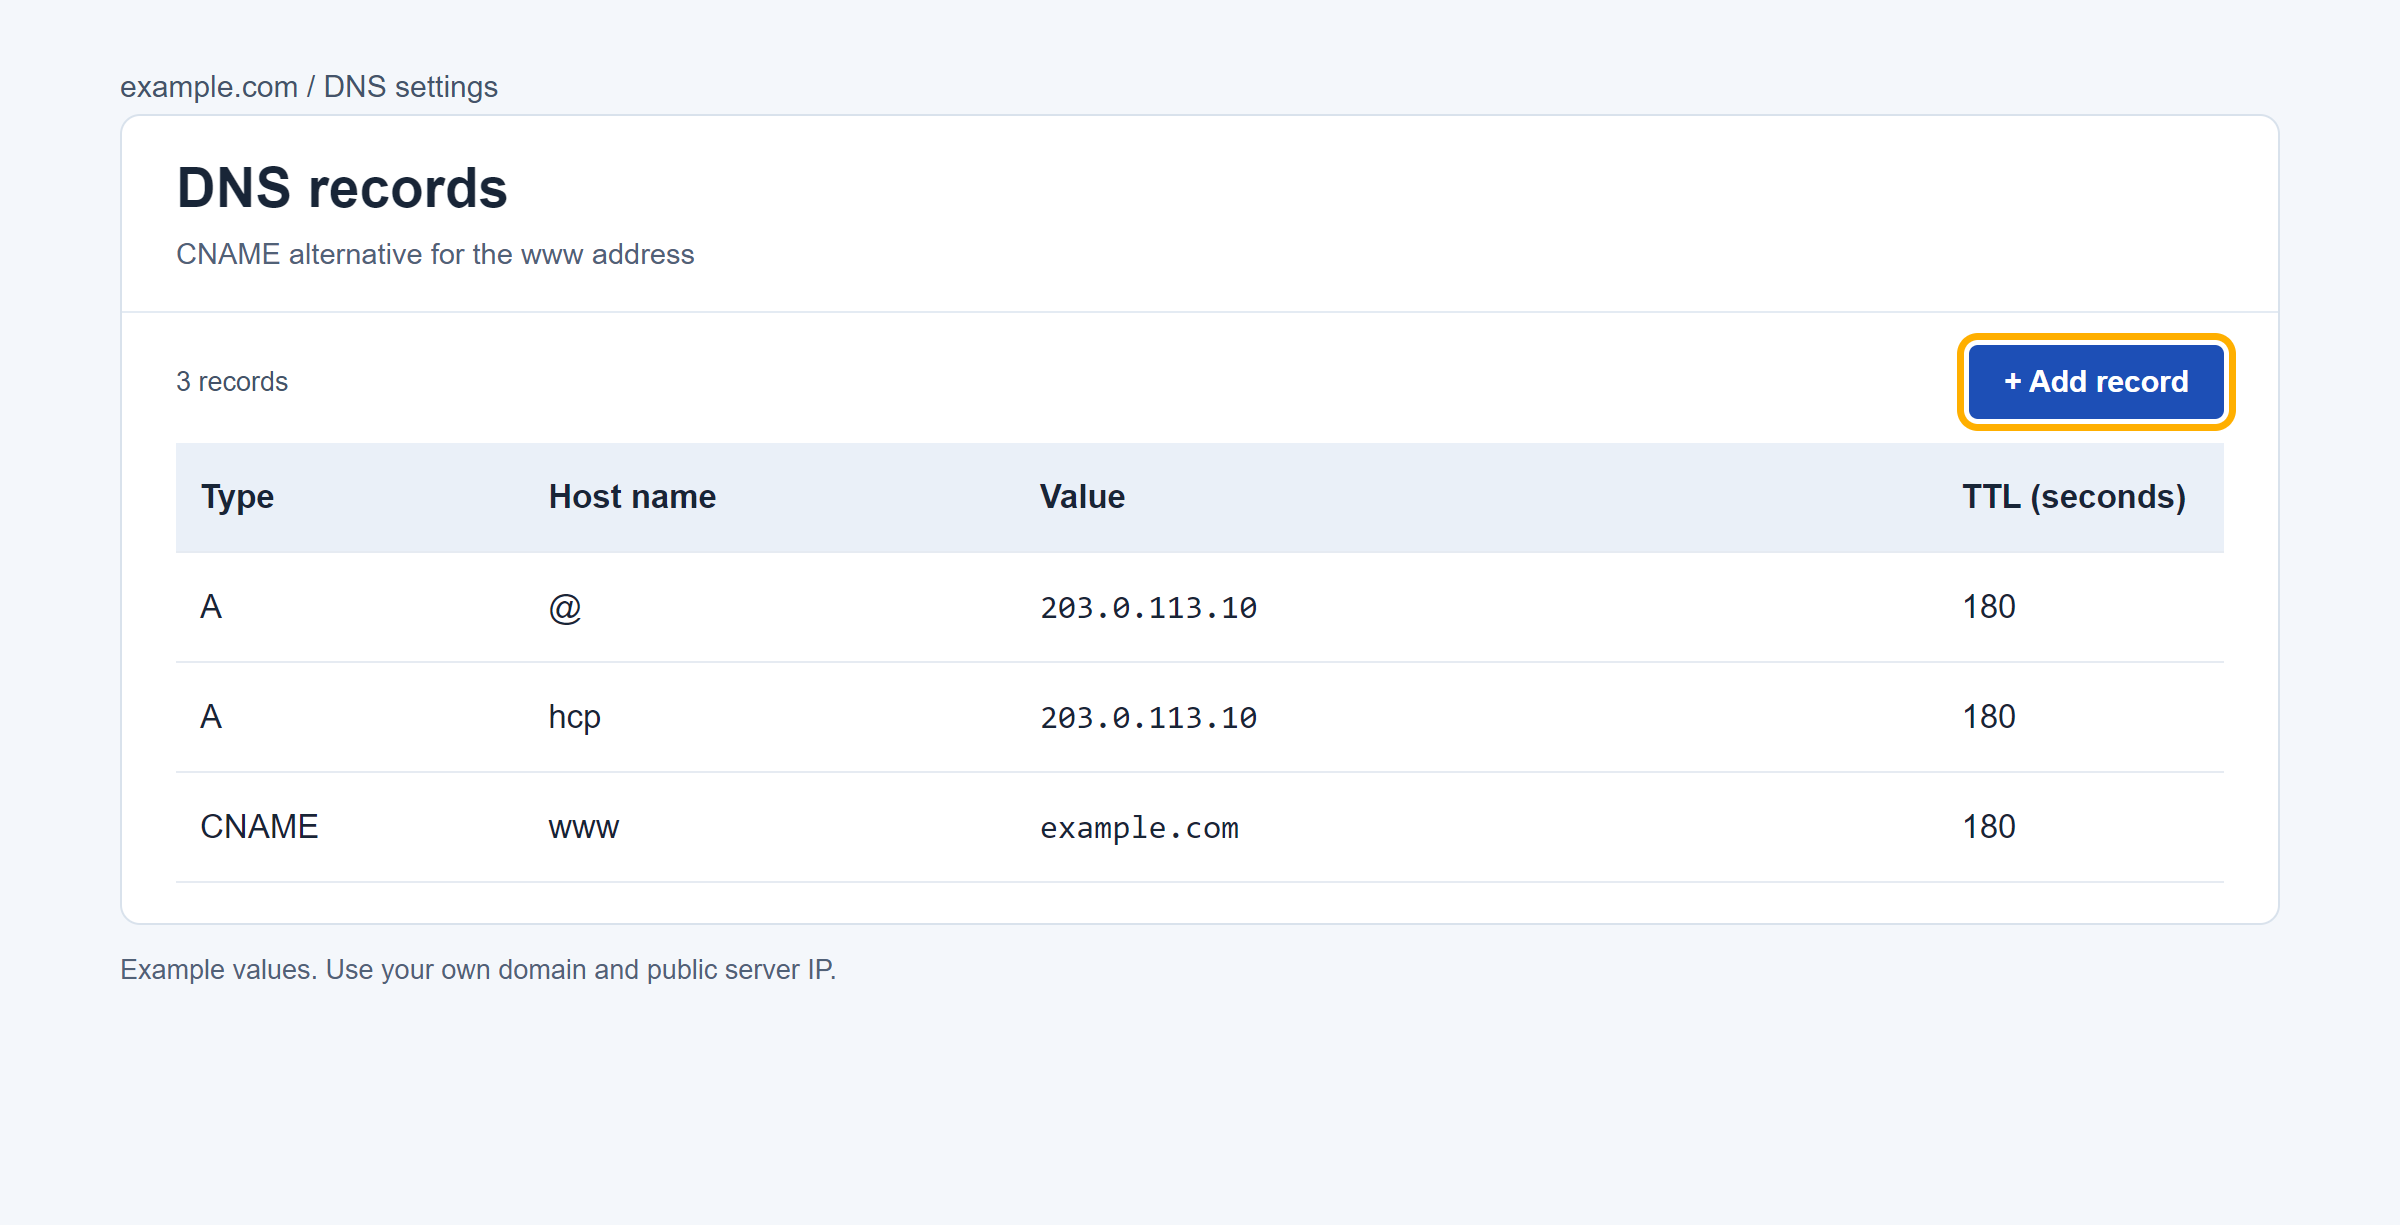
Sign in as root in the Vultr console
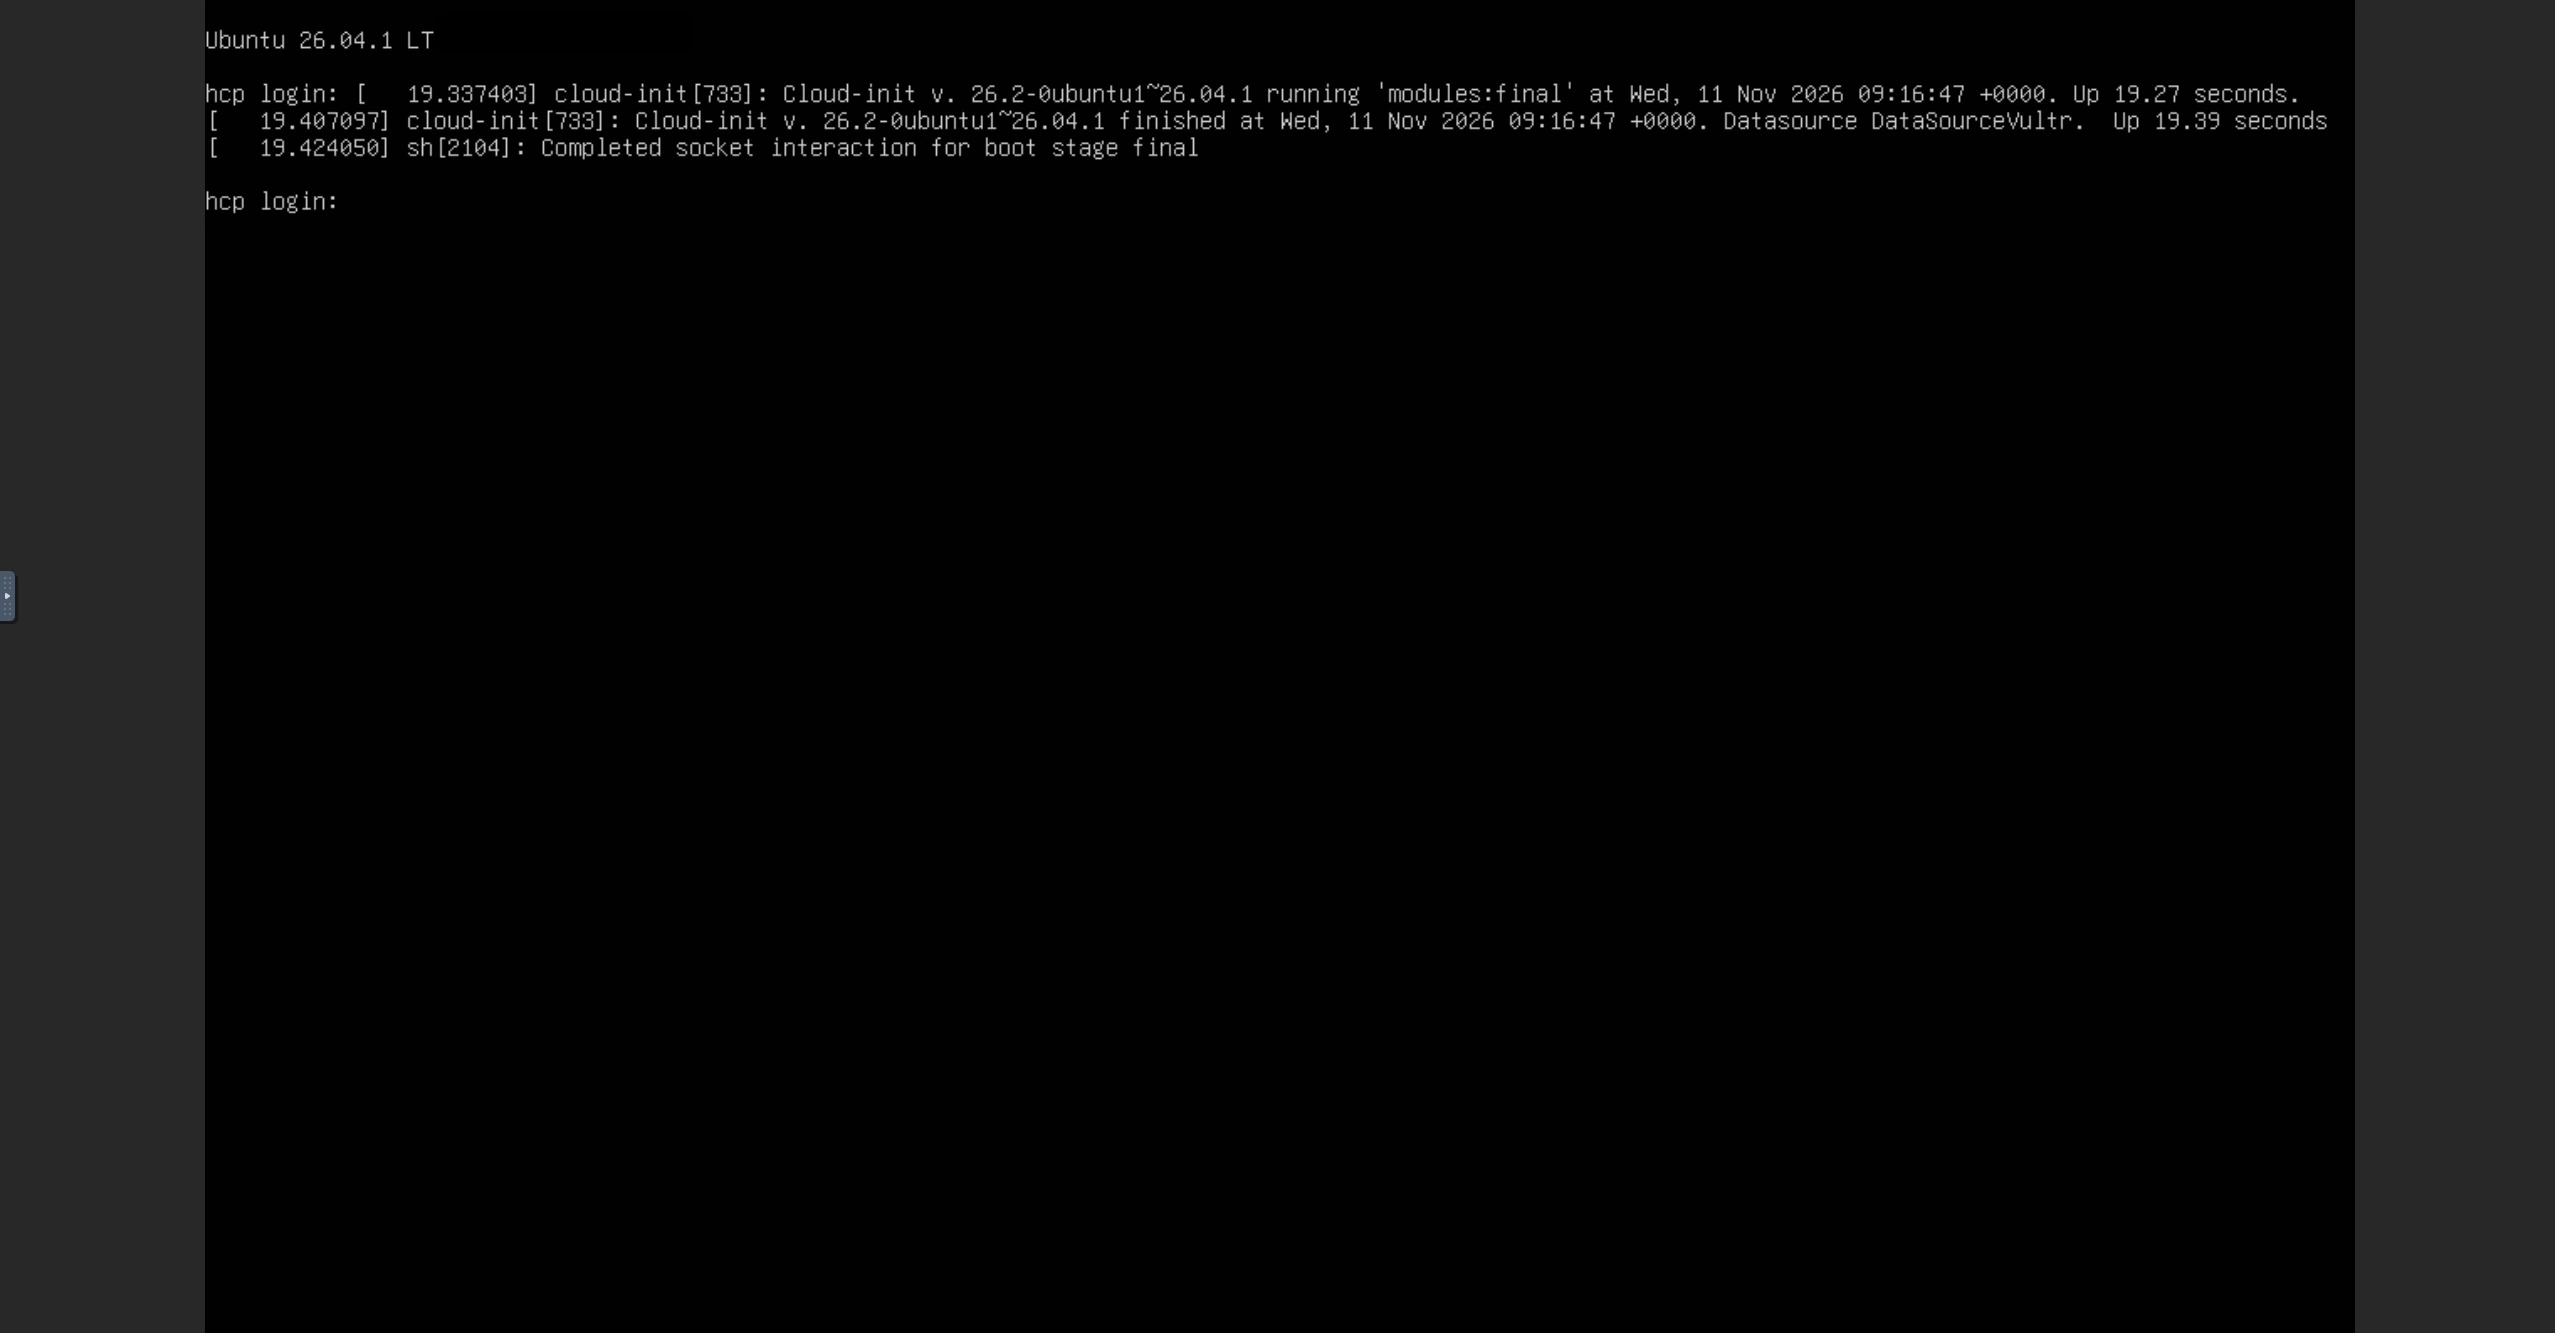
On the server details page, copy the Password and select View Console. At the login prompt, type root and press Enter.
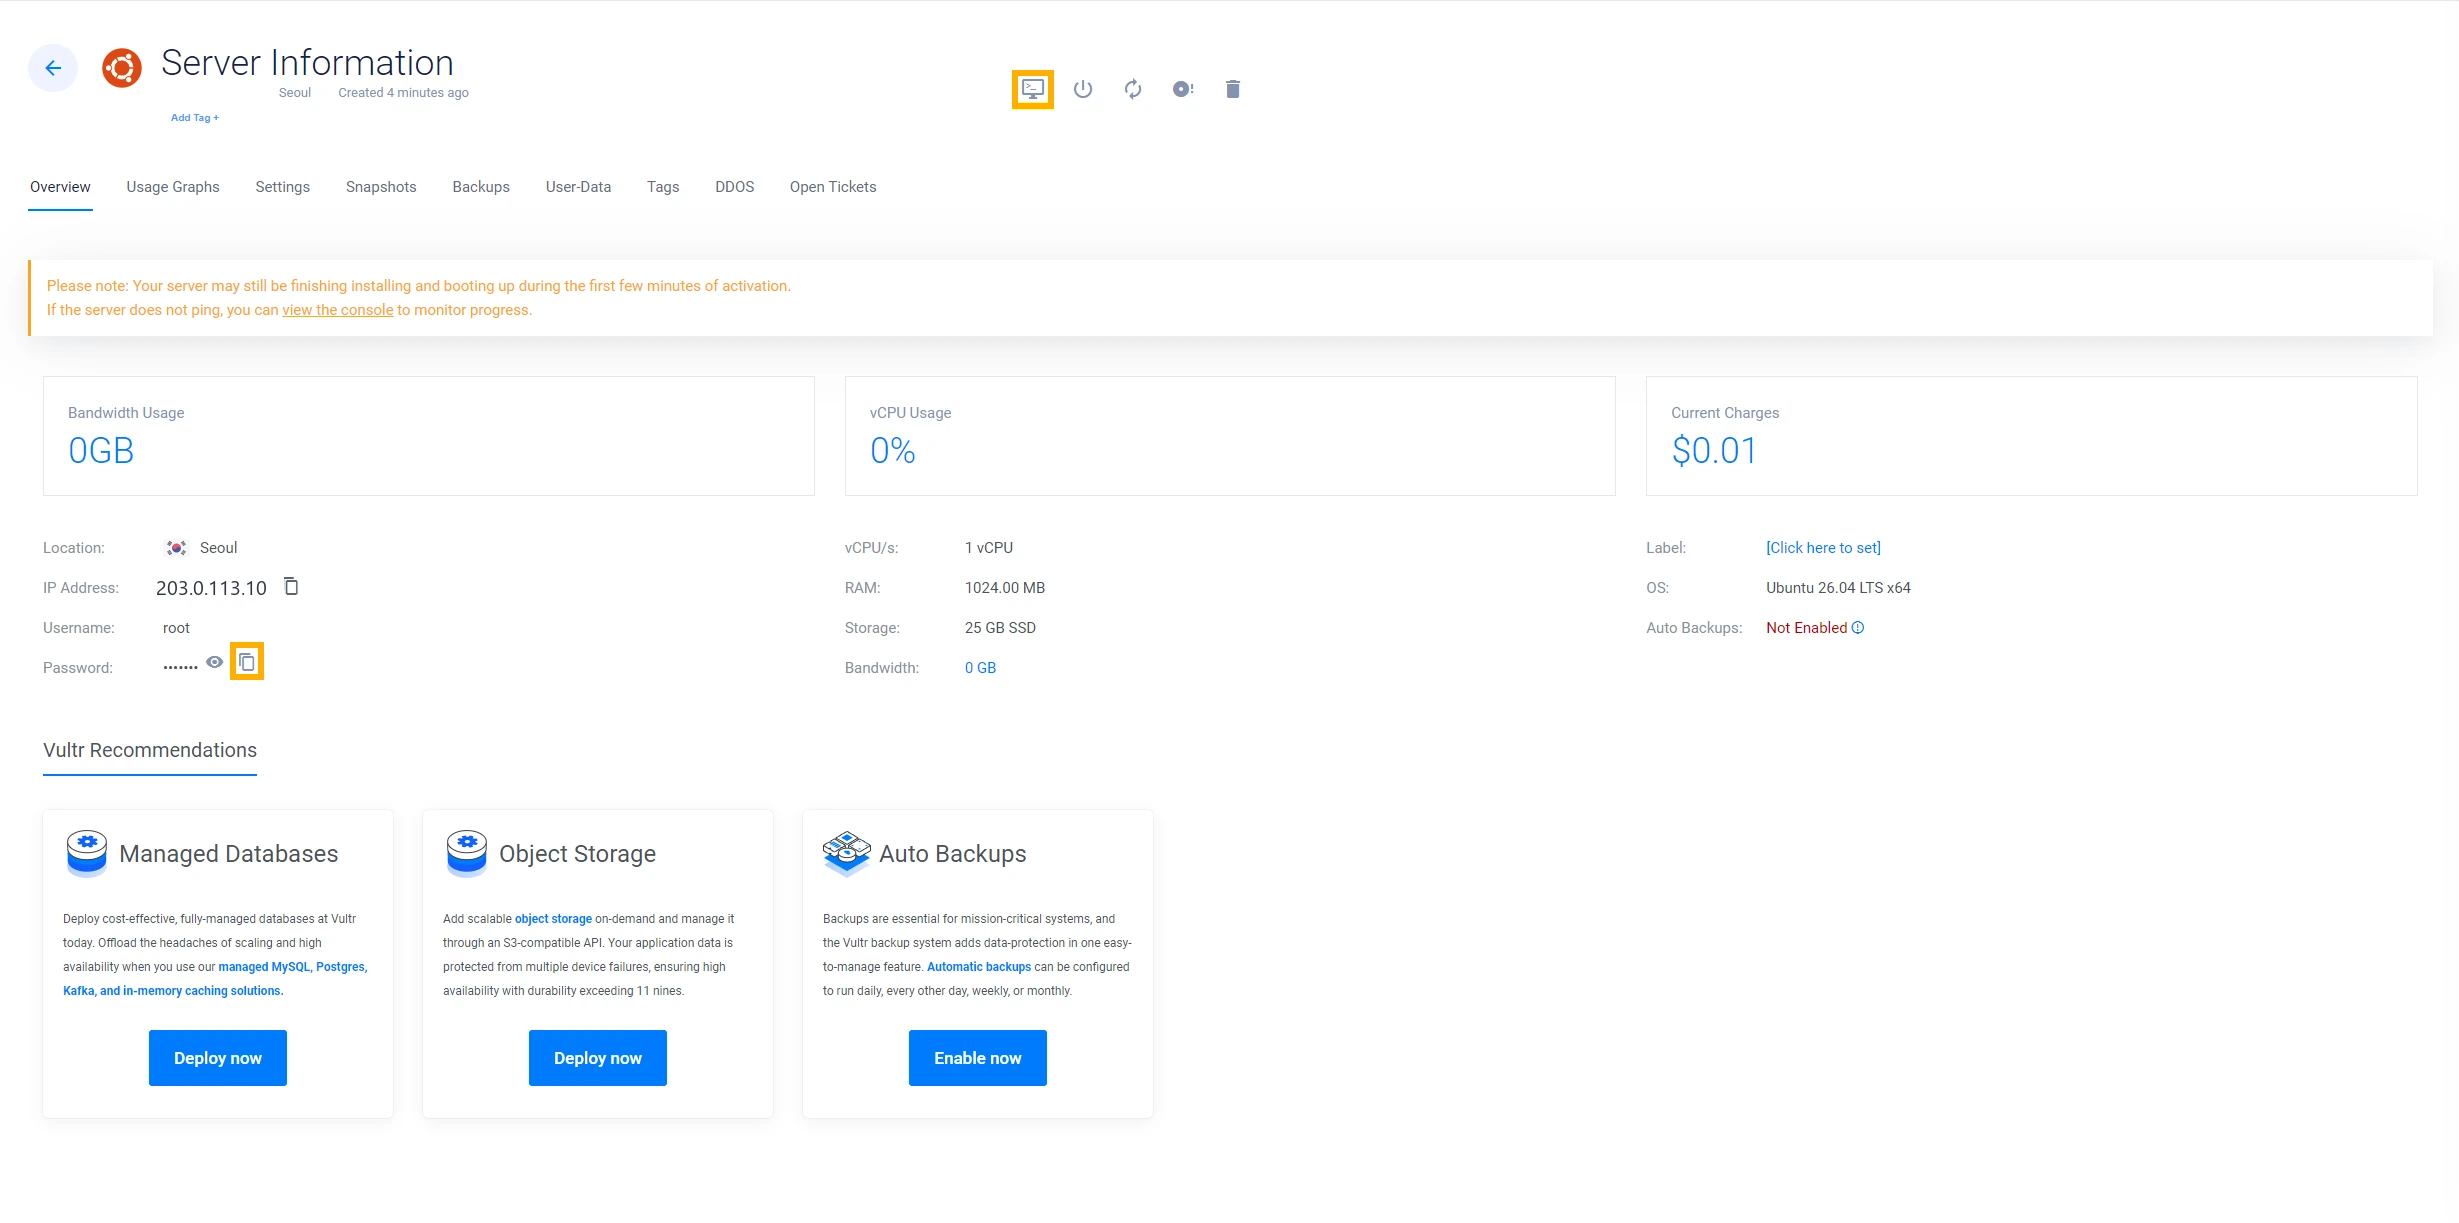
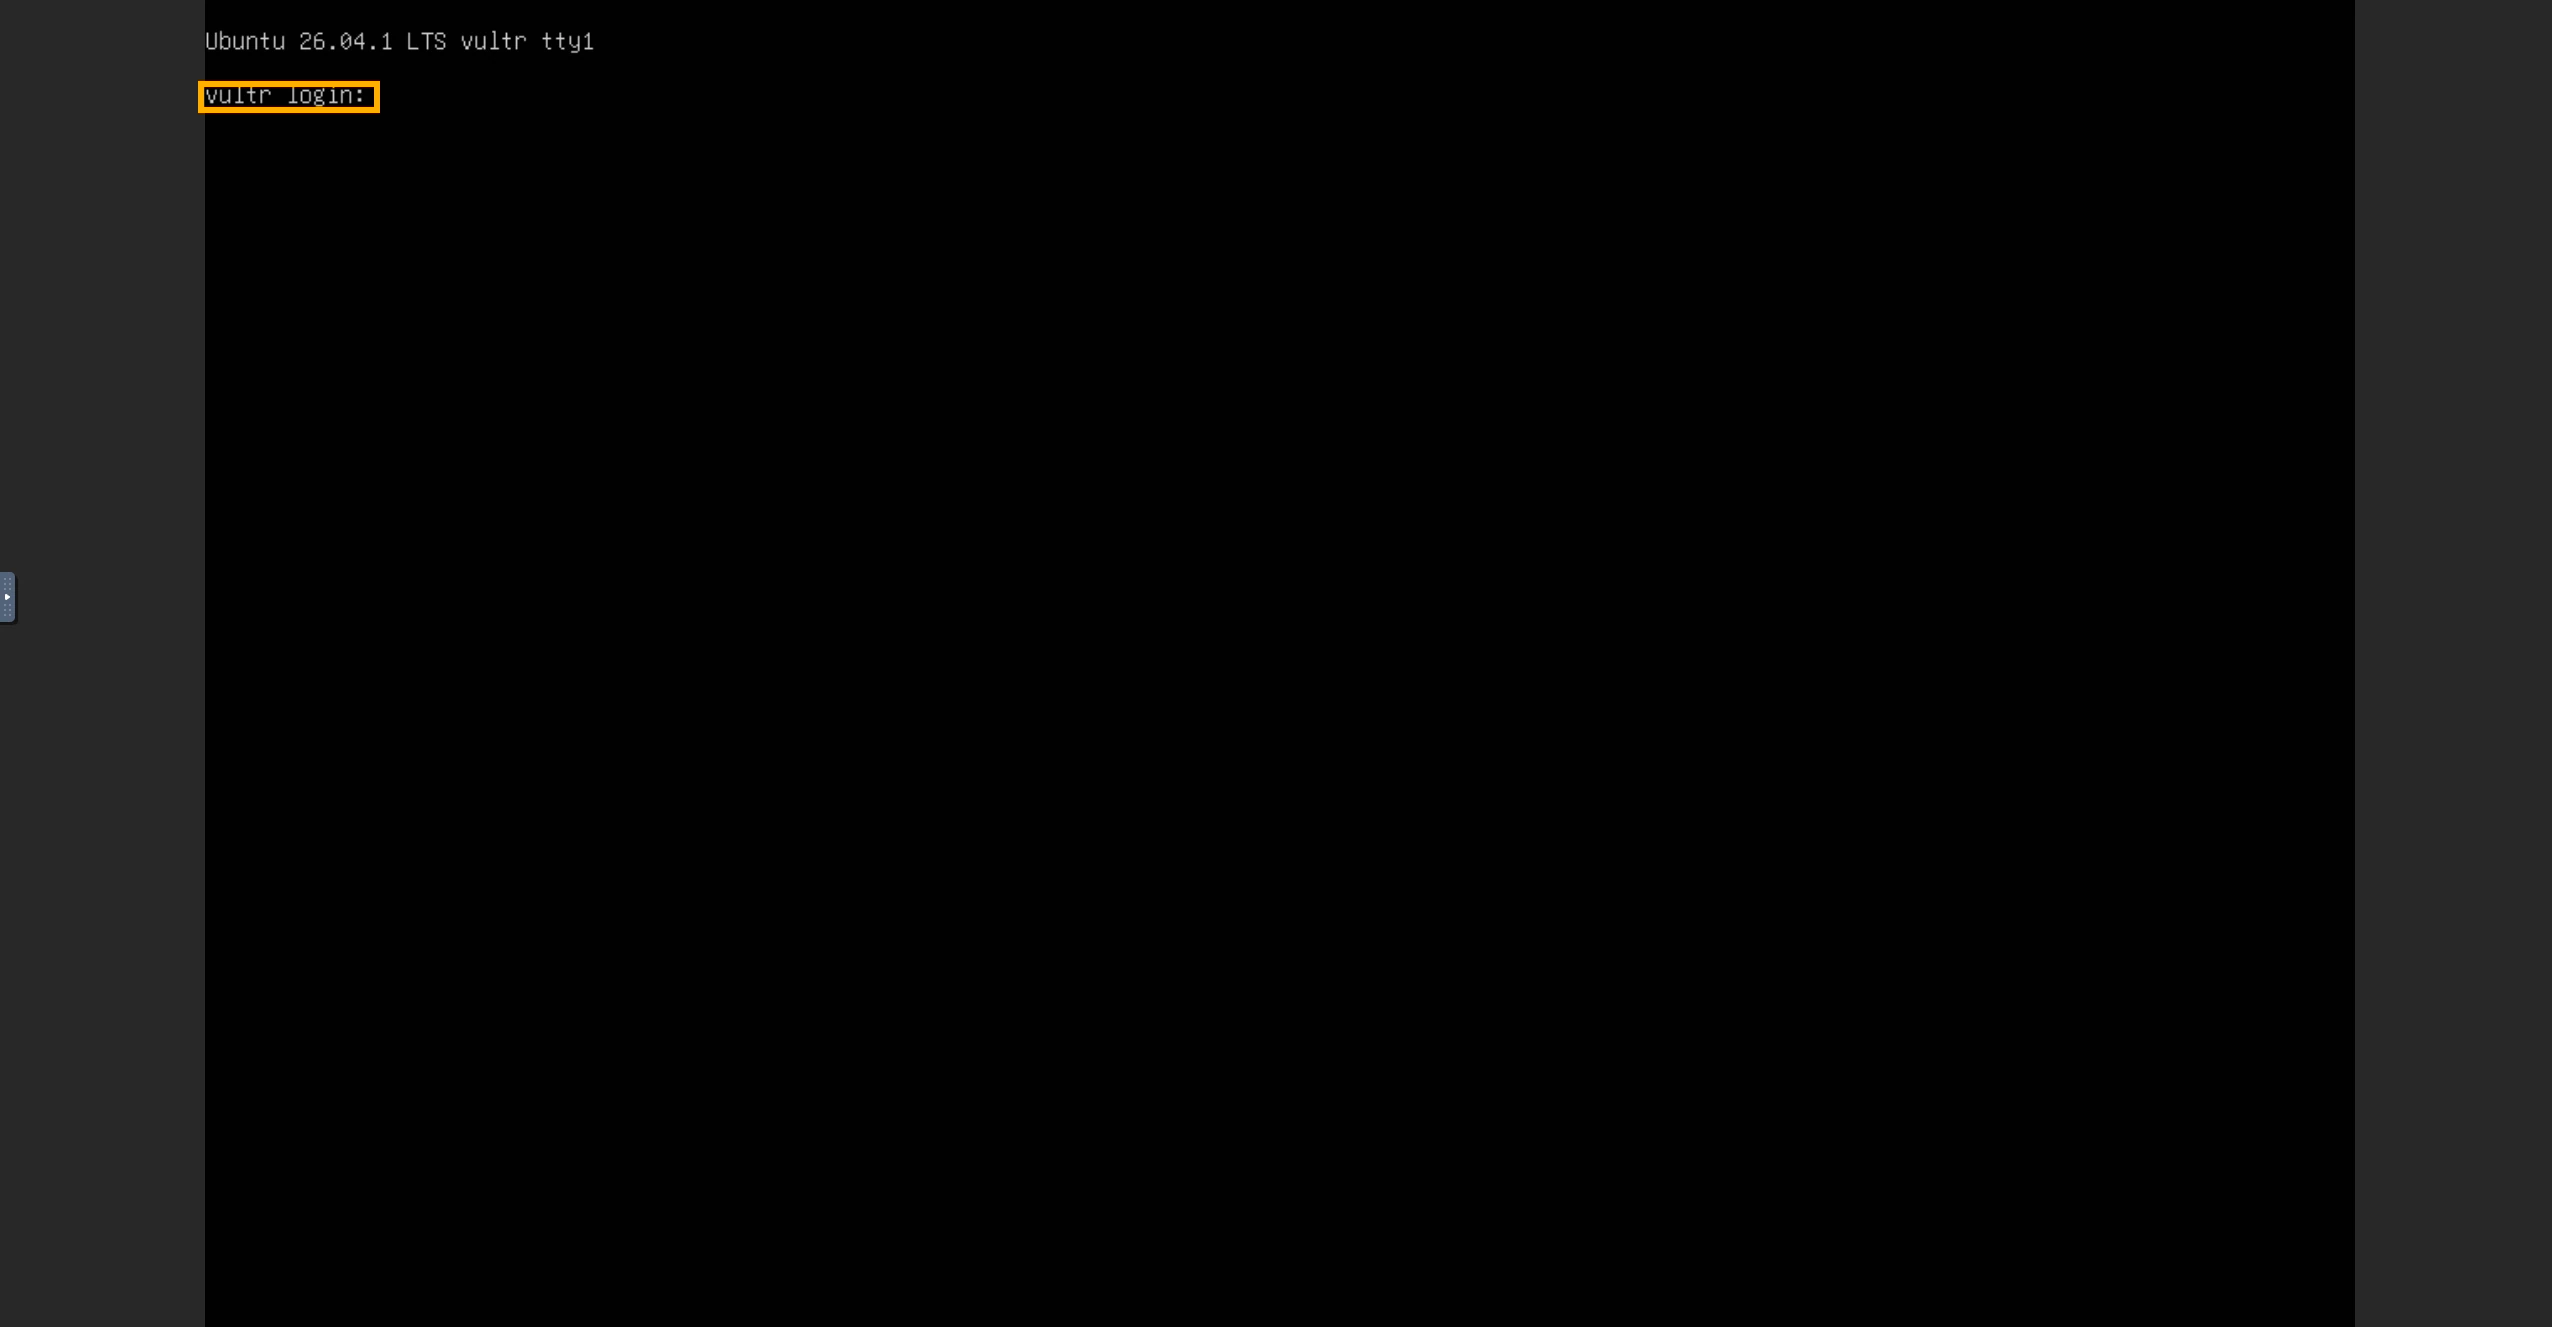
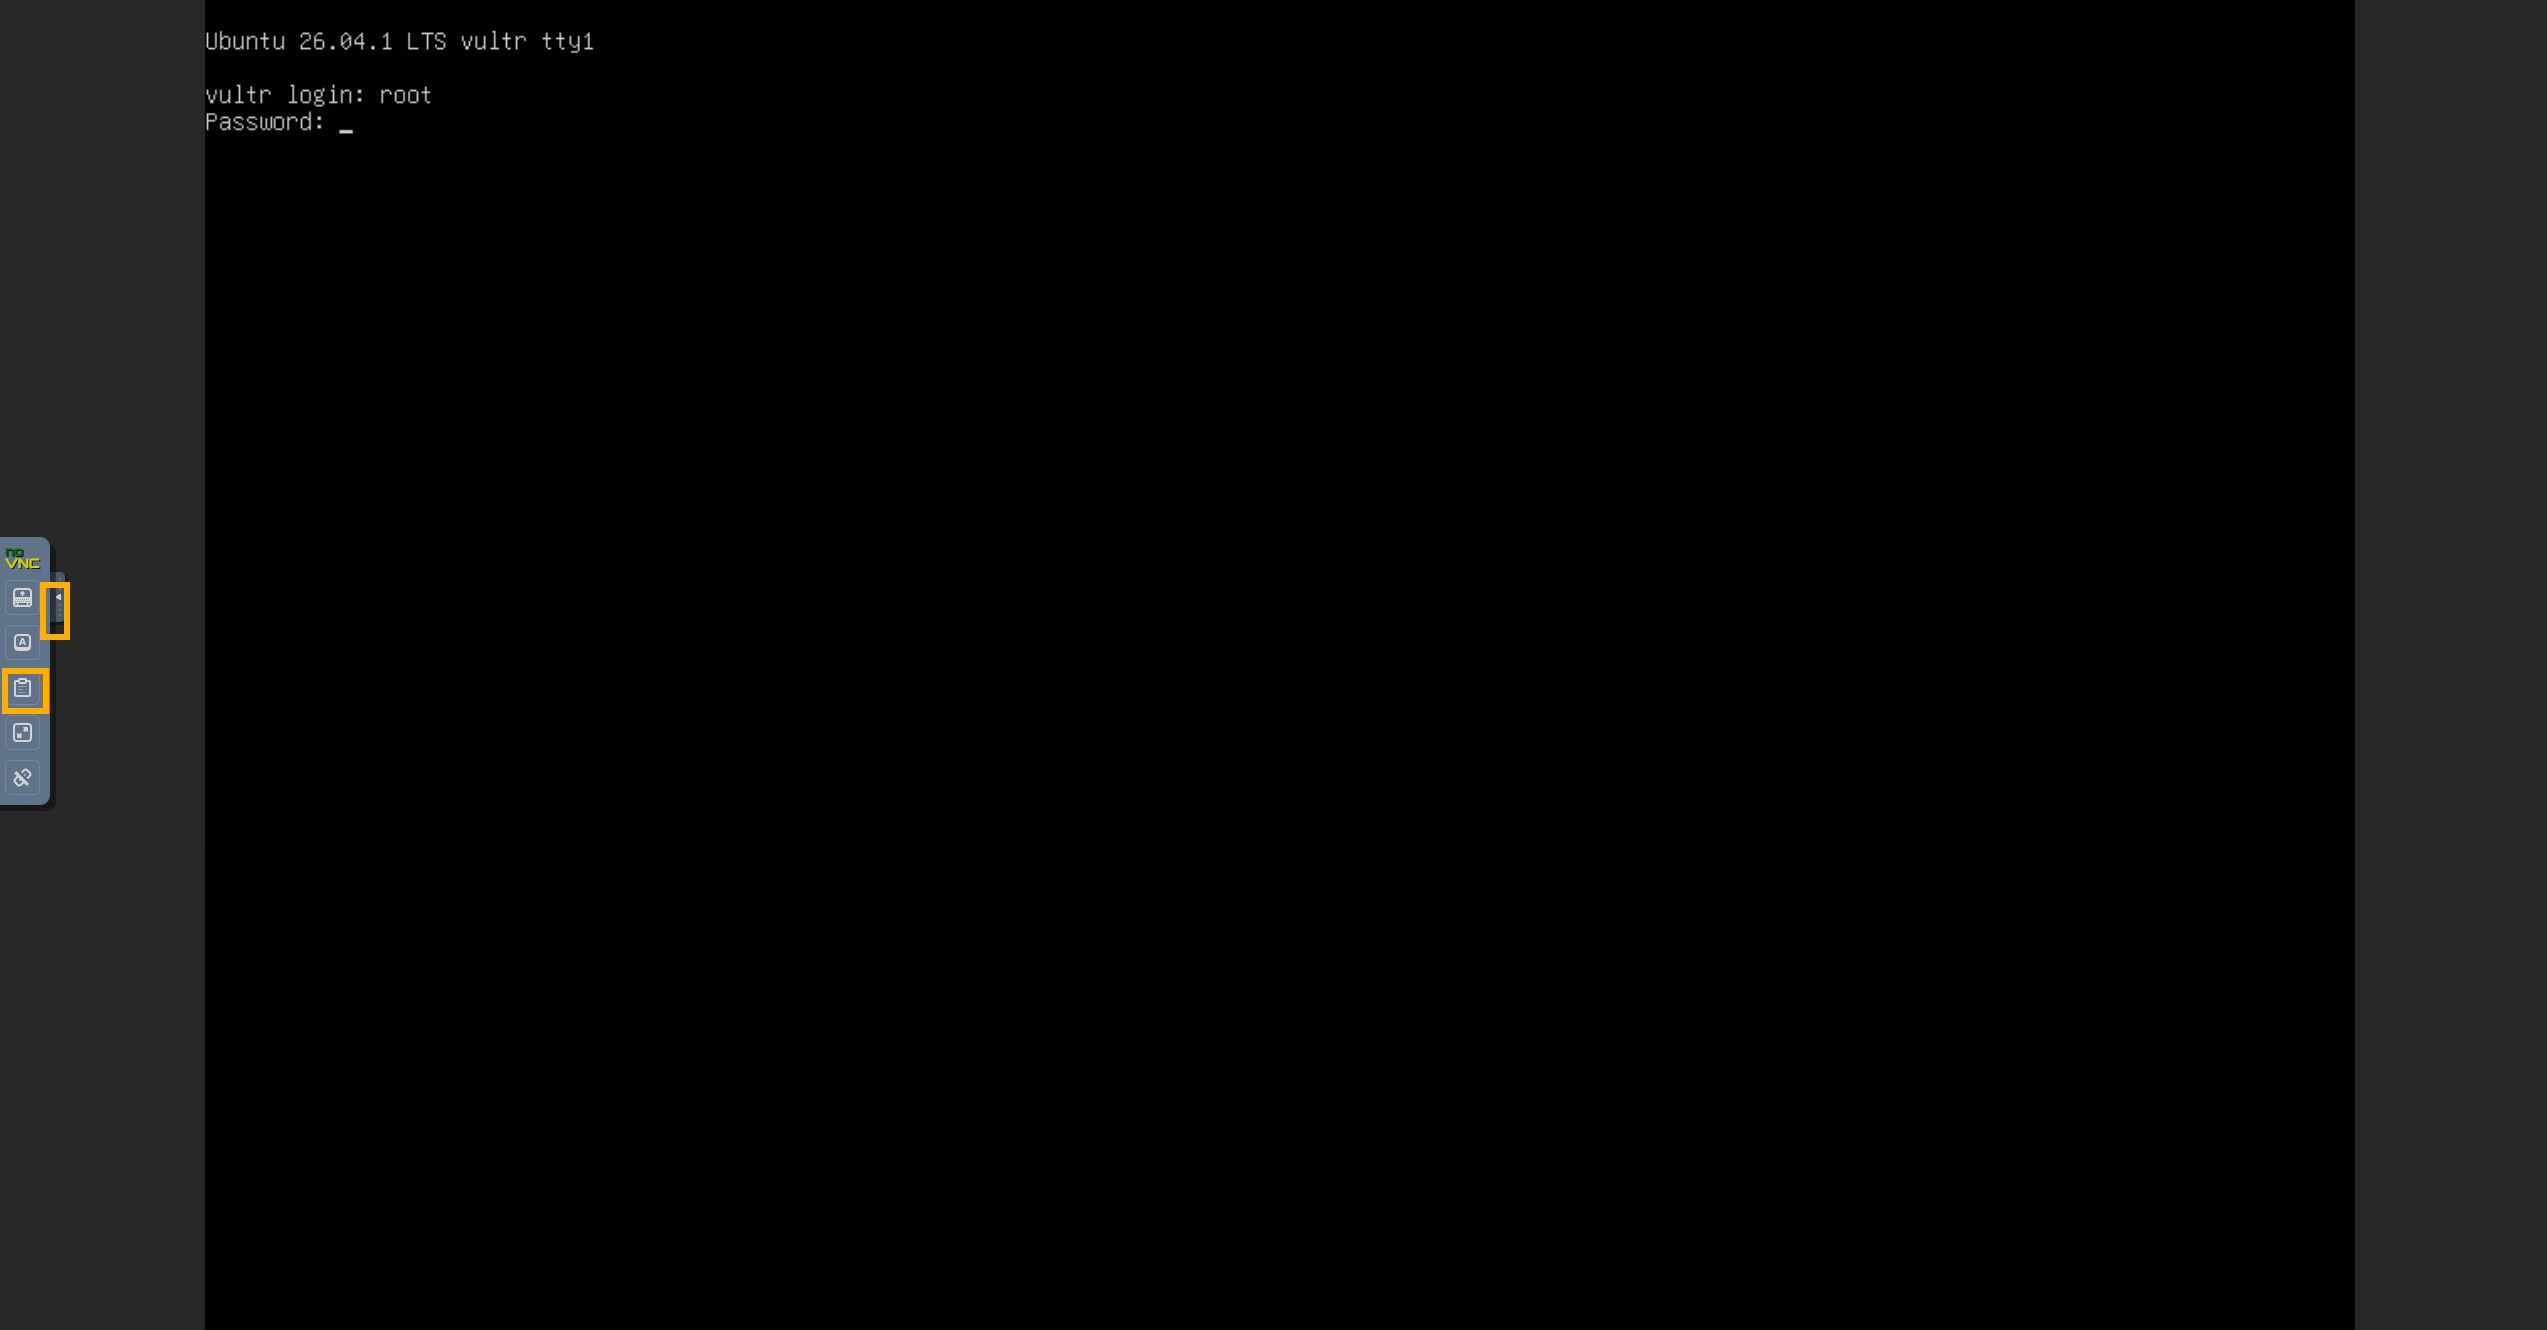
When the console asks for the password, expand the left toolbar and choose Clipboard. Paste the password into the clipboard field, click Paste, and press Enter in the terminal. The terminal hides password characters as you enter them.
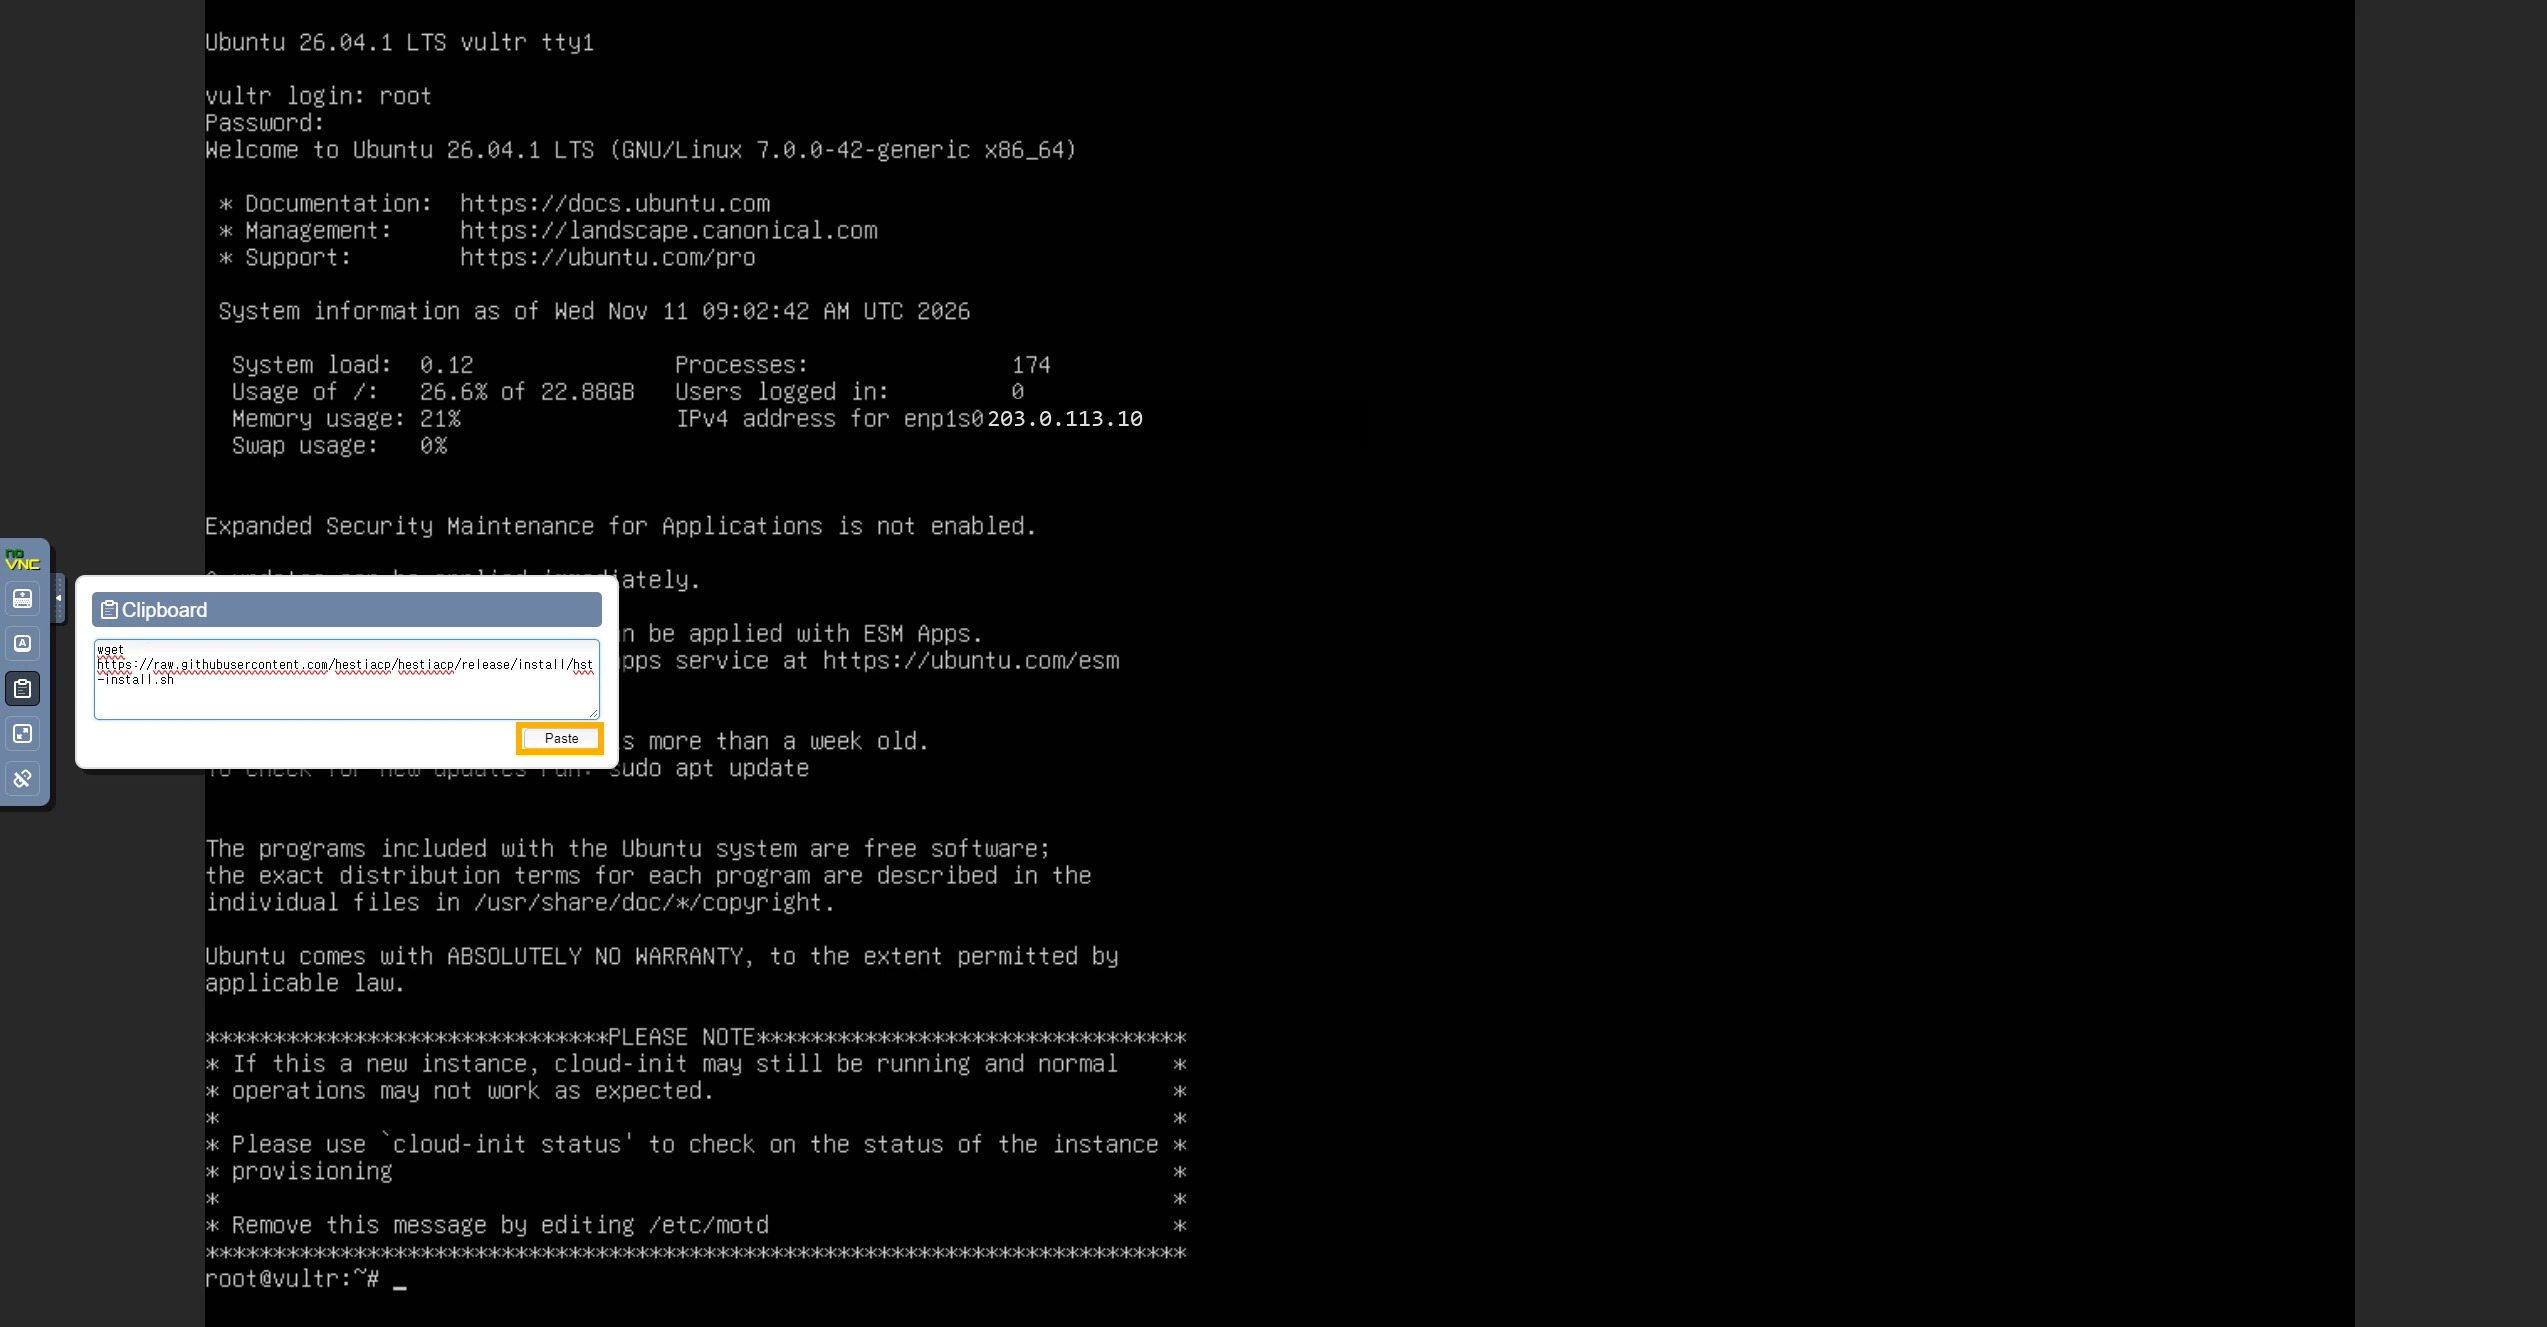
The same Clipboard and Paste controls work for the installation commands below.
Install HestiaCP with two commands
Use a fresh Ubuntu installation. Run the commands in order as root, pressing Enter after each one. Wait for the first command to finish before running the second.
wget https://raw.githubusercontent.com/hestiacp/hestiacp/release/install/hst-install.sh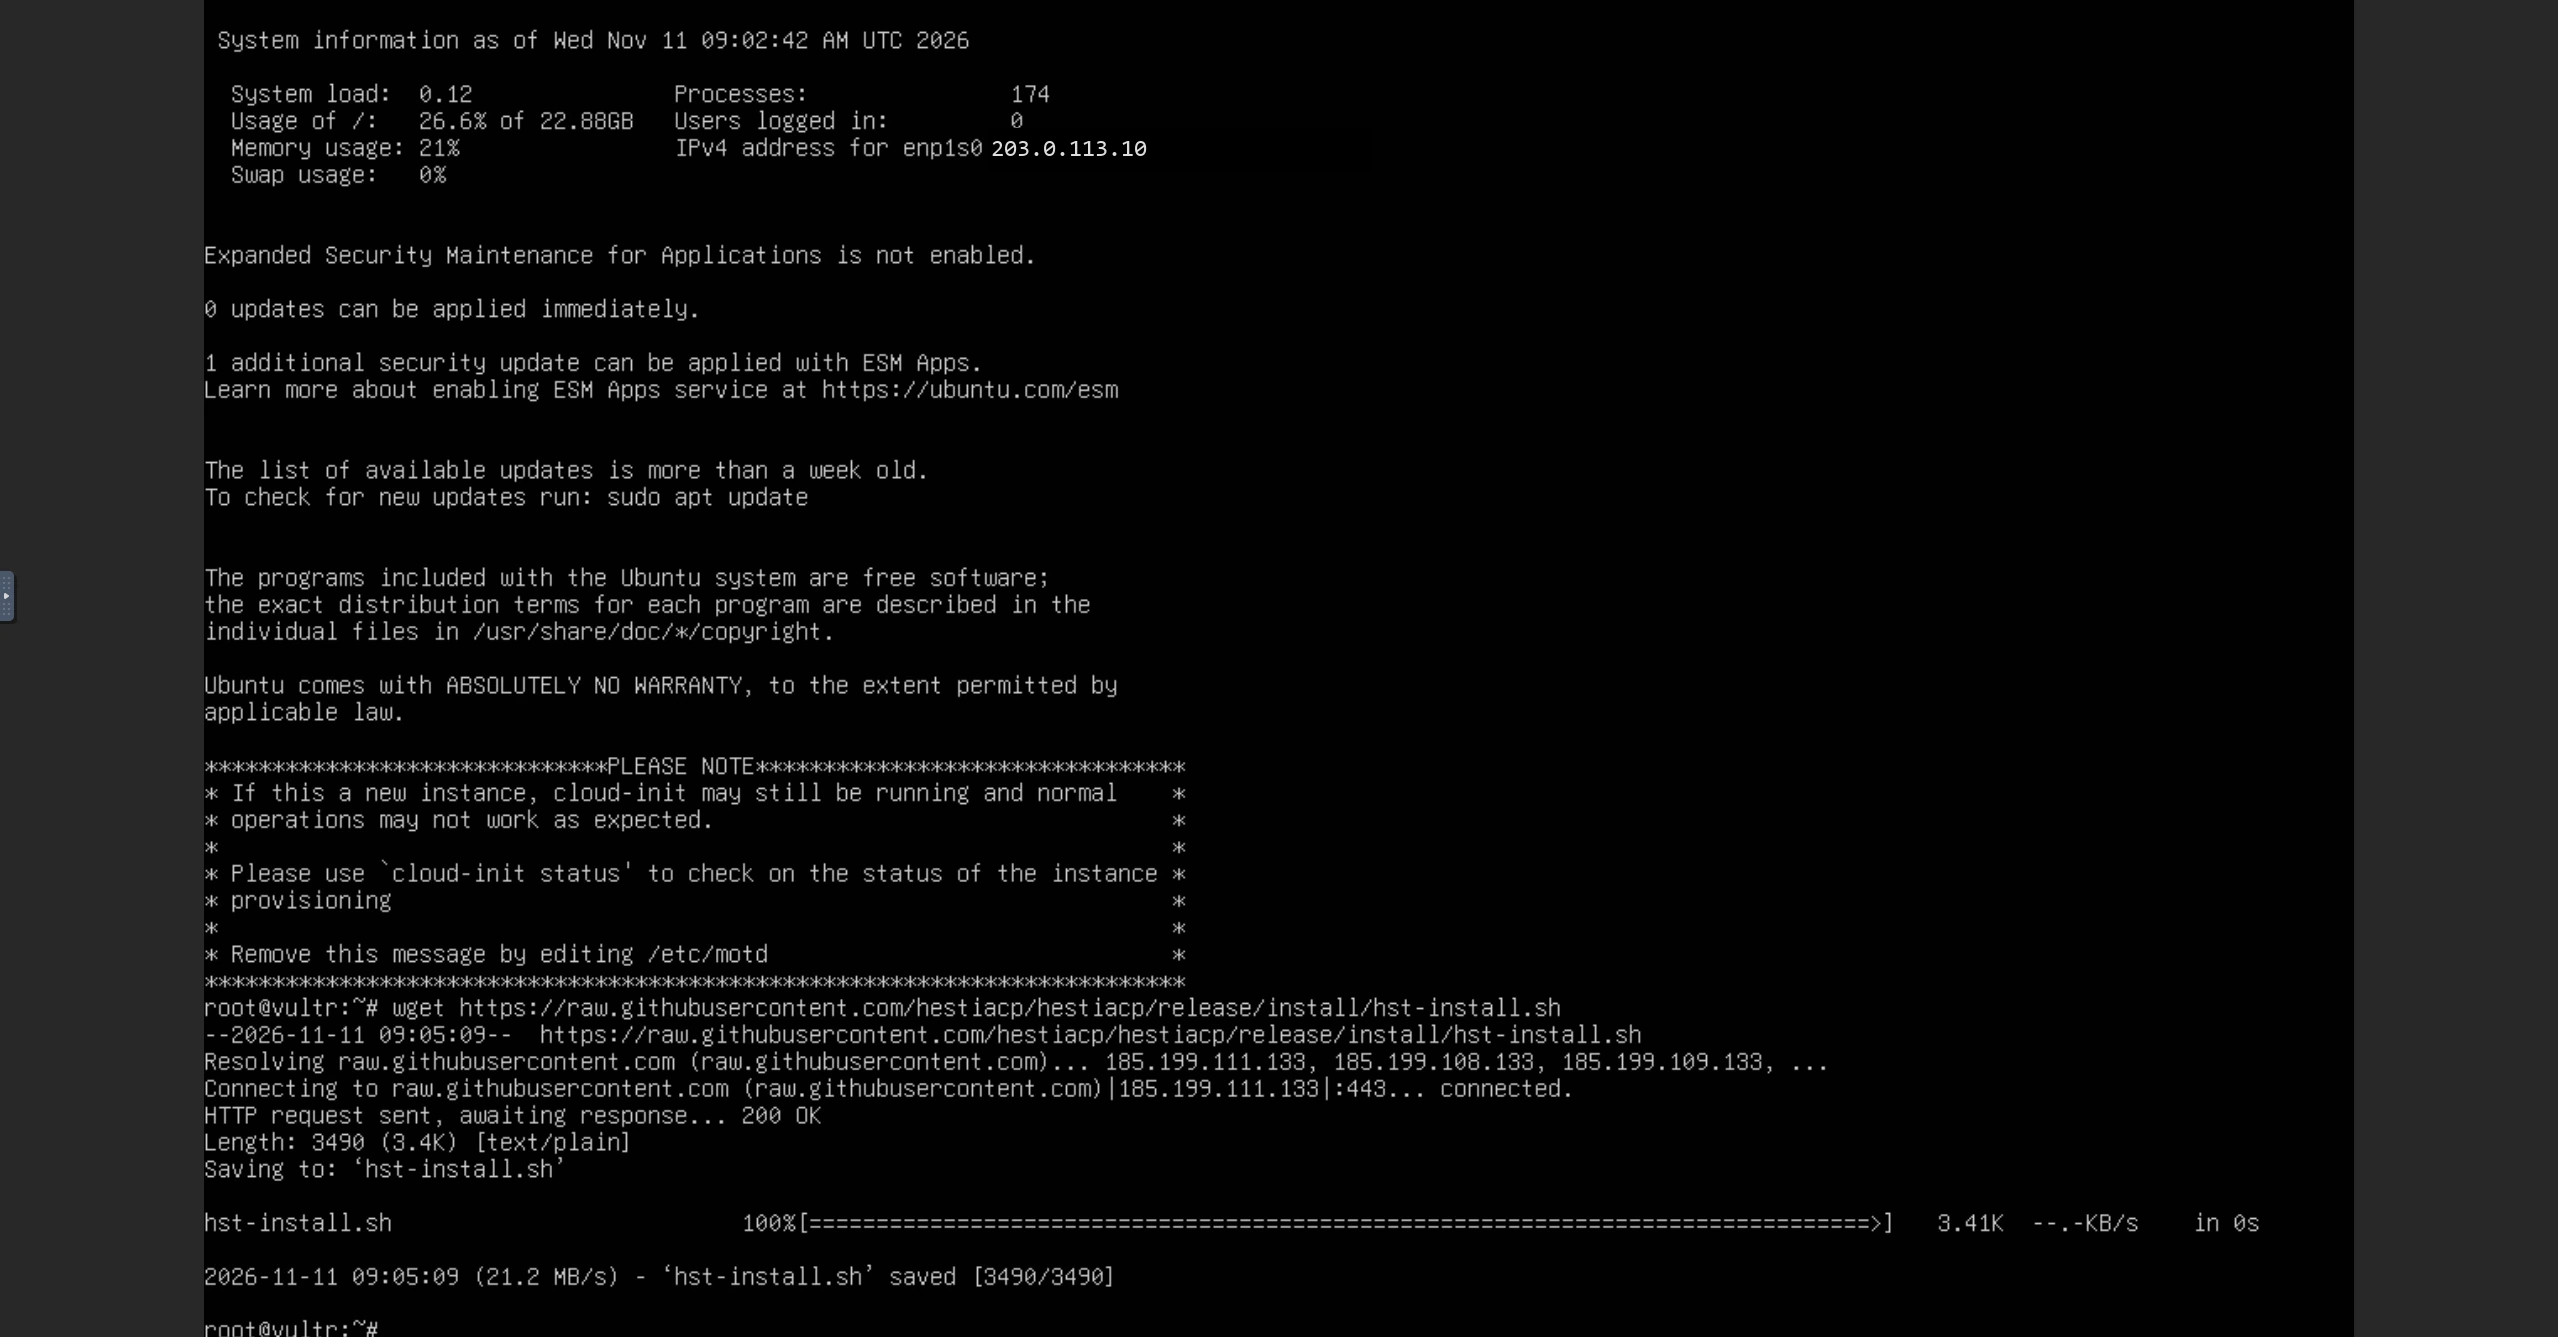
bash hst-install.sh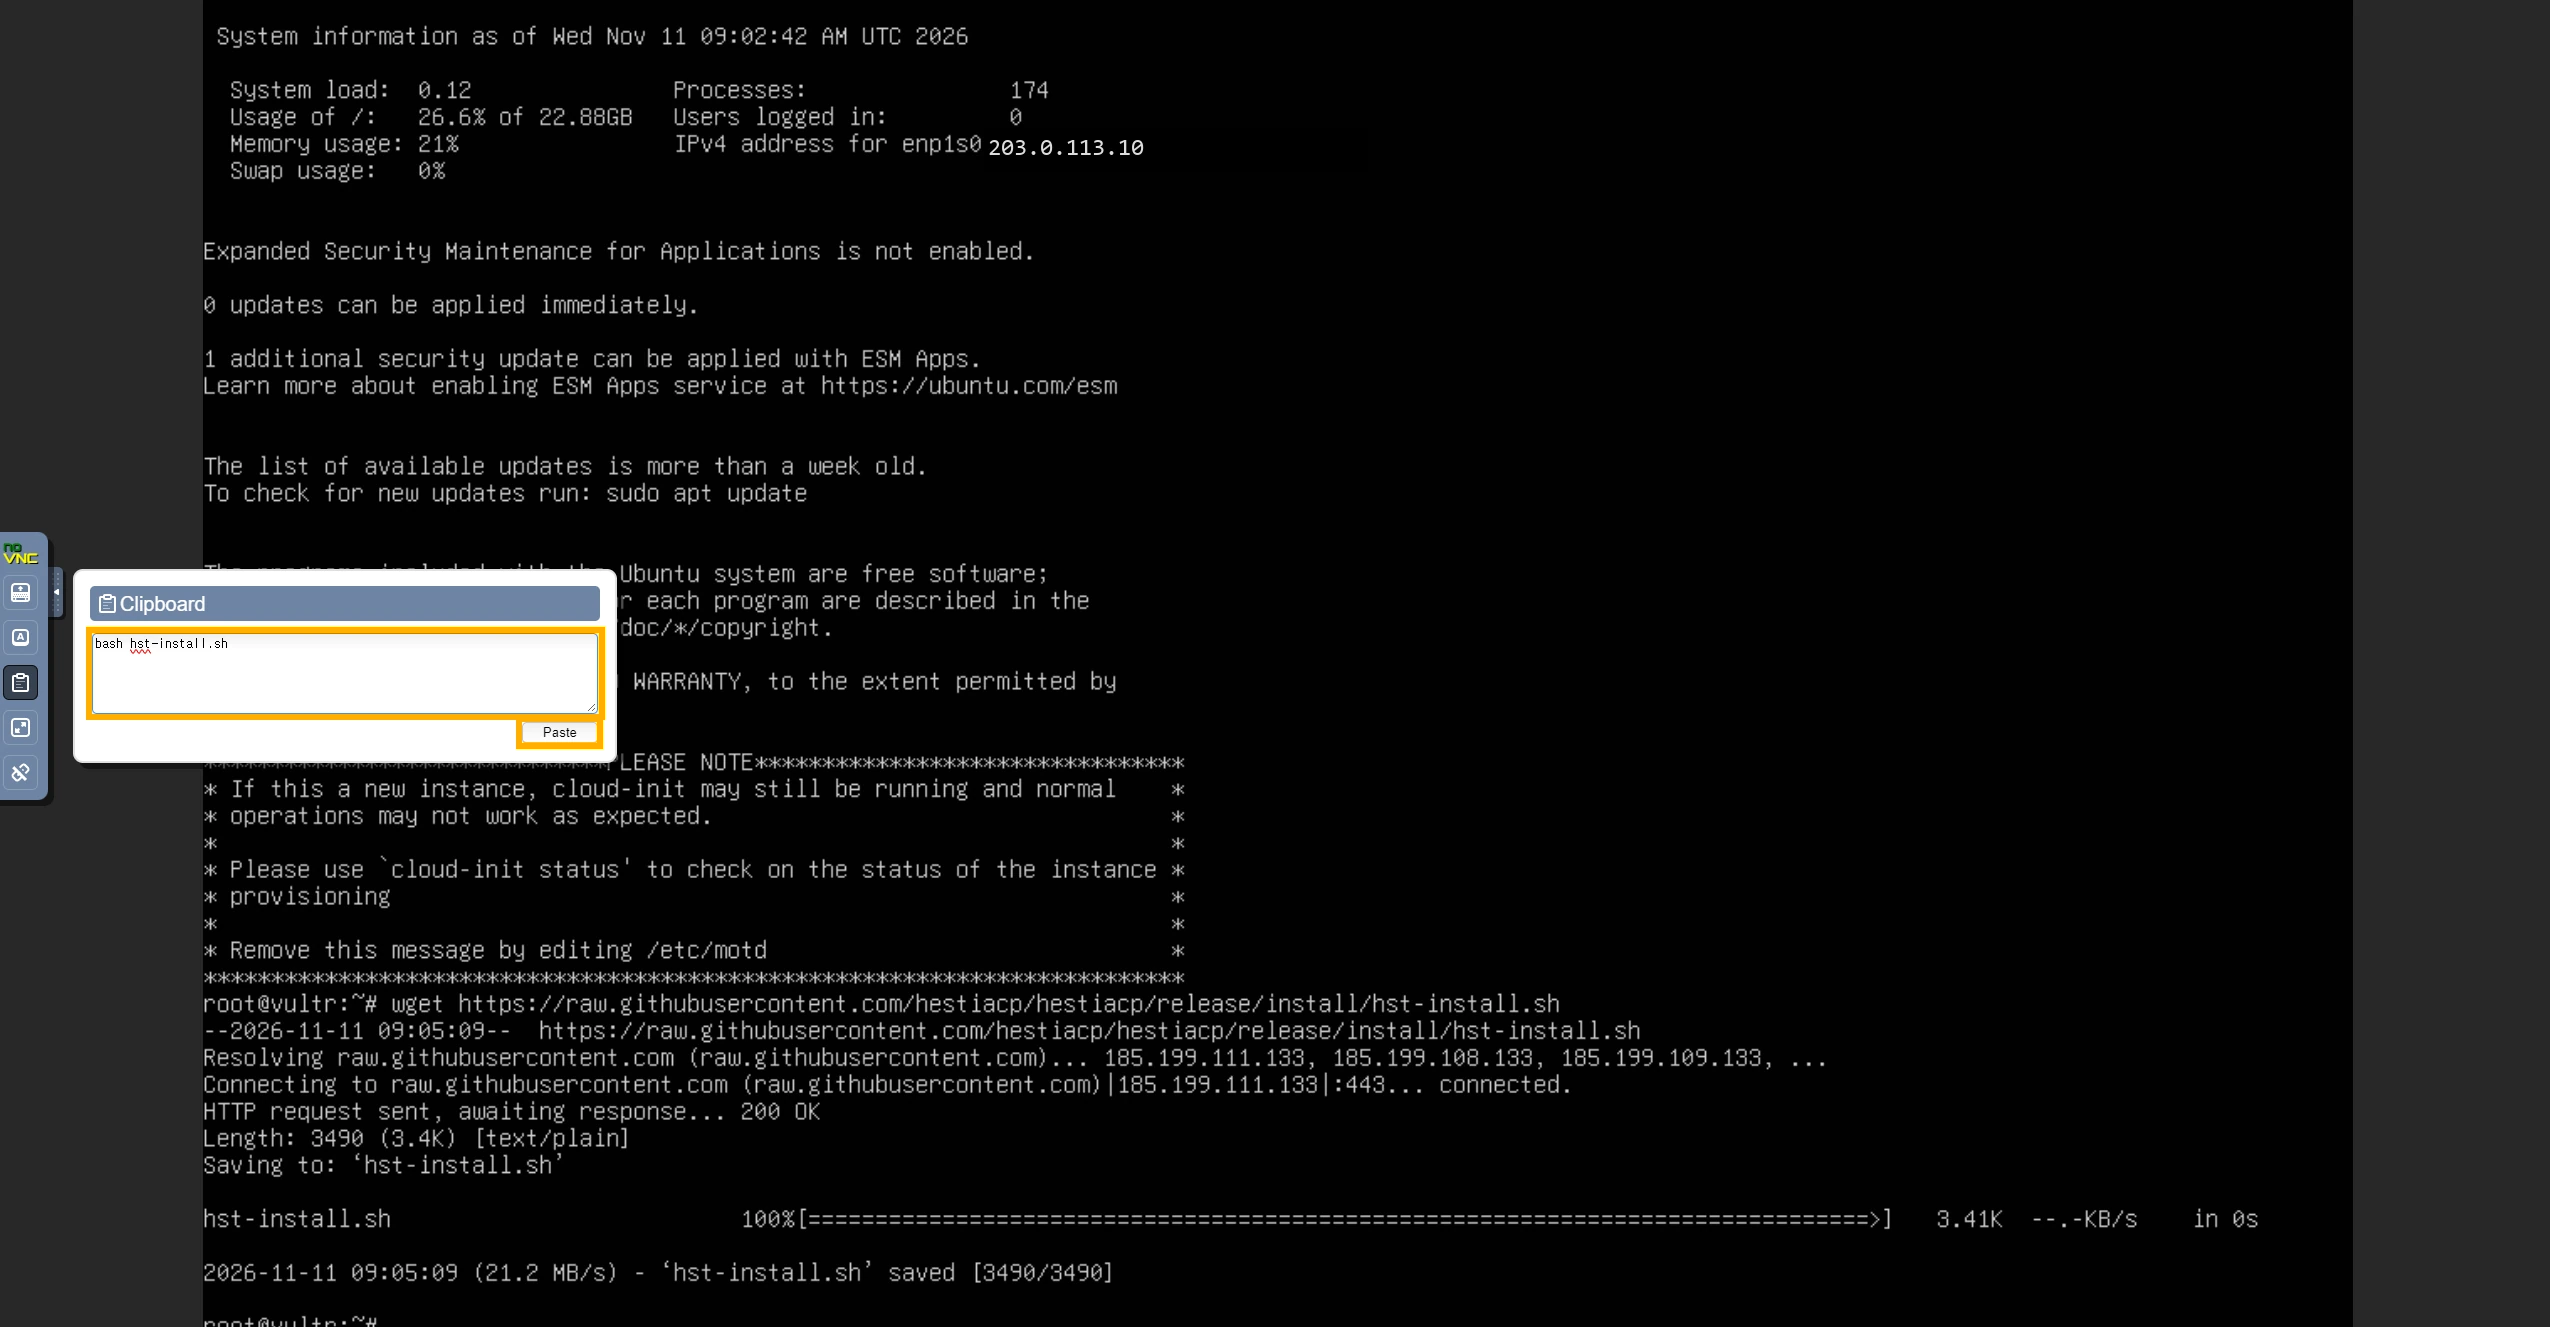
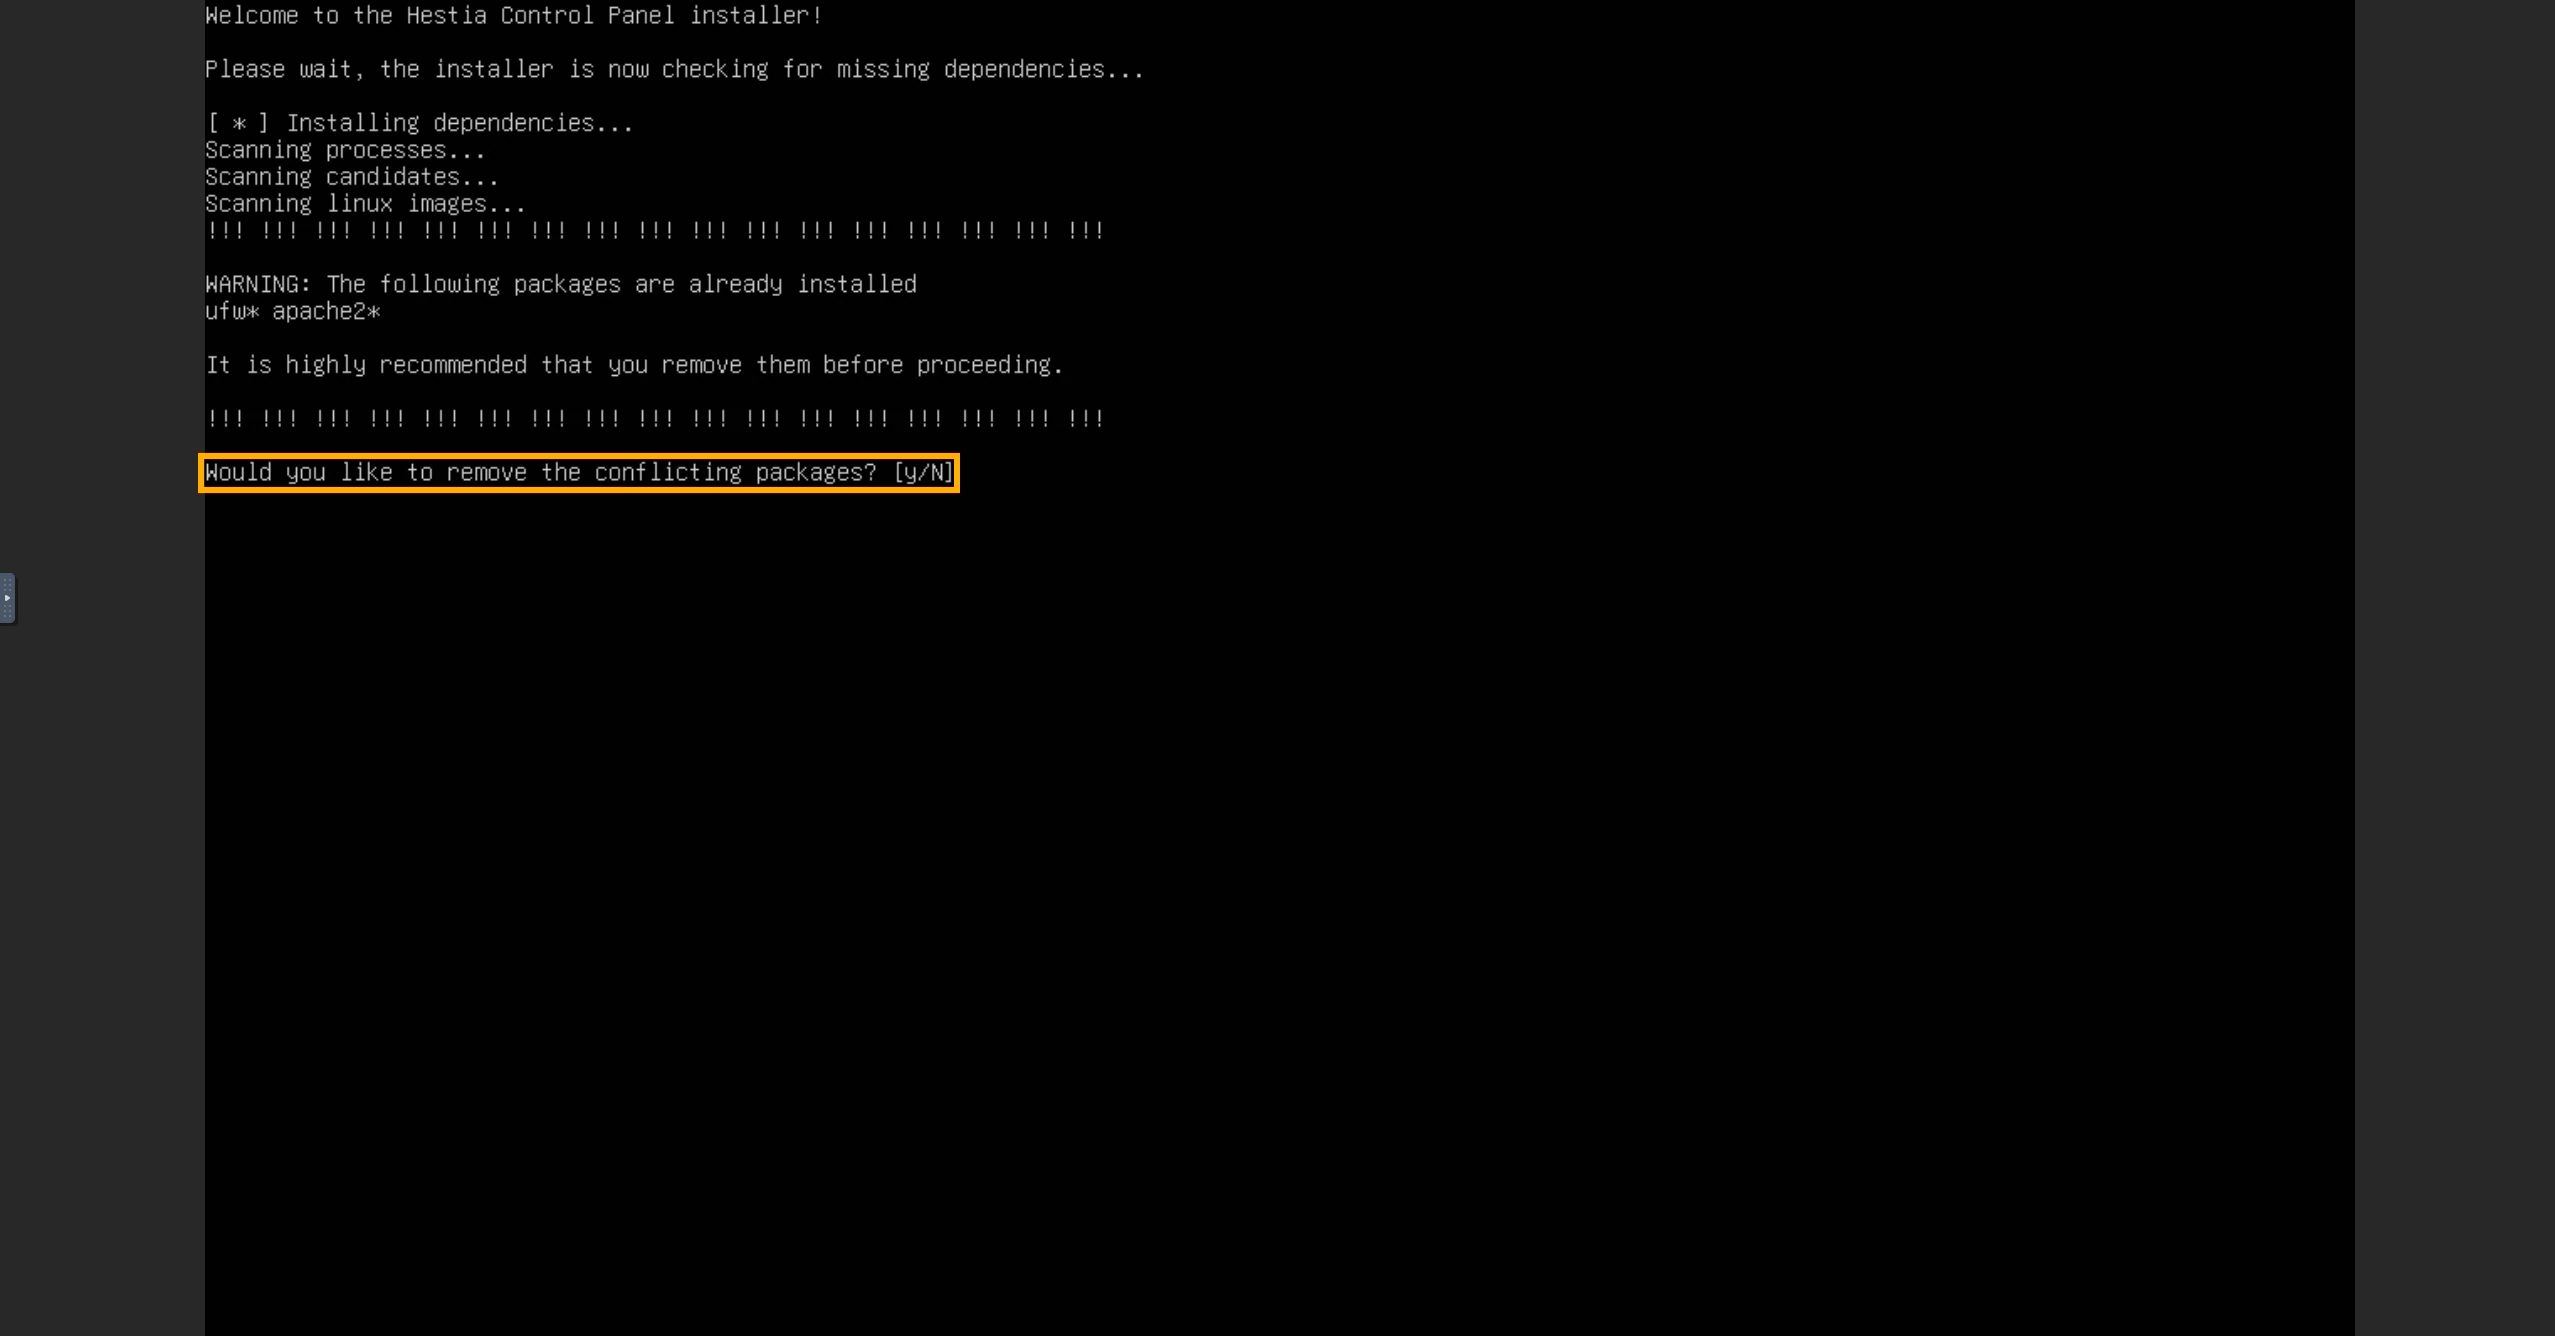
If the installer asks Would you like to remove the conflicting packages?, it needs to remove preinstalled packages that conflict with Hestia. For the fresh server in this guide, type y and press Enter. If the question doesn’t appear, continue with the next step.
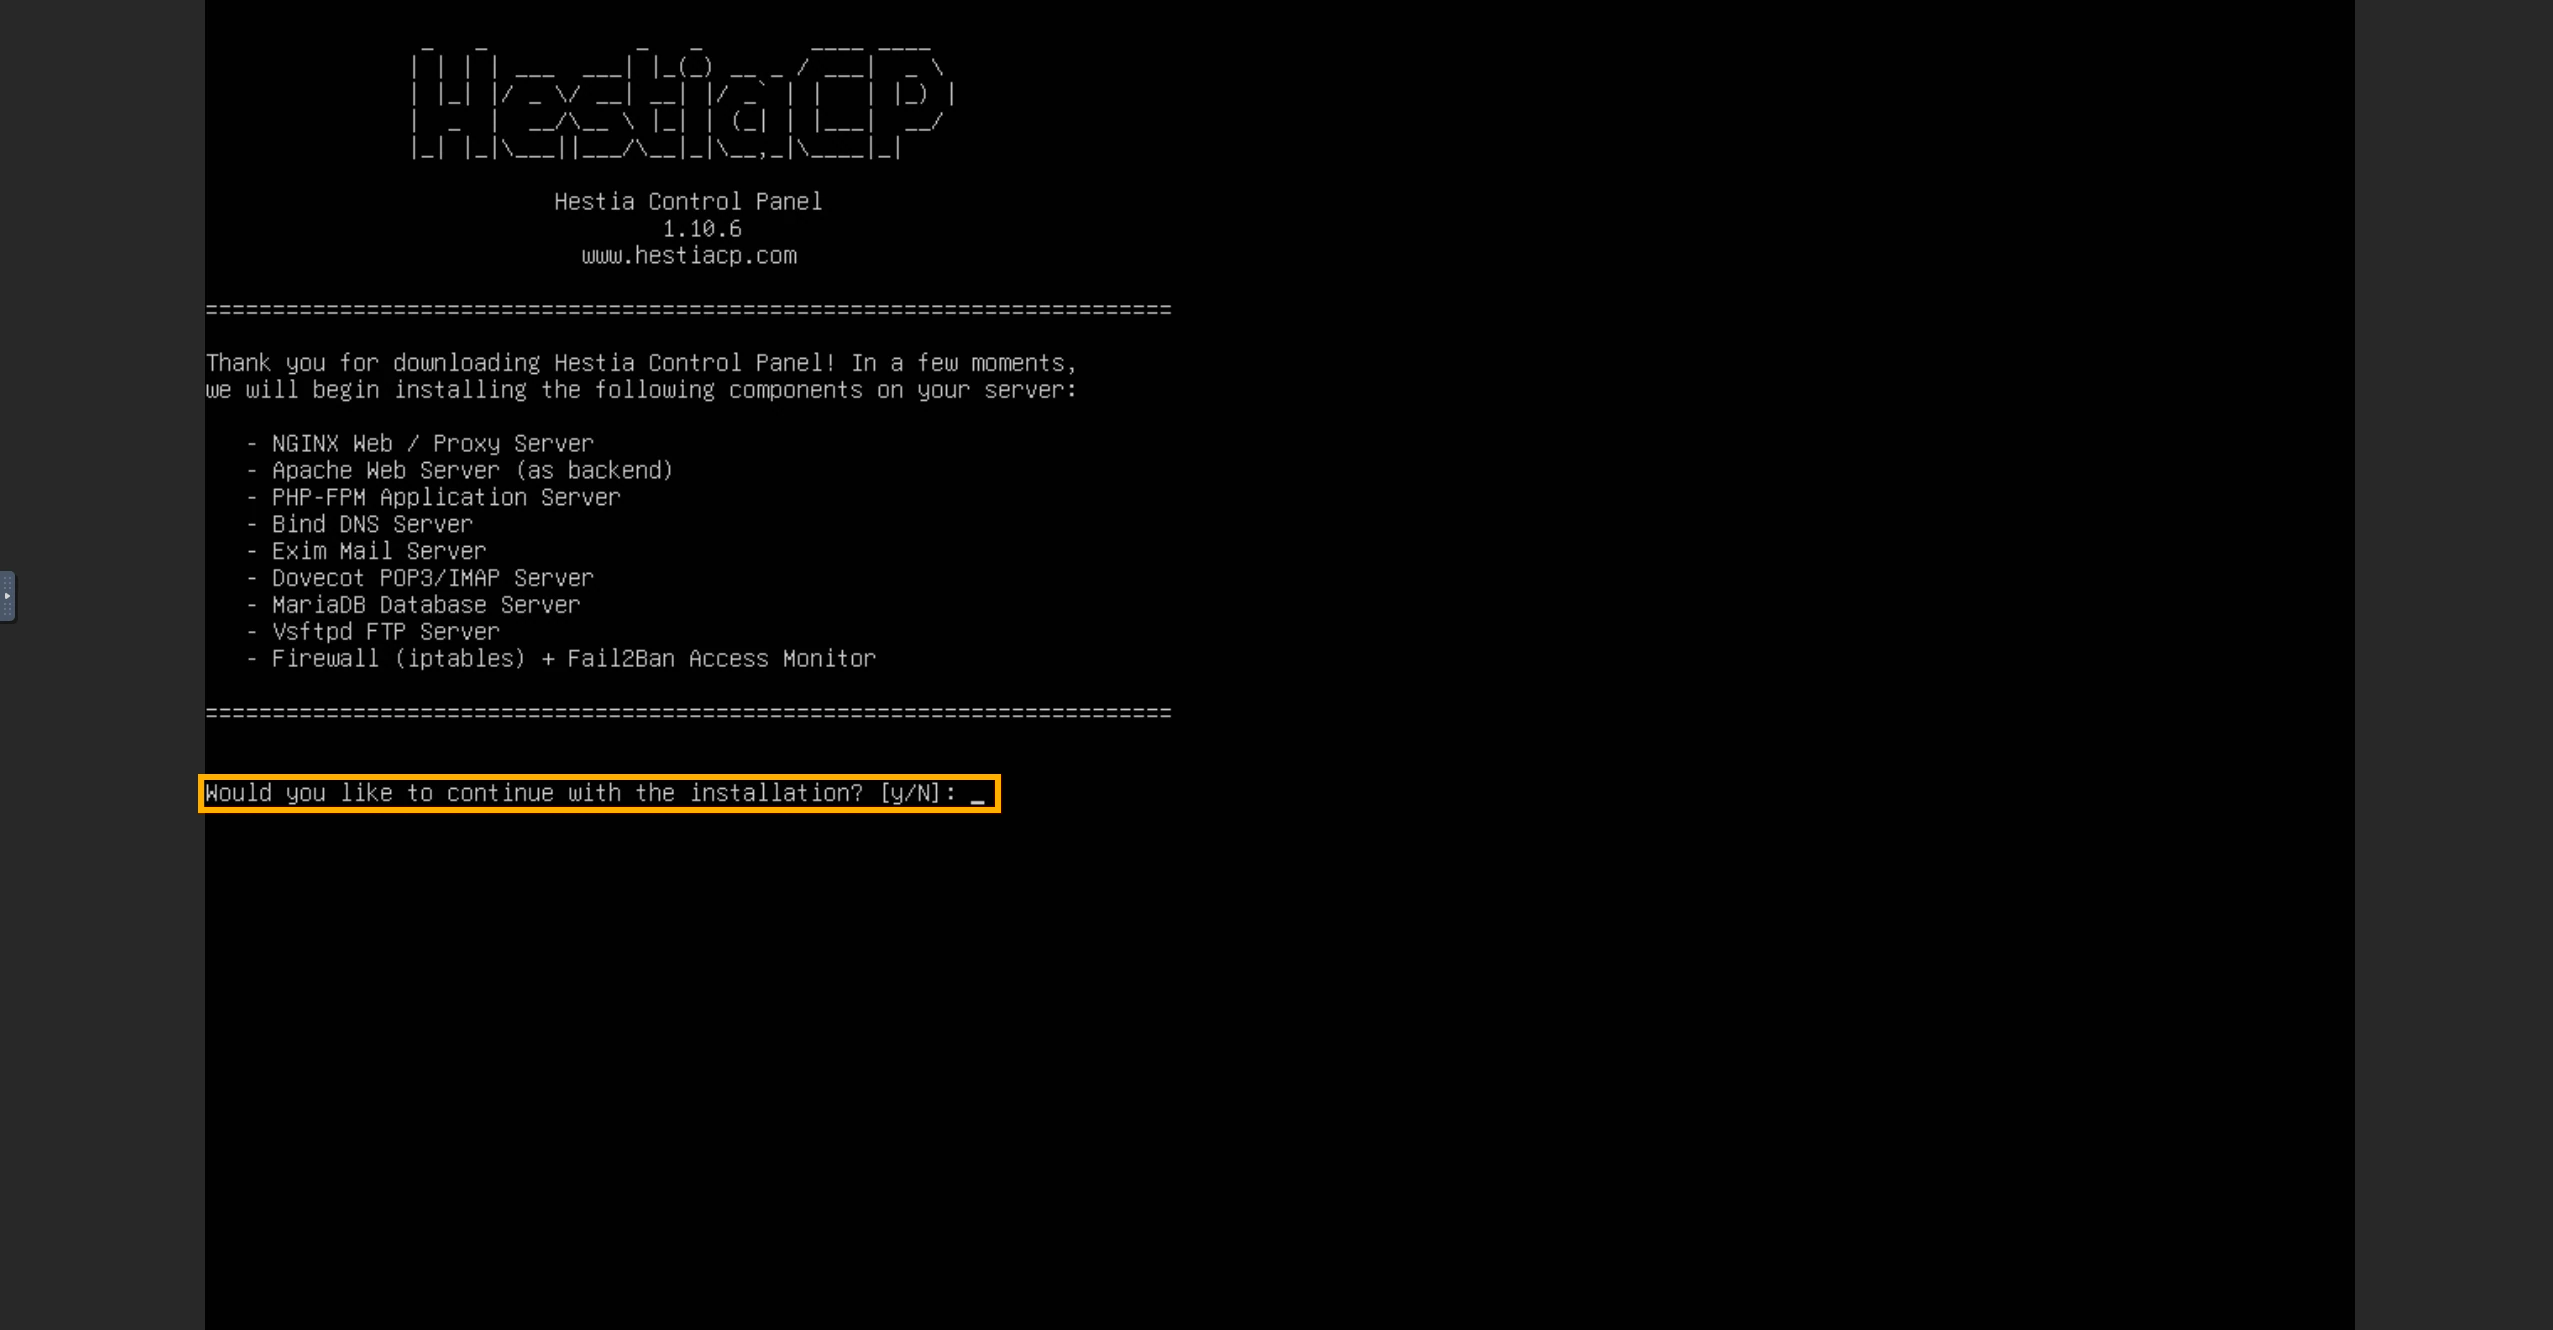
At Would you like to continue with the installation?, type y and press Enter to start installing the displayed components.
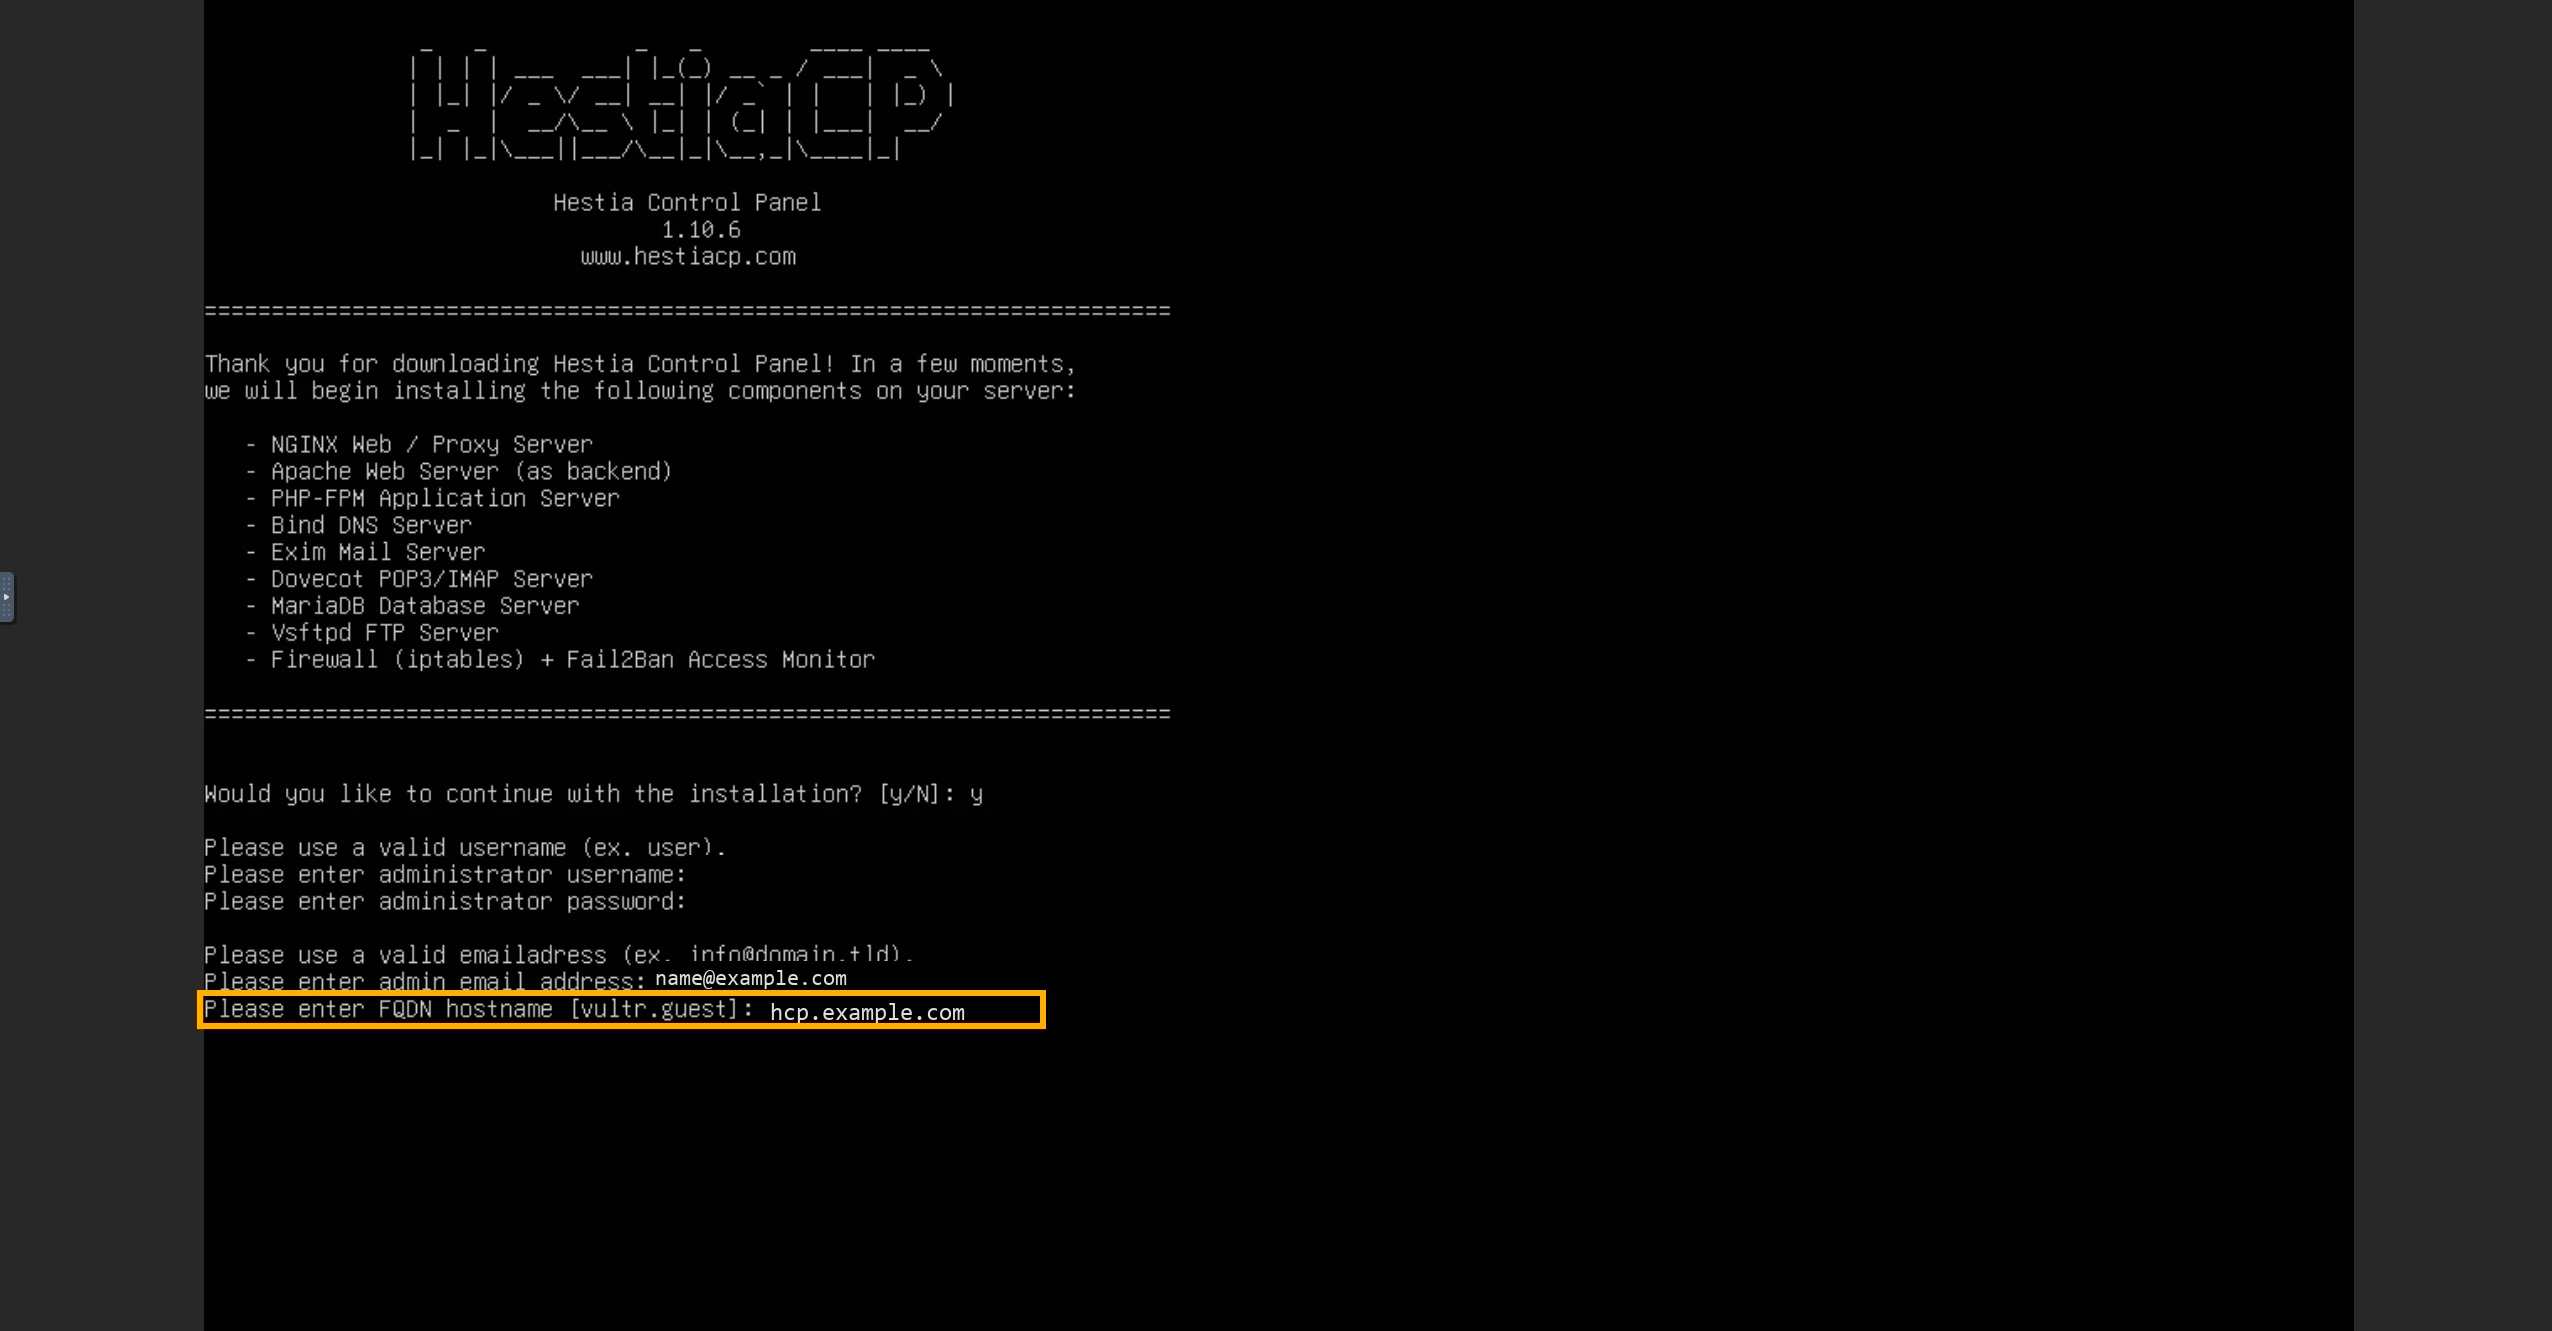
Enter an administrator username, a strong password, and an email address you can access. For Hostname, enter the full control-panel name you set up in DNS, such as hcp.example.com. Keep the admin credentials somewhere secure. When the installer finishes, follow its prompt to restart the server if required.
Sign in to Hestia and add the web domain
Open the panel URL supplied by the installer. Hestia uses port 8083. If you connect by IP before the panel has a trusted certificate, your browser may warn that the connection is not private. Verify that the URL uses your own Vultr IP and port before selecting Advanced. Once your panel has a valid certificate, use the matching hostname, such as https://hcp.example.com:8083. Hestia’s control-panel certificate guide

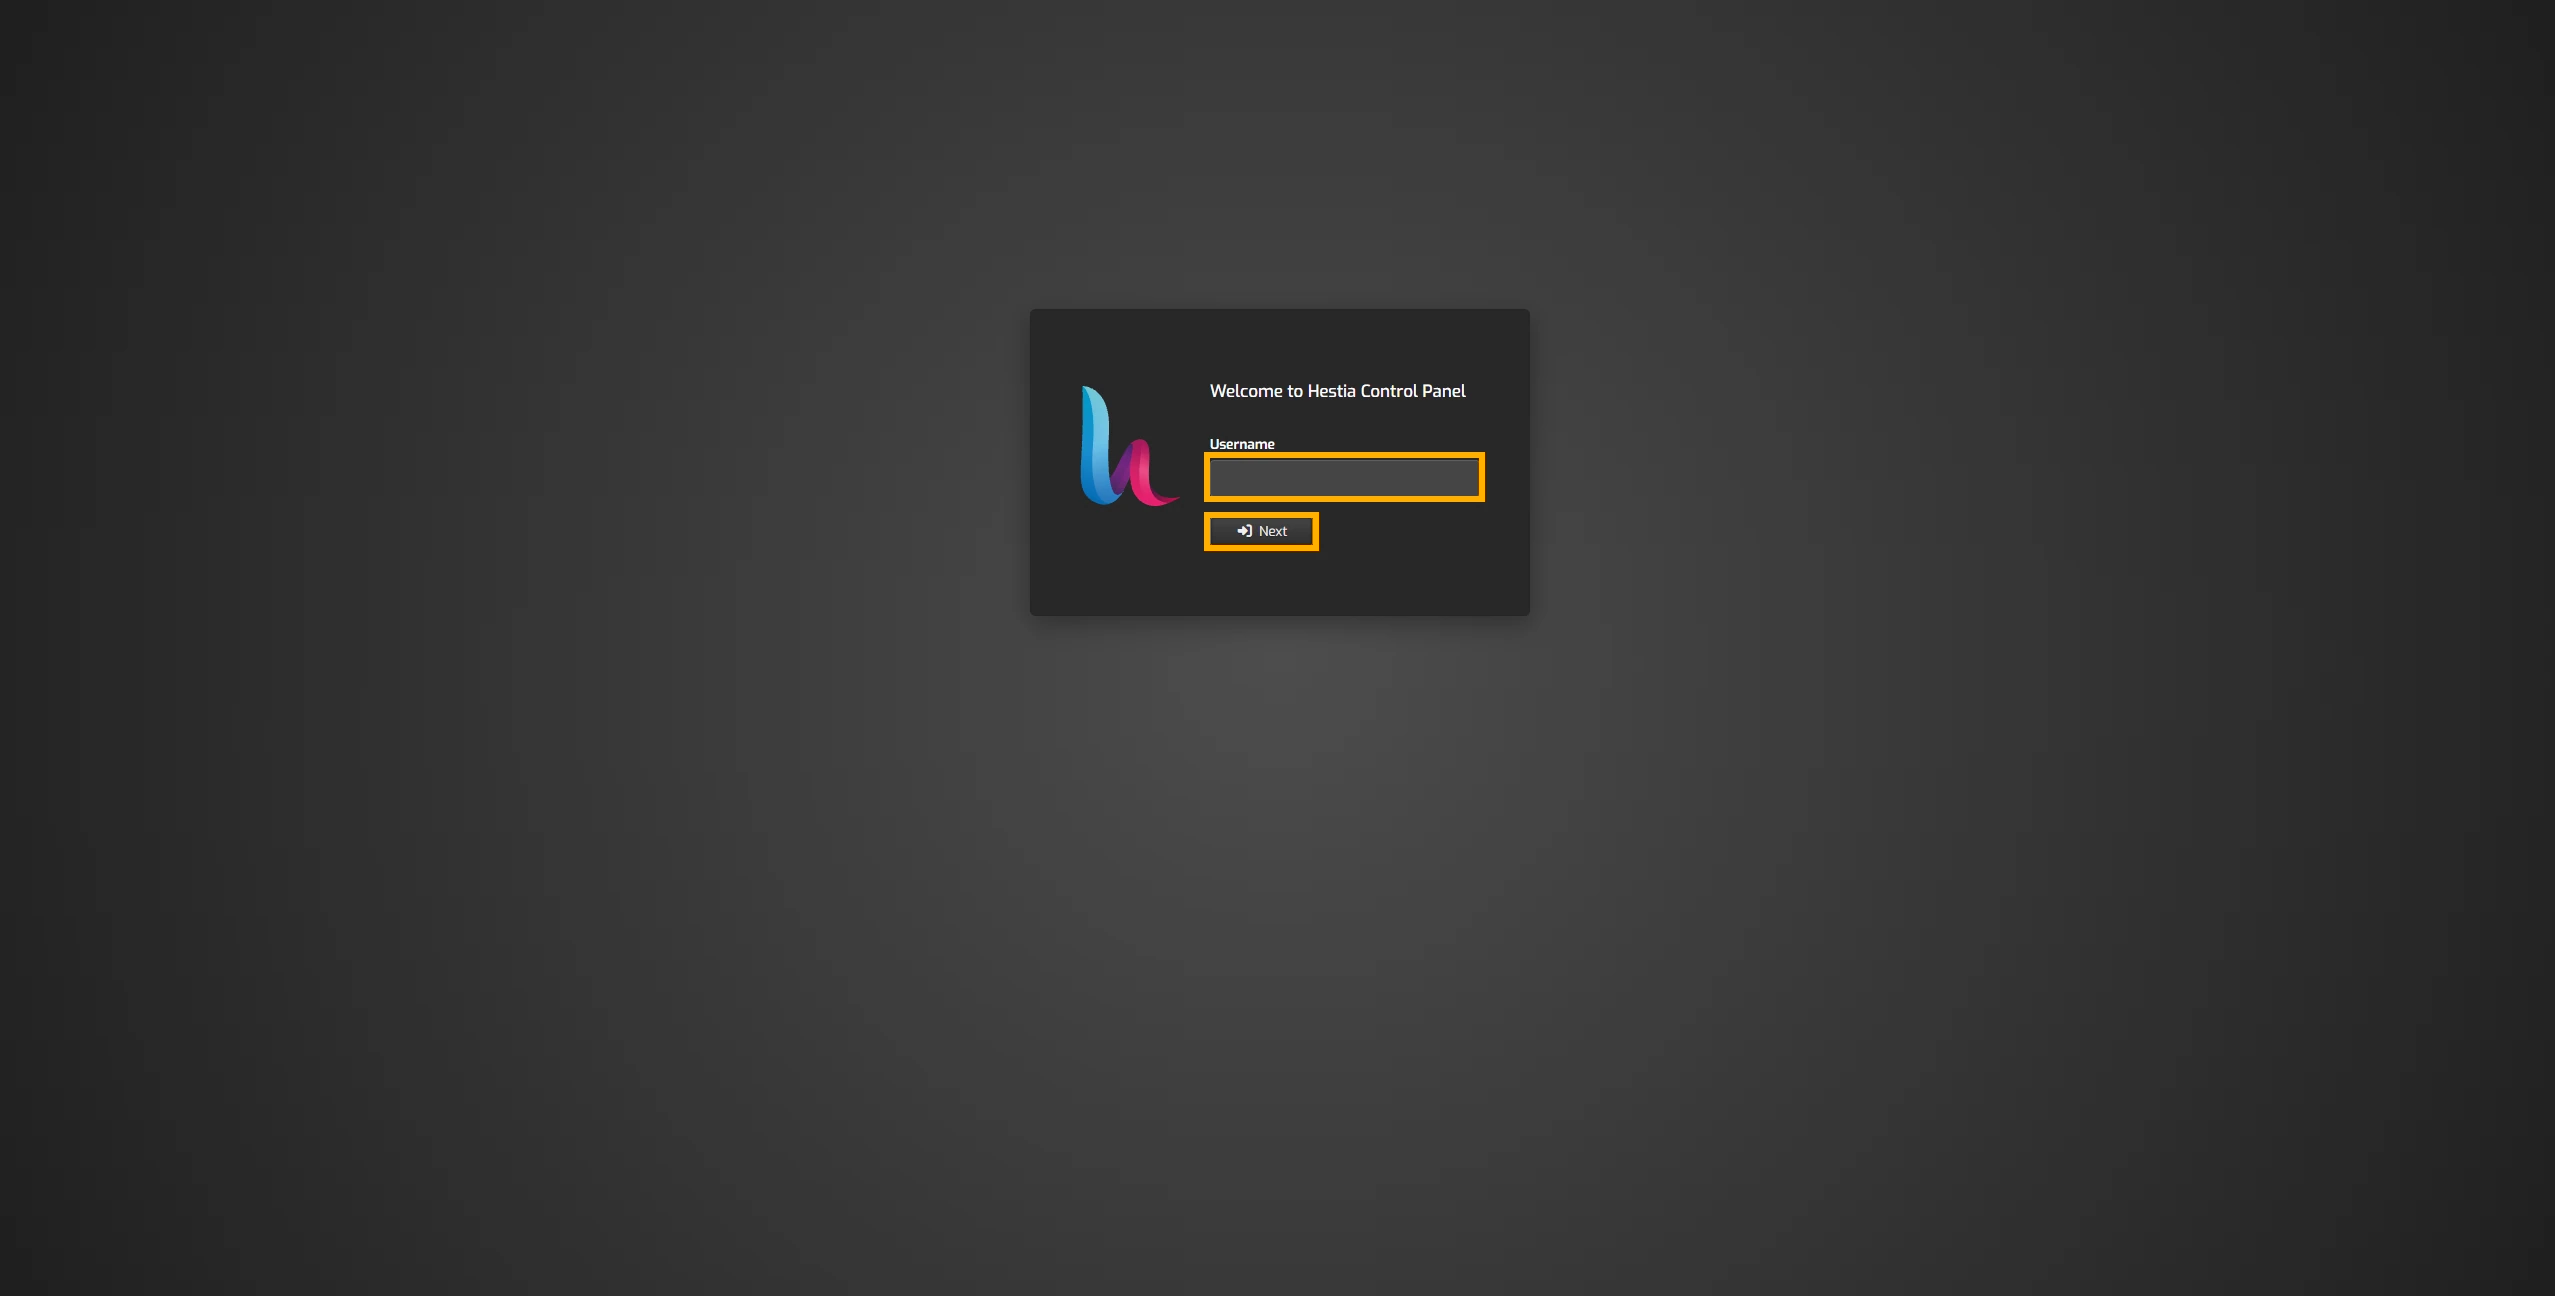
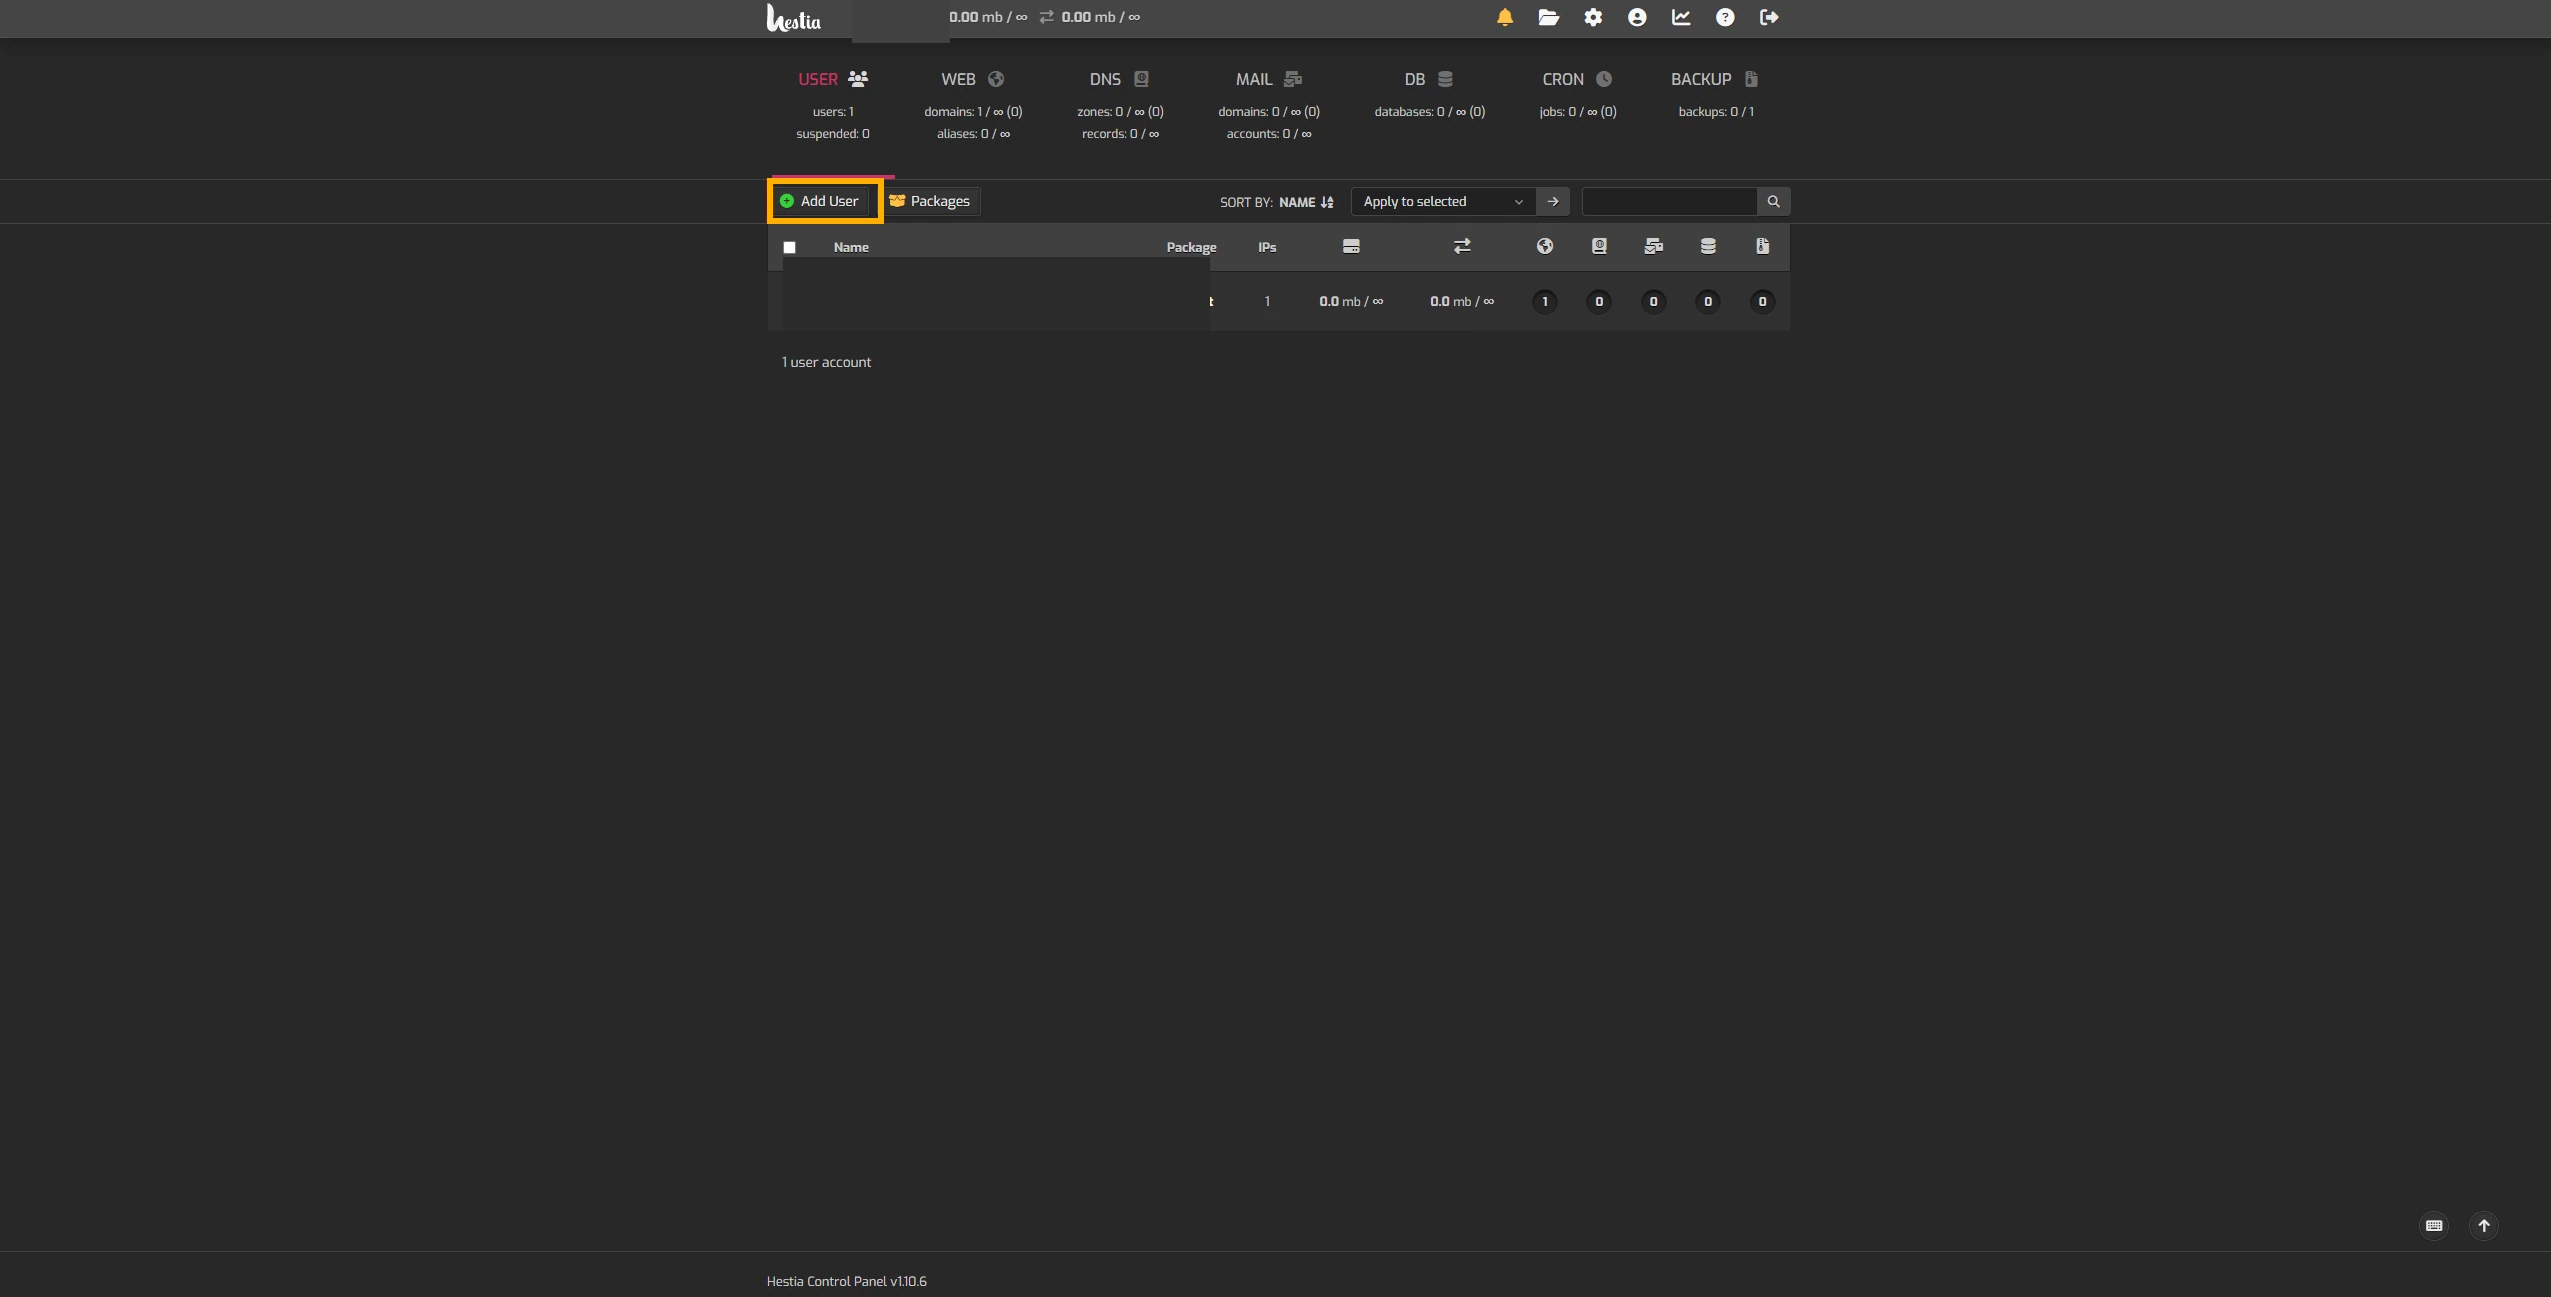
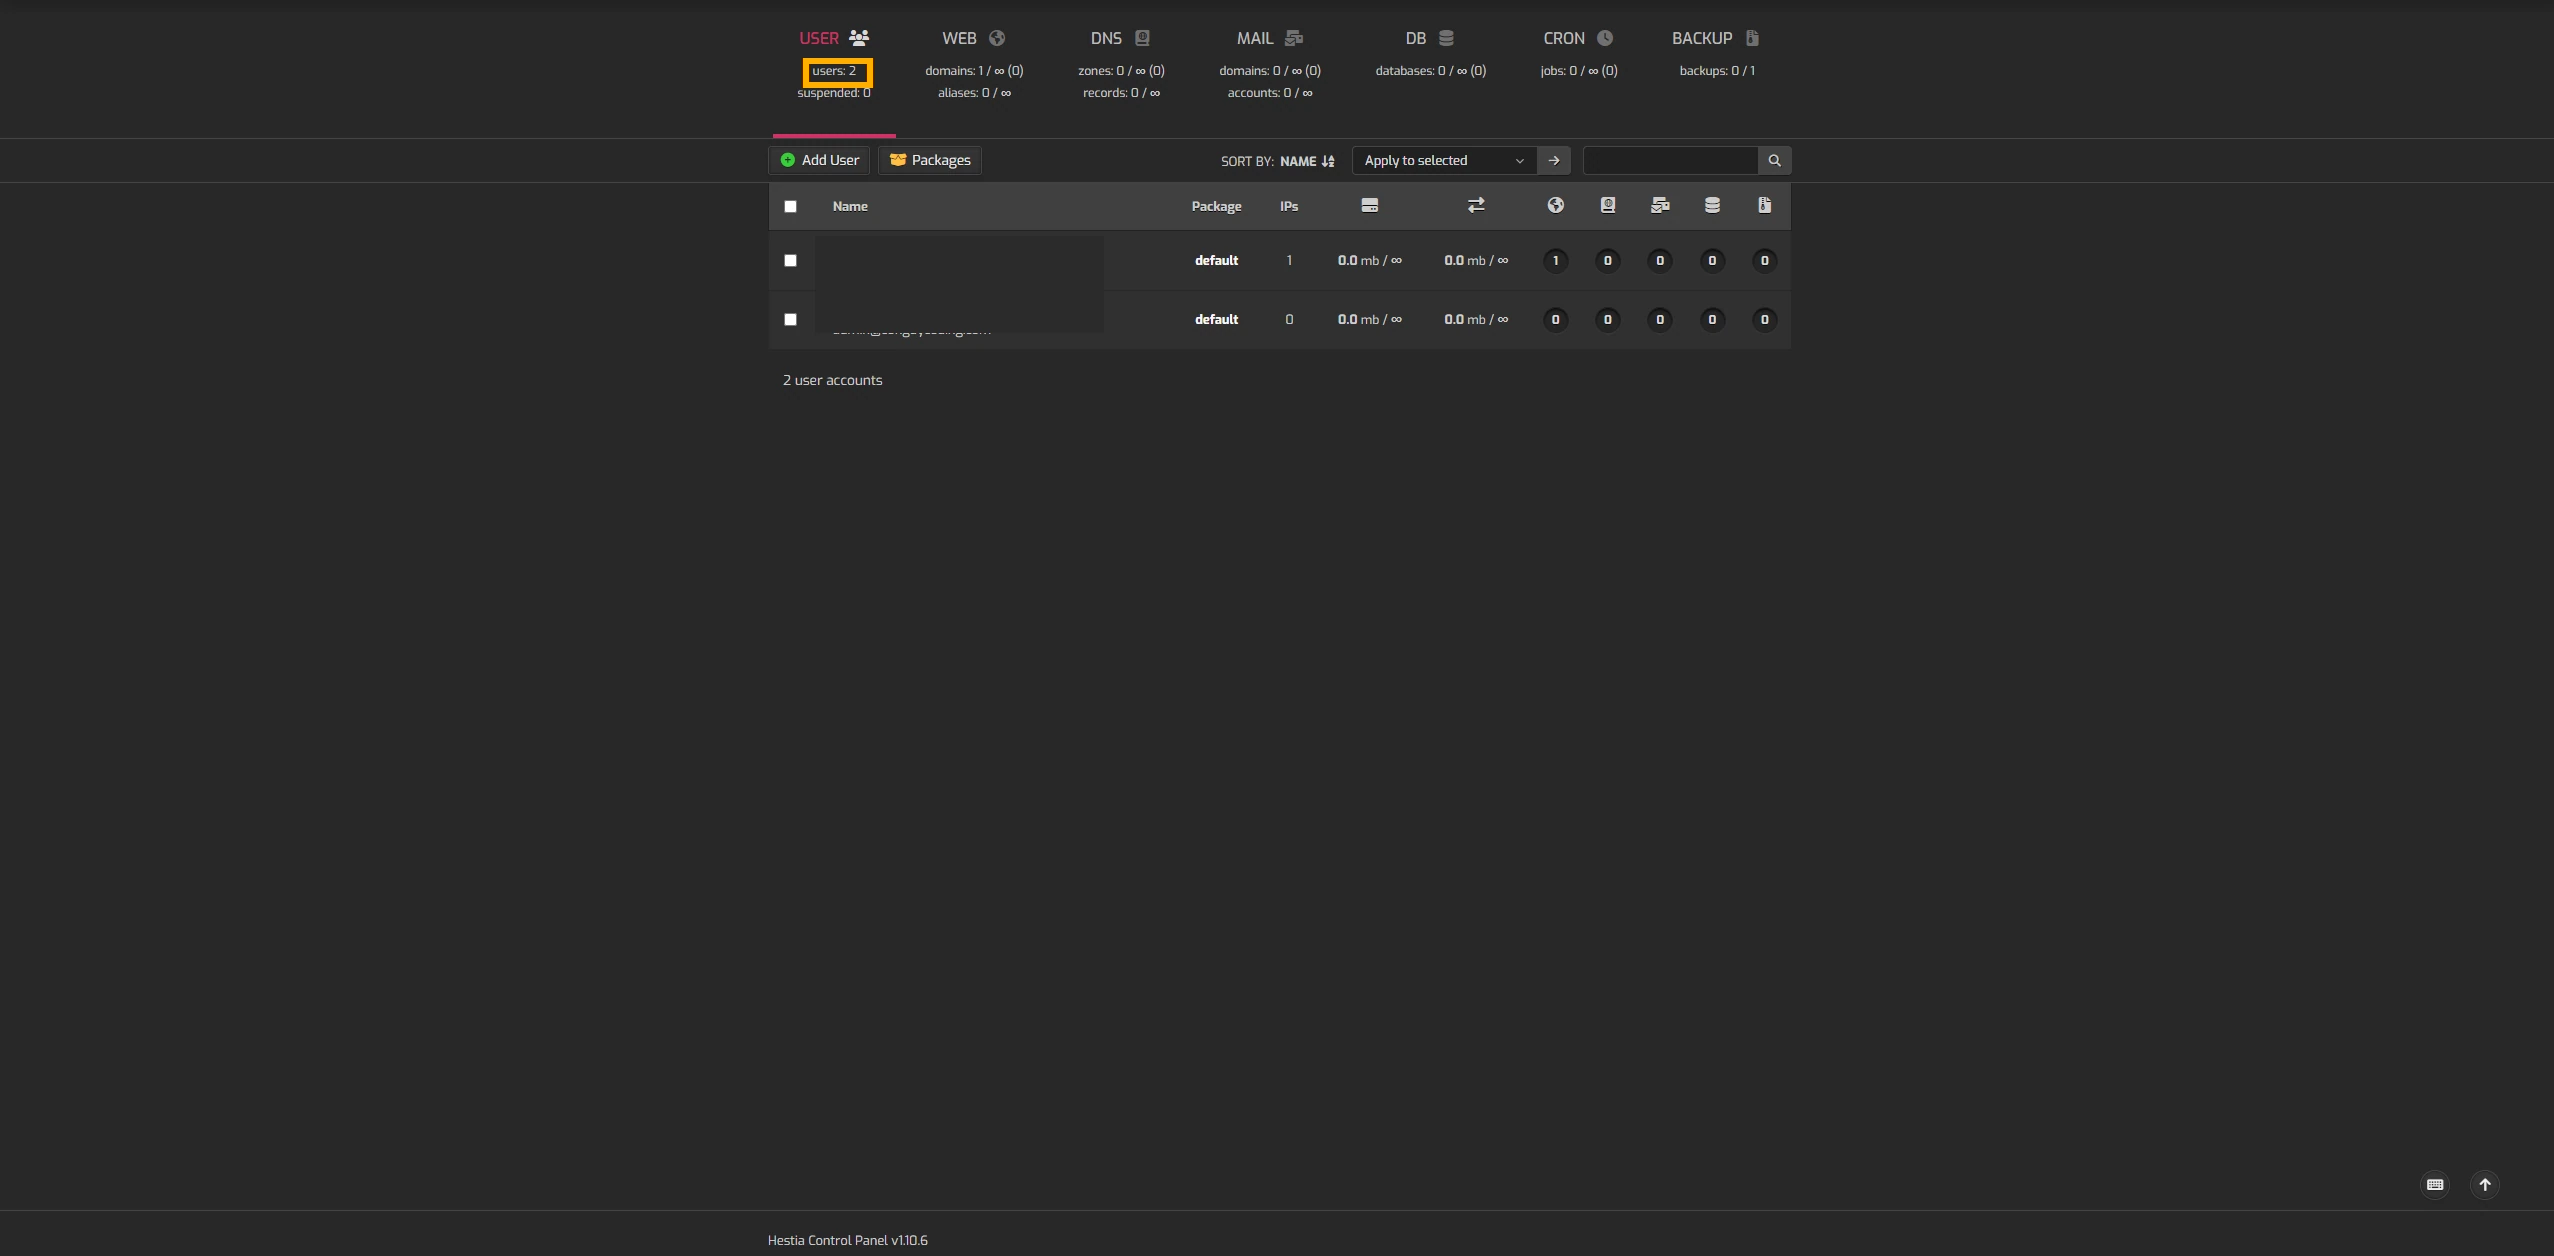
- Sign in with the Hestia administrator credentials and select Add User. Create a separate account for the website and save it.
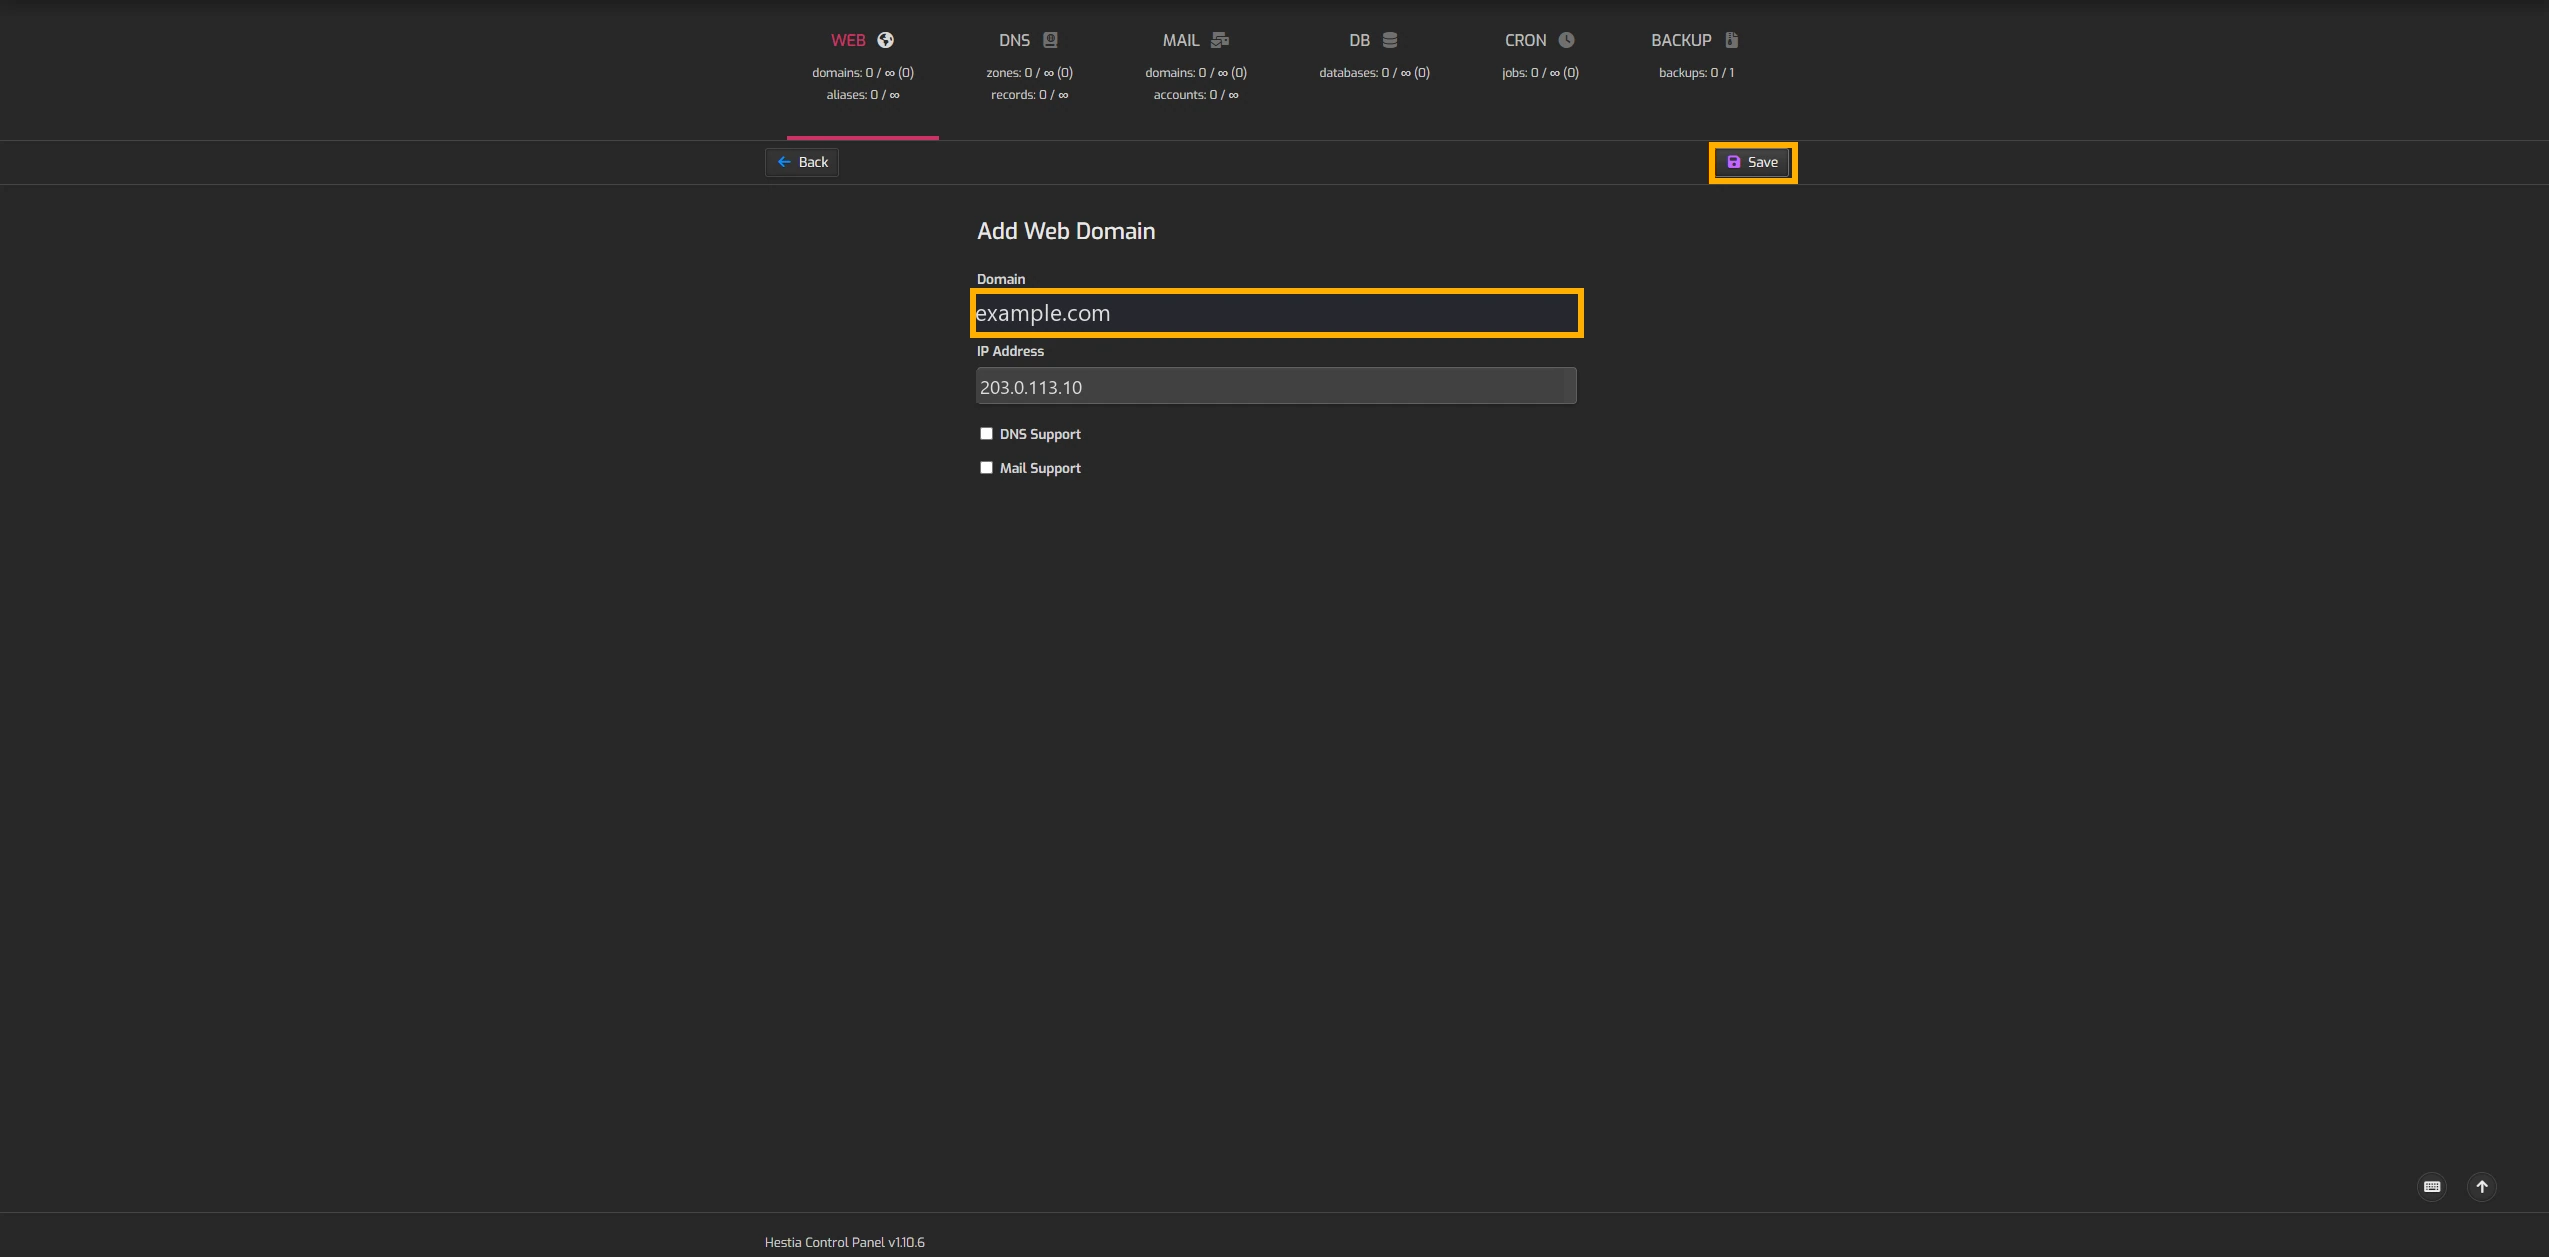
- In Users, switch to the new account. Select Add Web Domain, enter the domain, and select Save.
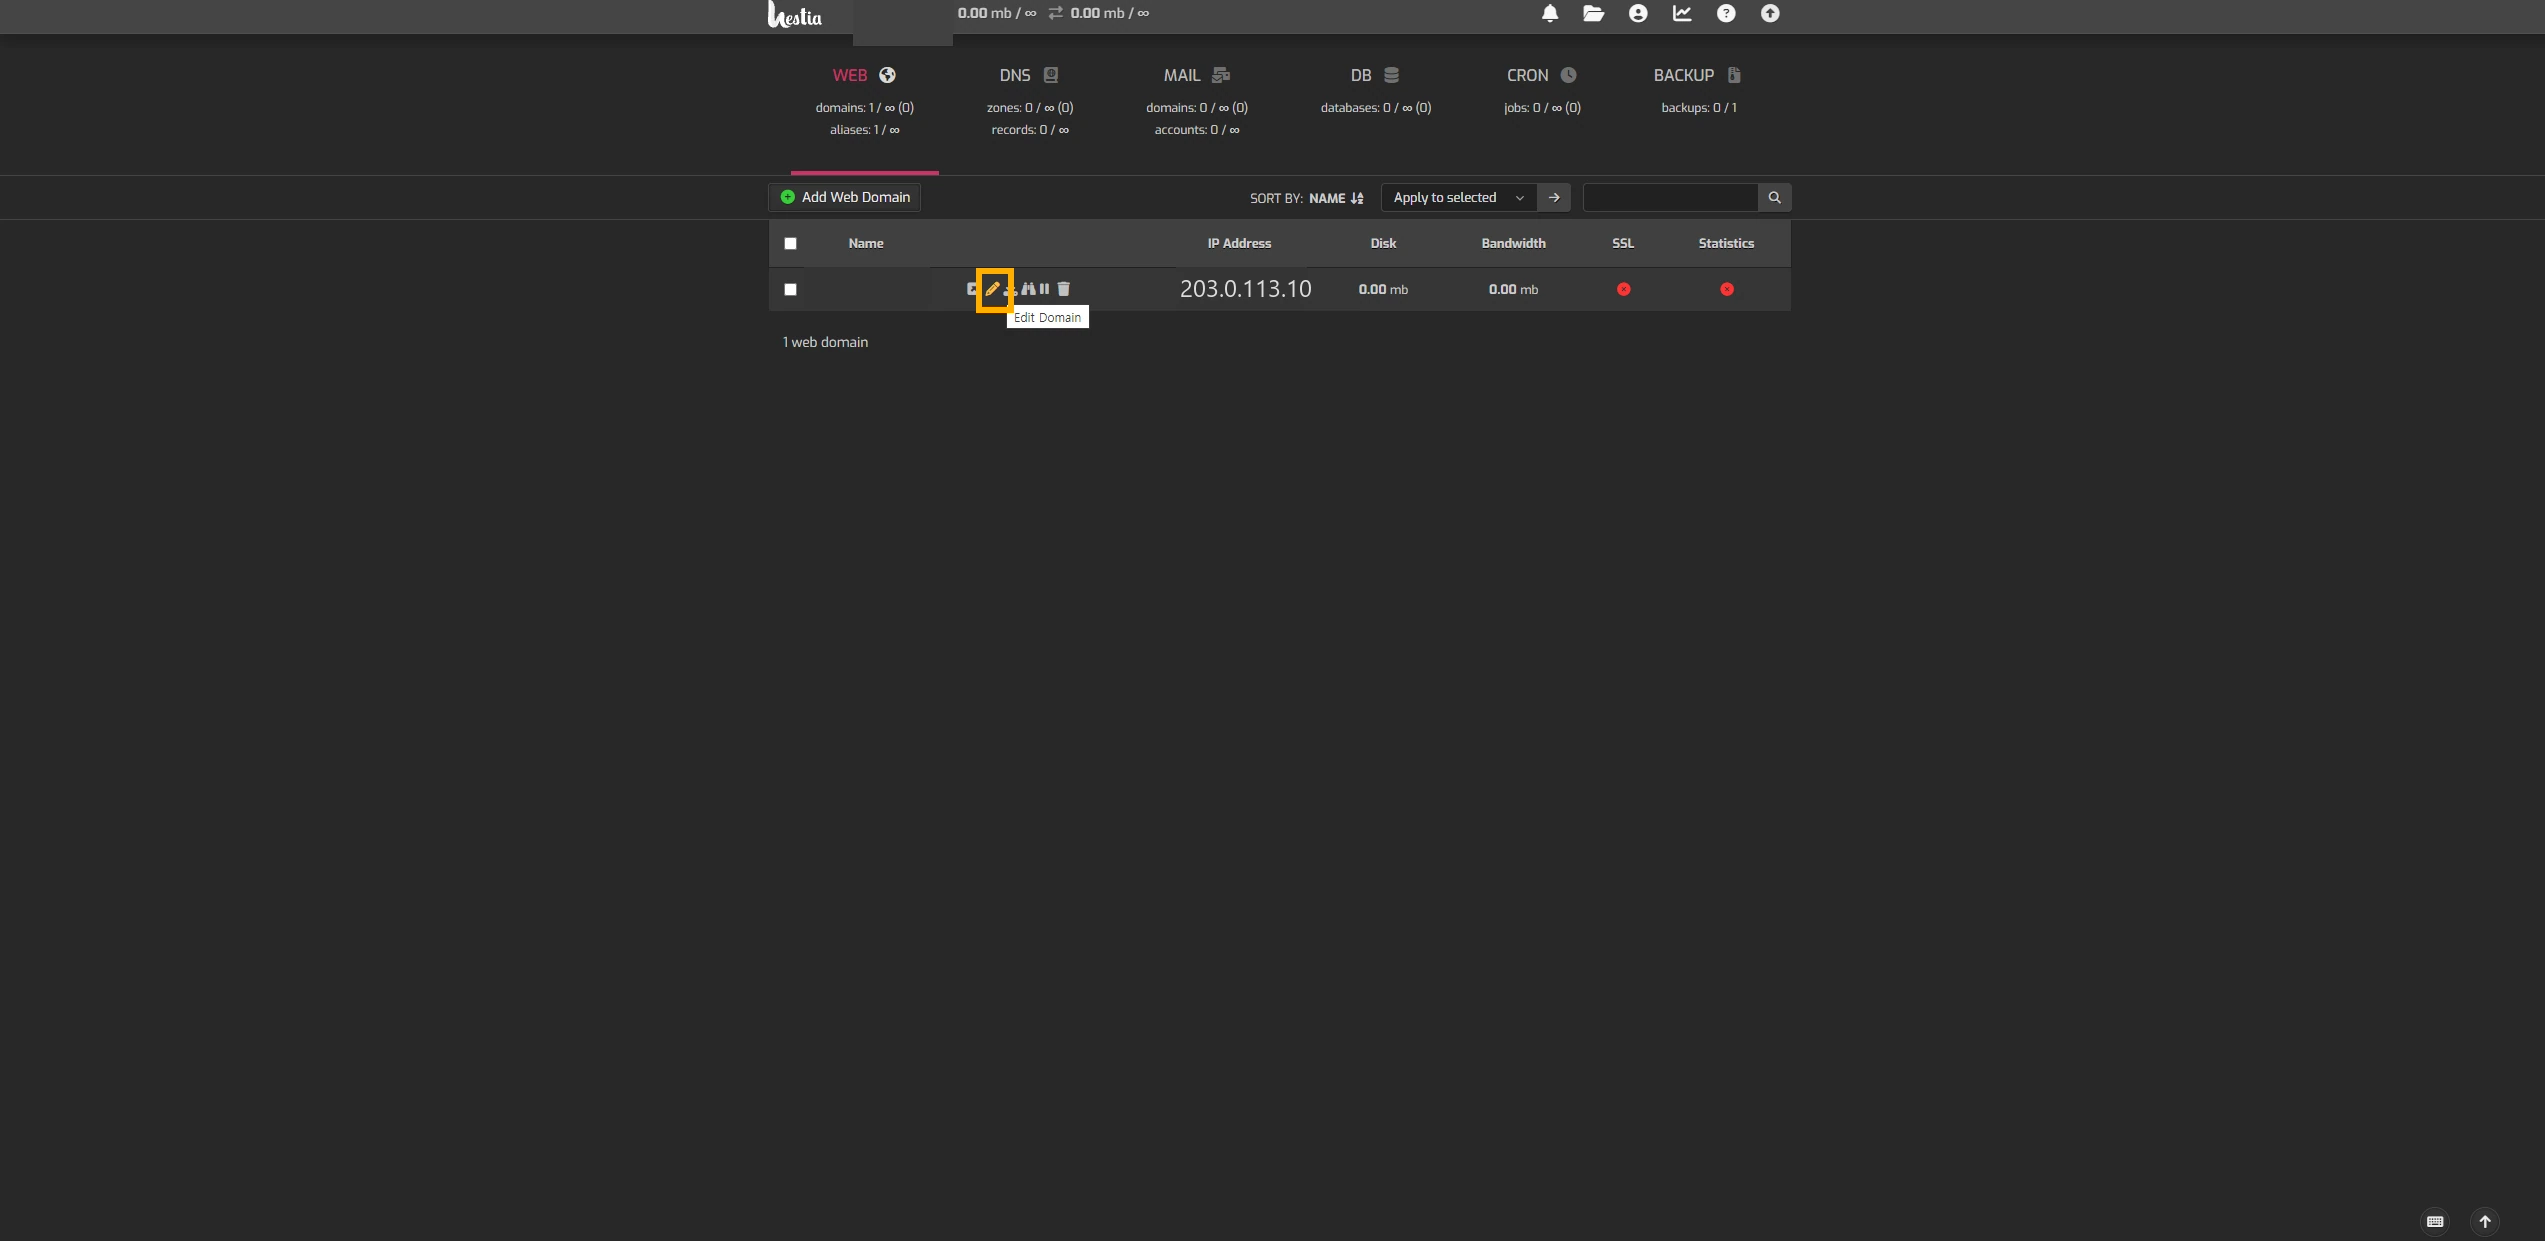
- Return to Web and select the domain’s pencil icon to open Edit Web Domain.
Set up a domain redirect and free HTTPS
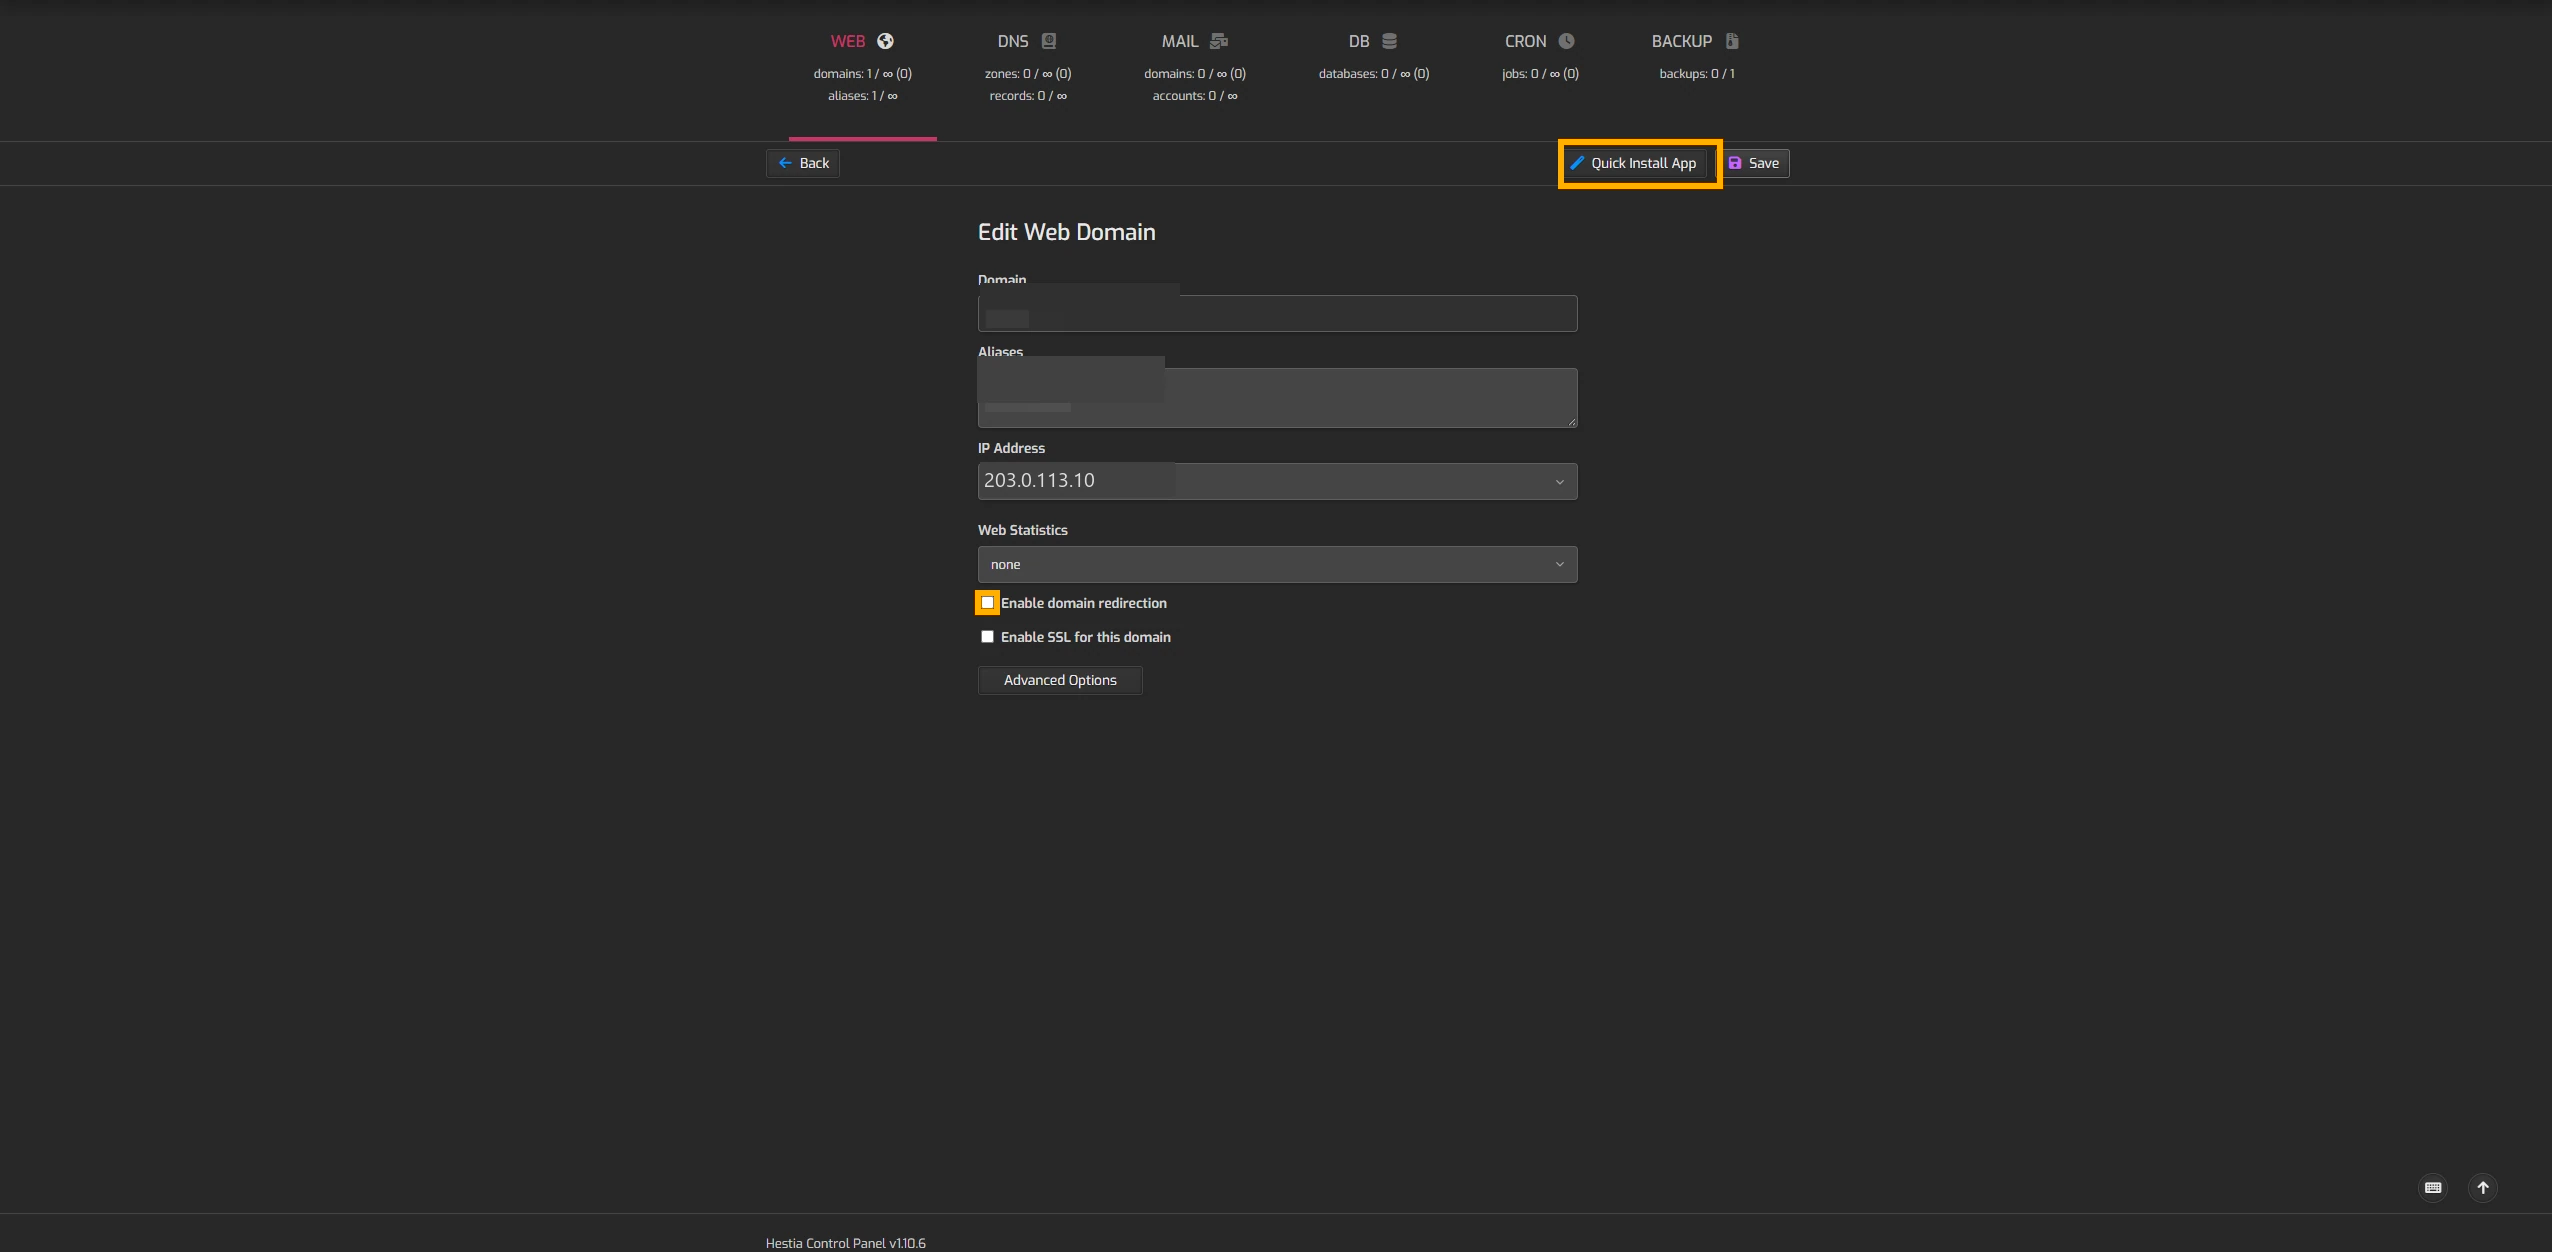
Select Enable domain redirection and set the preferred hostname. For example, send visitors from www.example.com to example.com. This setting chooses the site’s preferred address. The SSL settings below control HTTPS.
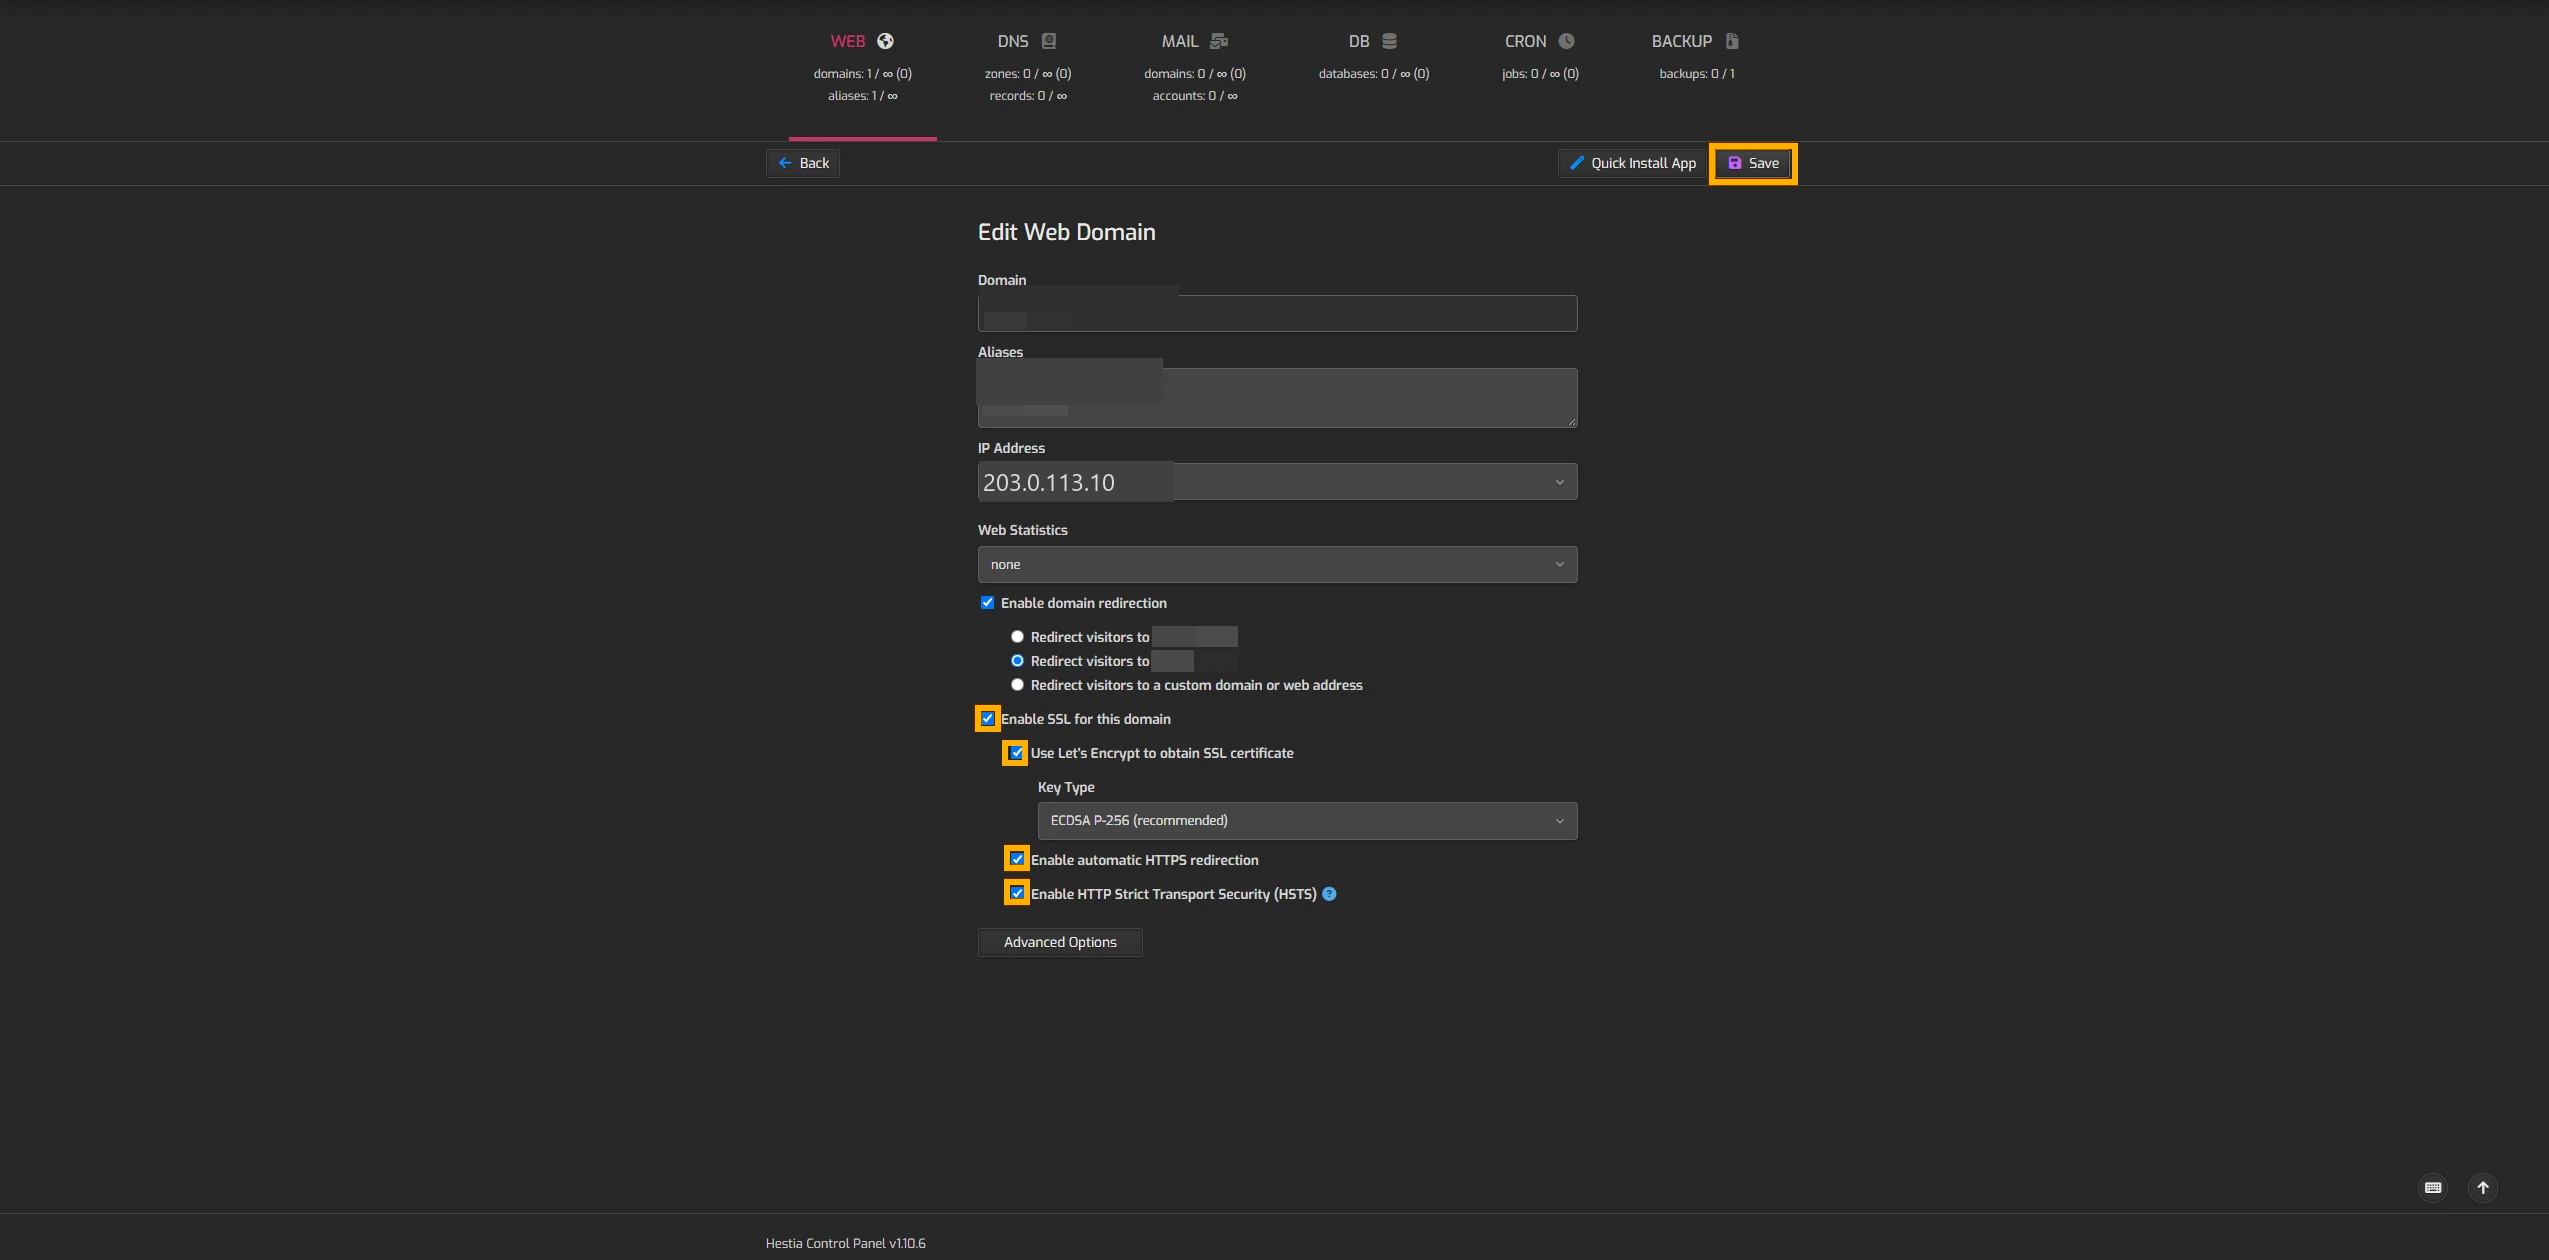
HTTPS encrypts data sent between the browser and your site. Select Enable SSL for this domain. Enable all three options for this setup, then select Save.
- Use Let’s Encrypt to obtain SSL certificate requests a free certificate.
- Enable automatic HTTPS redirection sends HTTP visitors to the HTTPS version.
- Enable HTTP Strict Transport Security (HSTS) tells supported browsers to use HTTPS on return visits. Use it when HTTPS is ready to remain enabled for the domain.
If certificate issuance fails after you edited DNS, confirm that the domain and its aliases resolve to the new server and that port 80 is reachable. Wait for DNS changes to take effect, then retry. If you still see an error, check Hestia’s certificate log for the cause. Hestia’s certificate troubleshooting guide
Open your HTTPS domain. The Hestia We’re working on it! page is the placeholder you’ll replace by installing WordPress.

Install WordPress and check the site
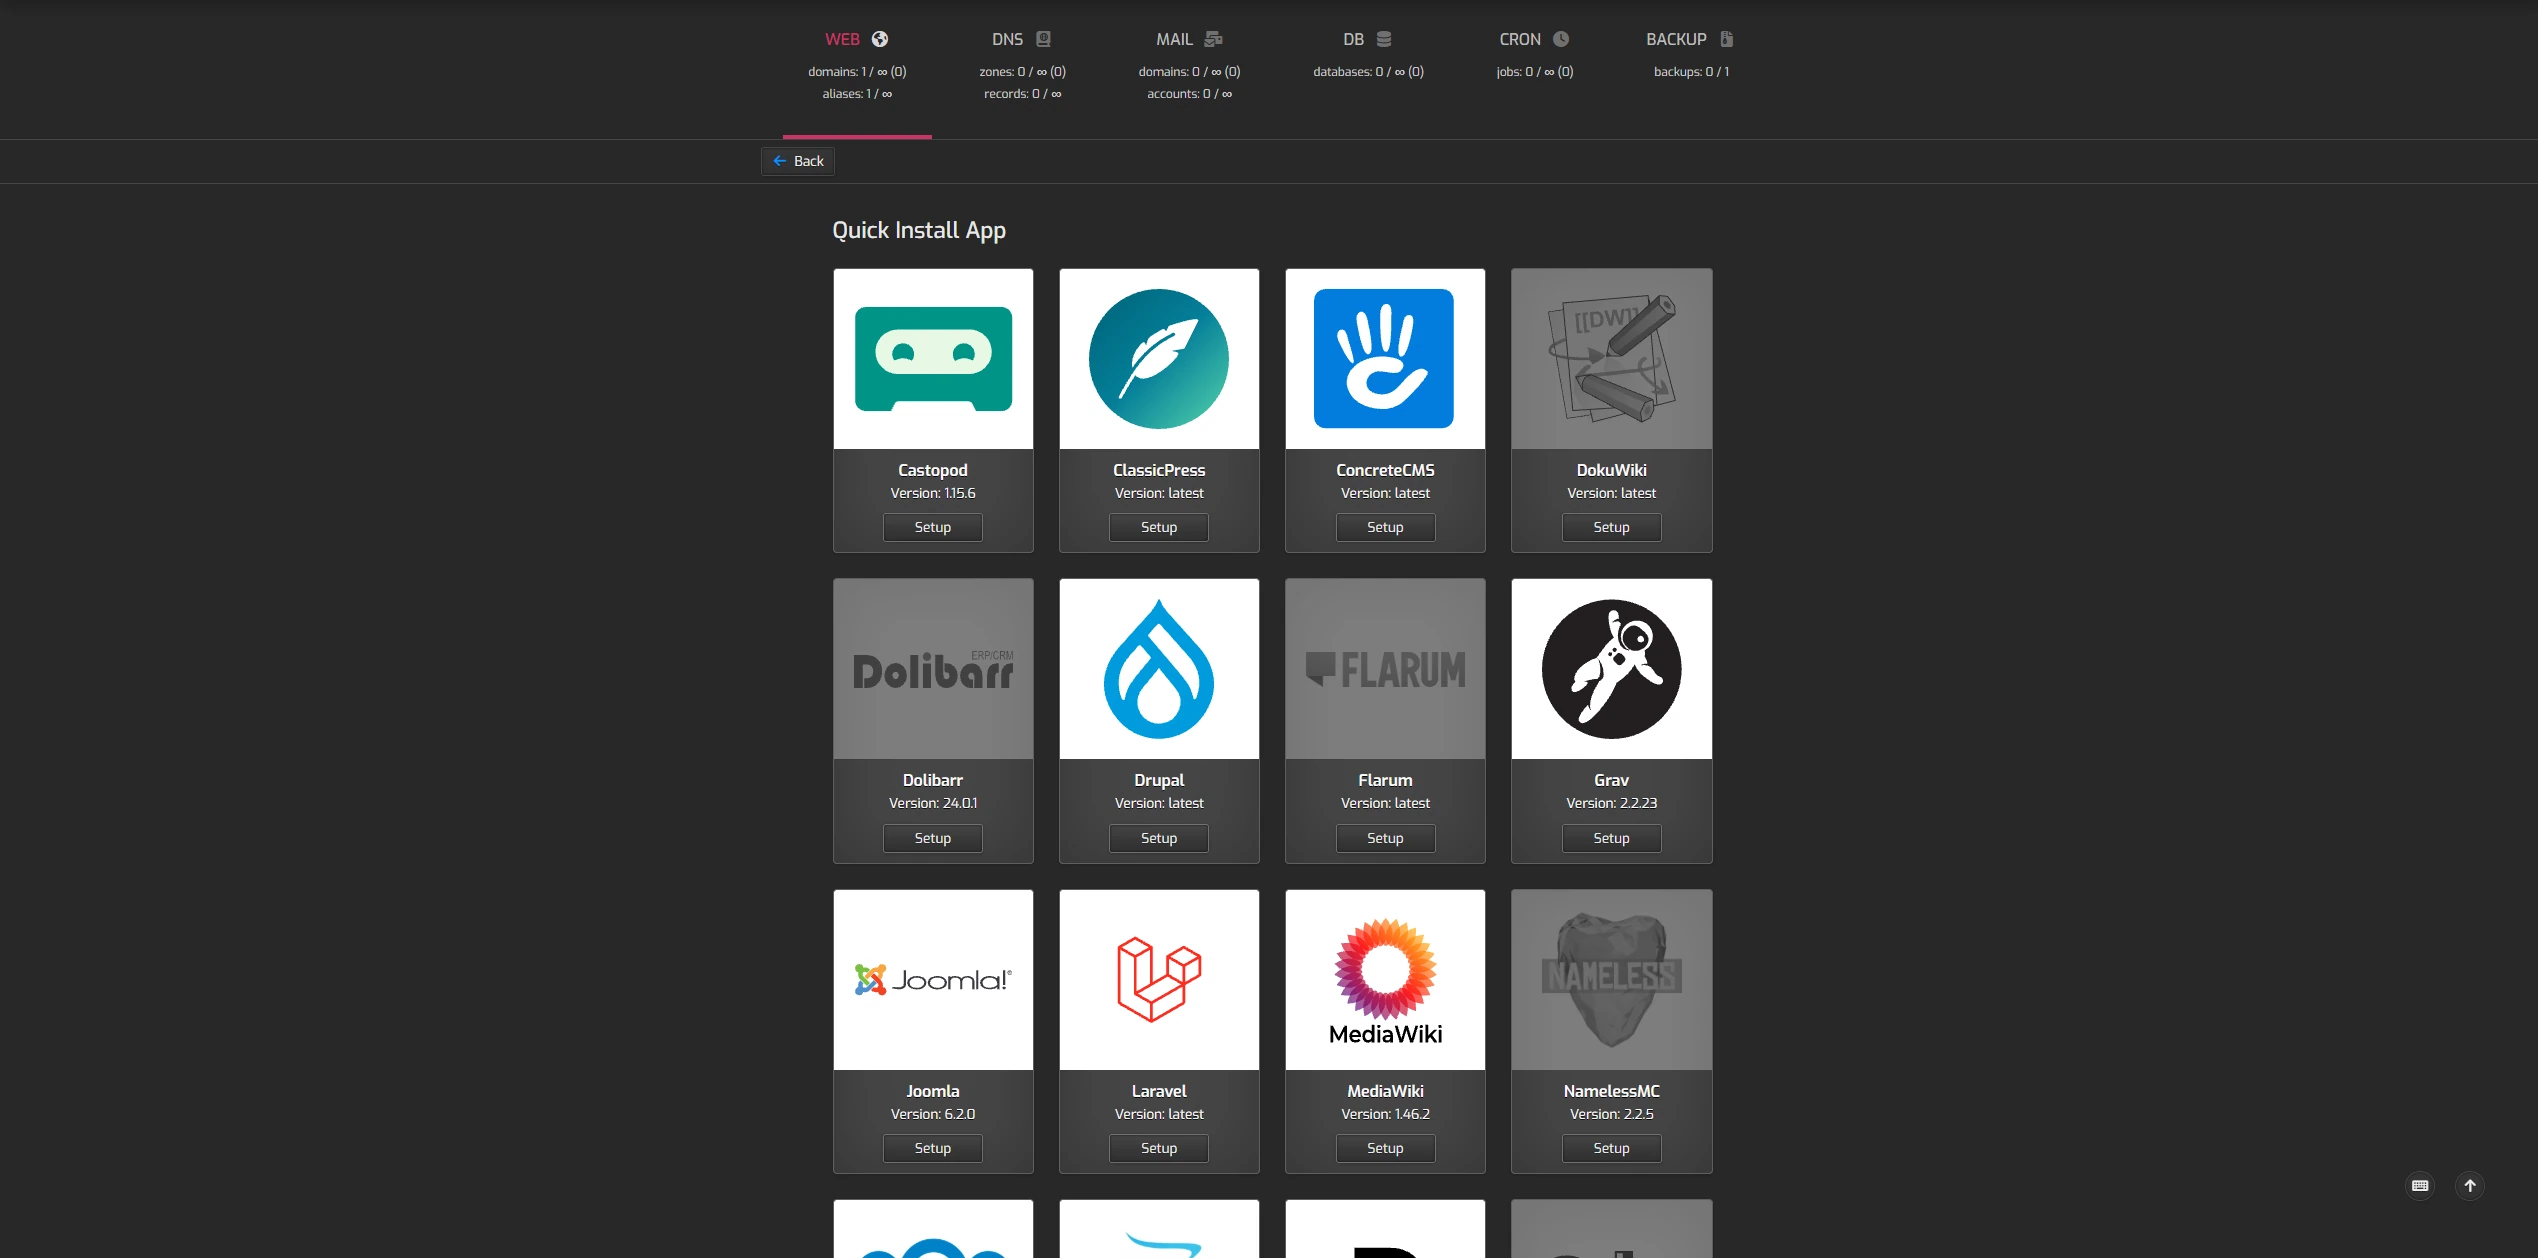
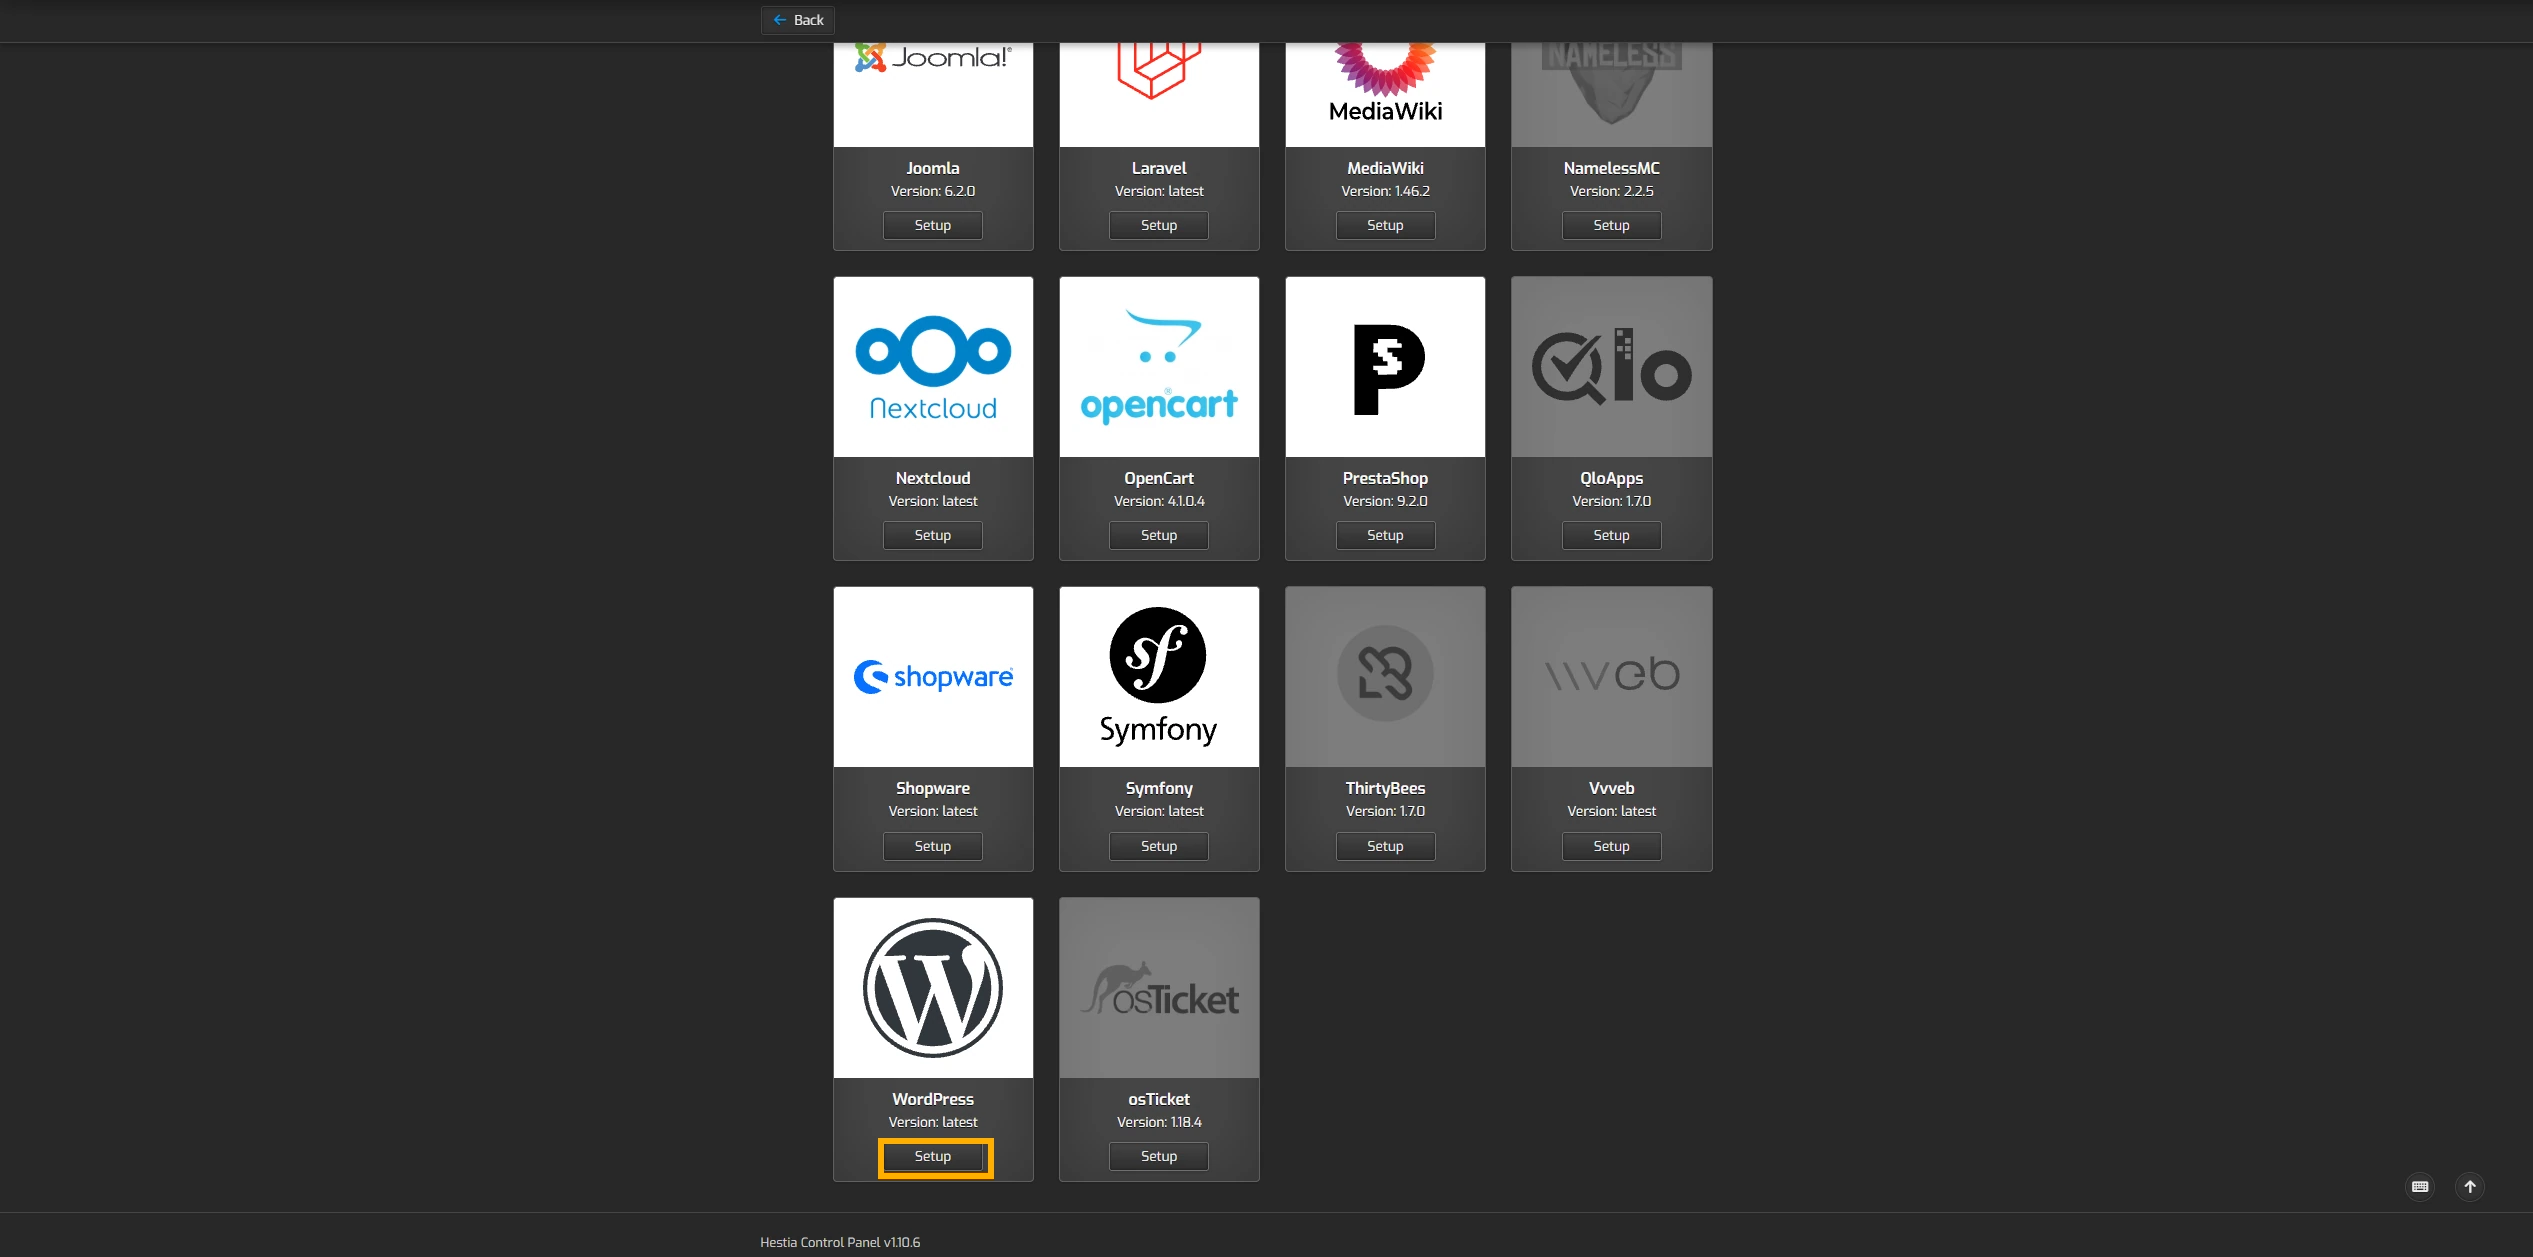
Open the web domain in Hestia and select Quick Install App. Find WordPress in the app list and select Setup.
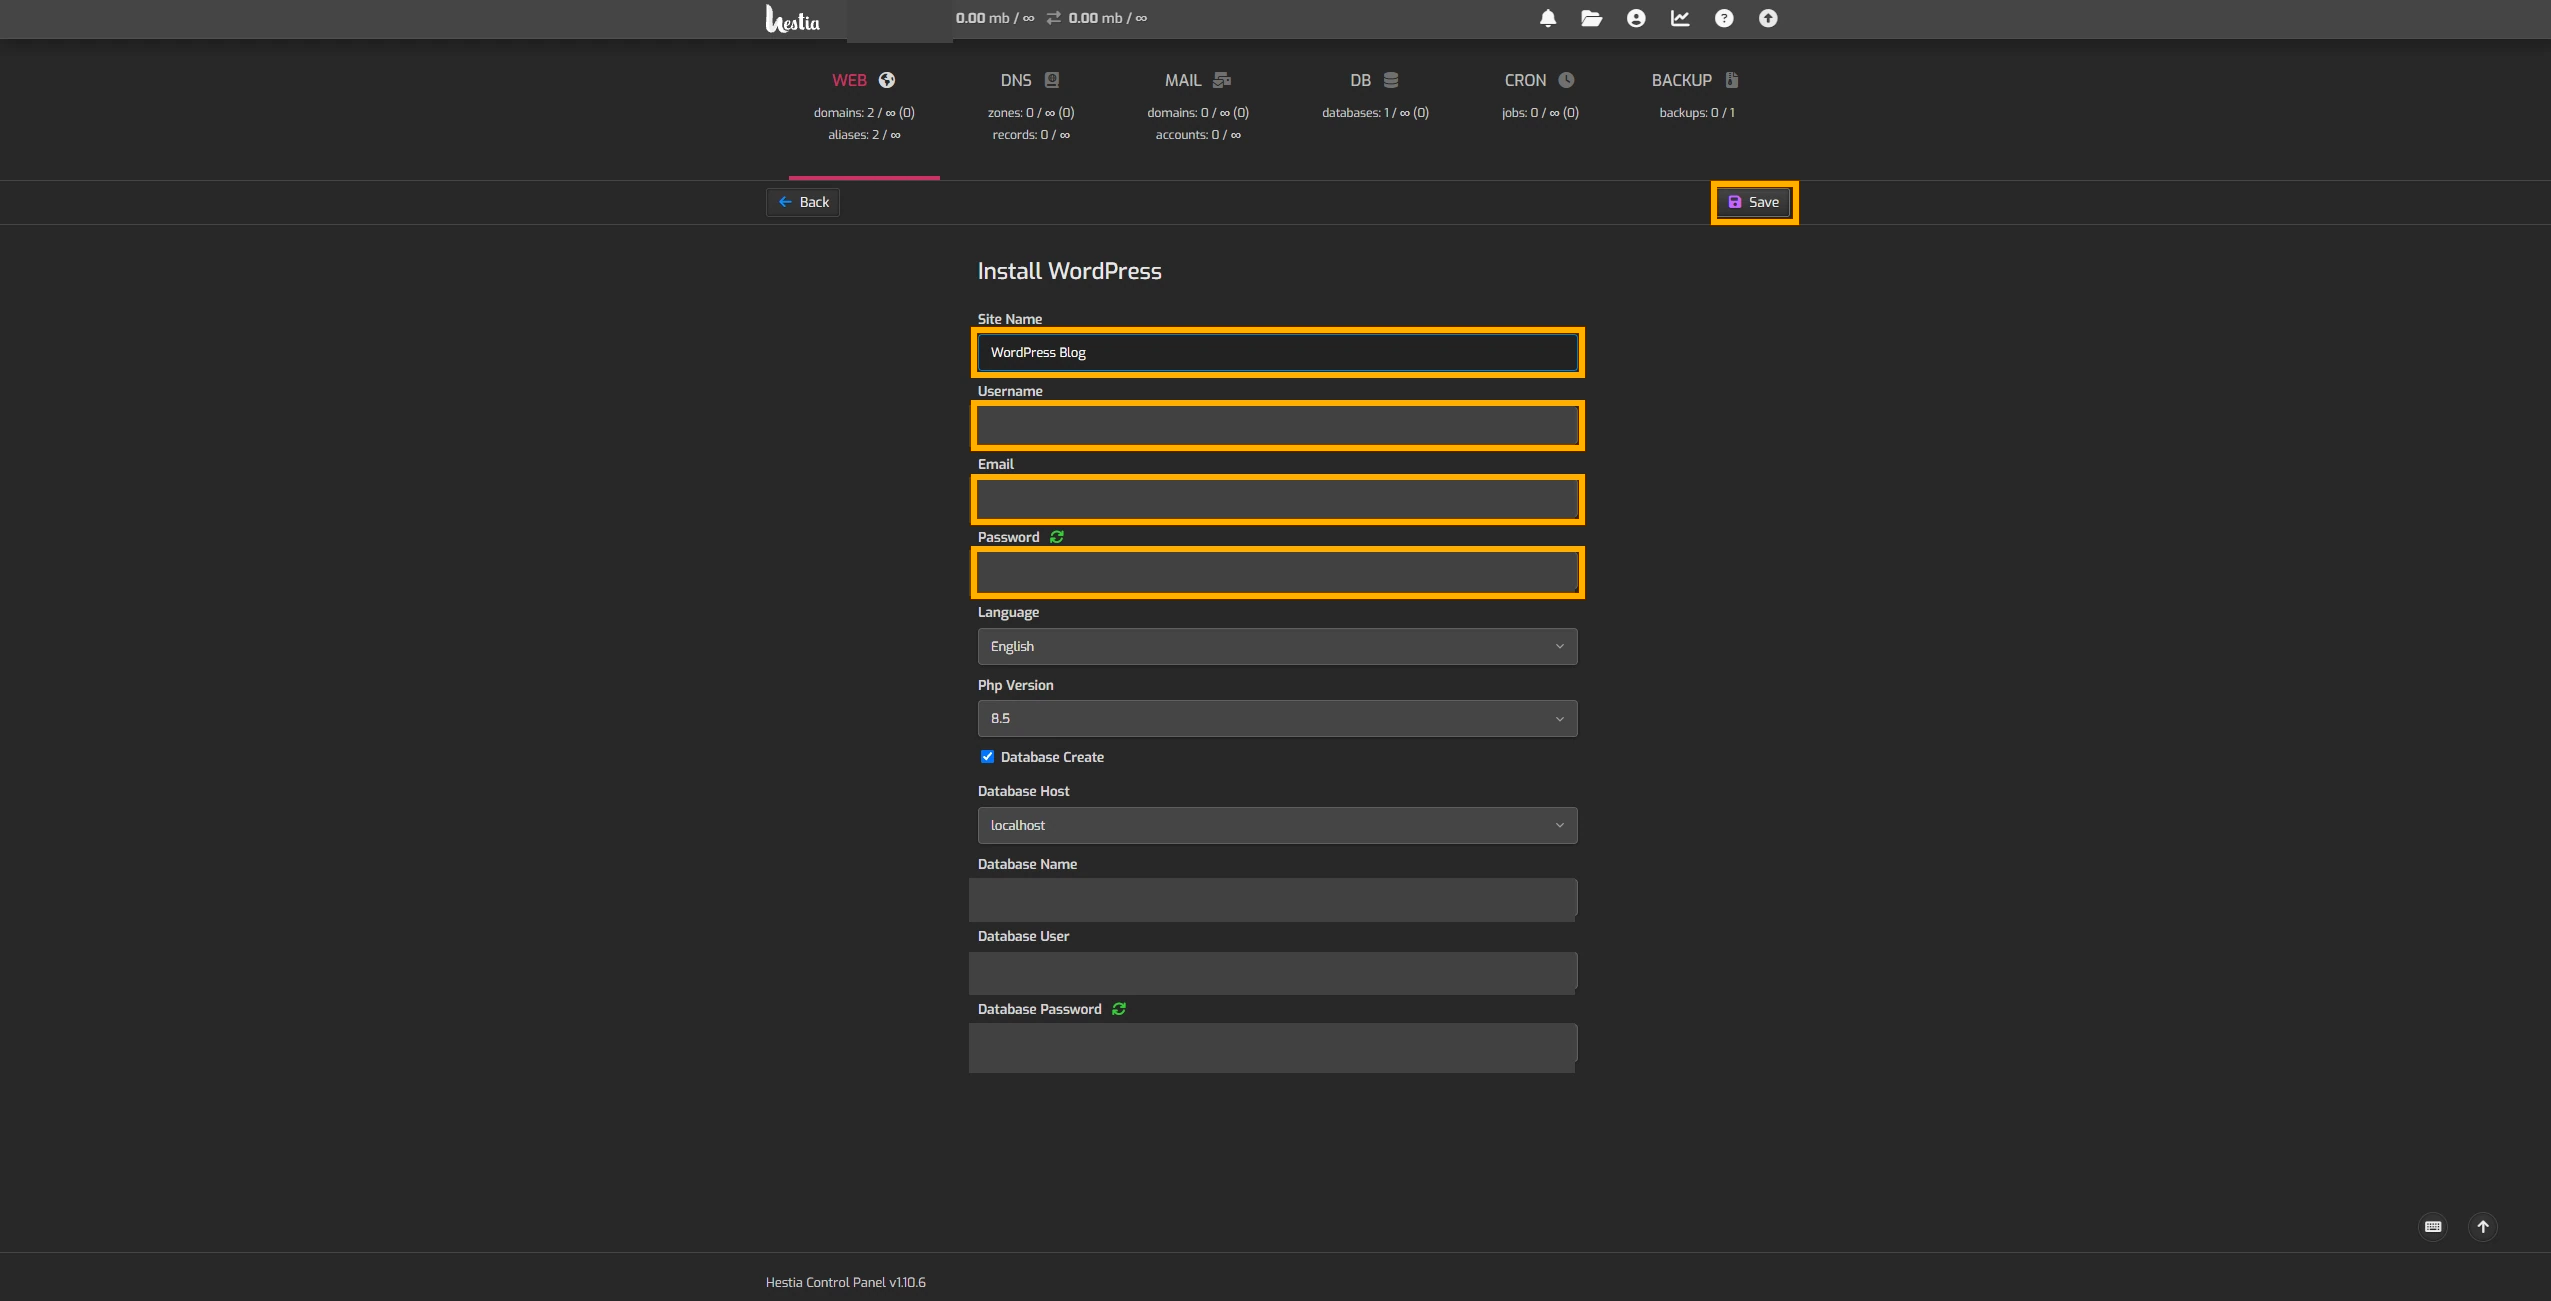
Enter the site name, administrator username, email address, and a strong password. Choose English for the site language if you want an English dashboard. Select Save and wait for the installation to finish.
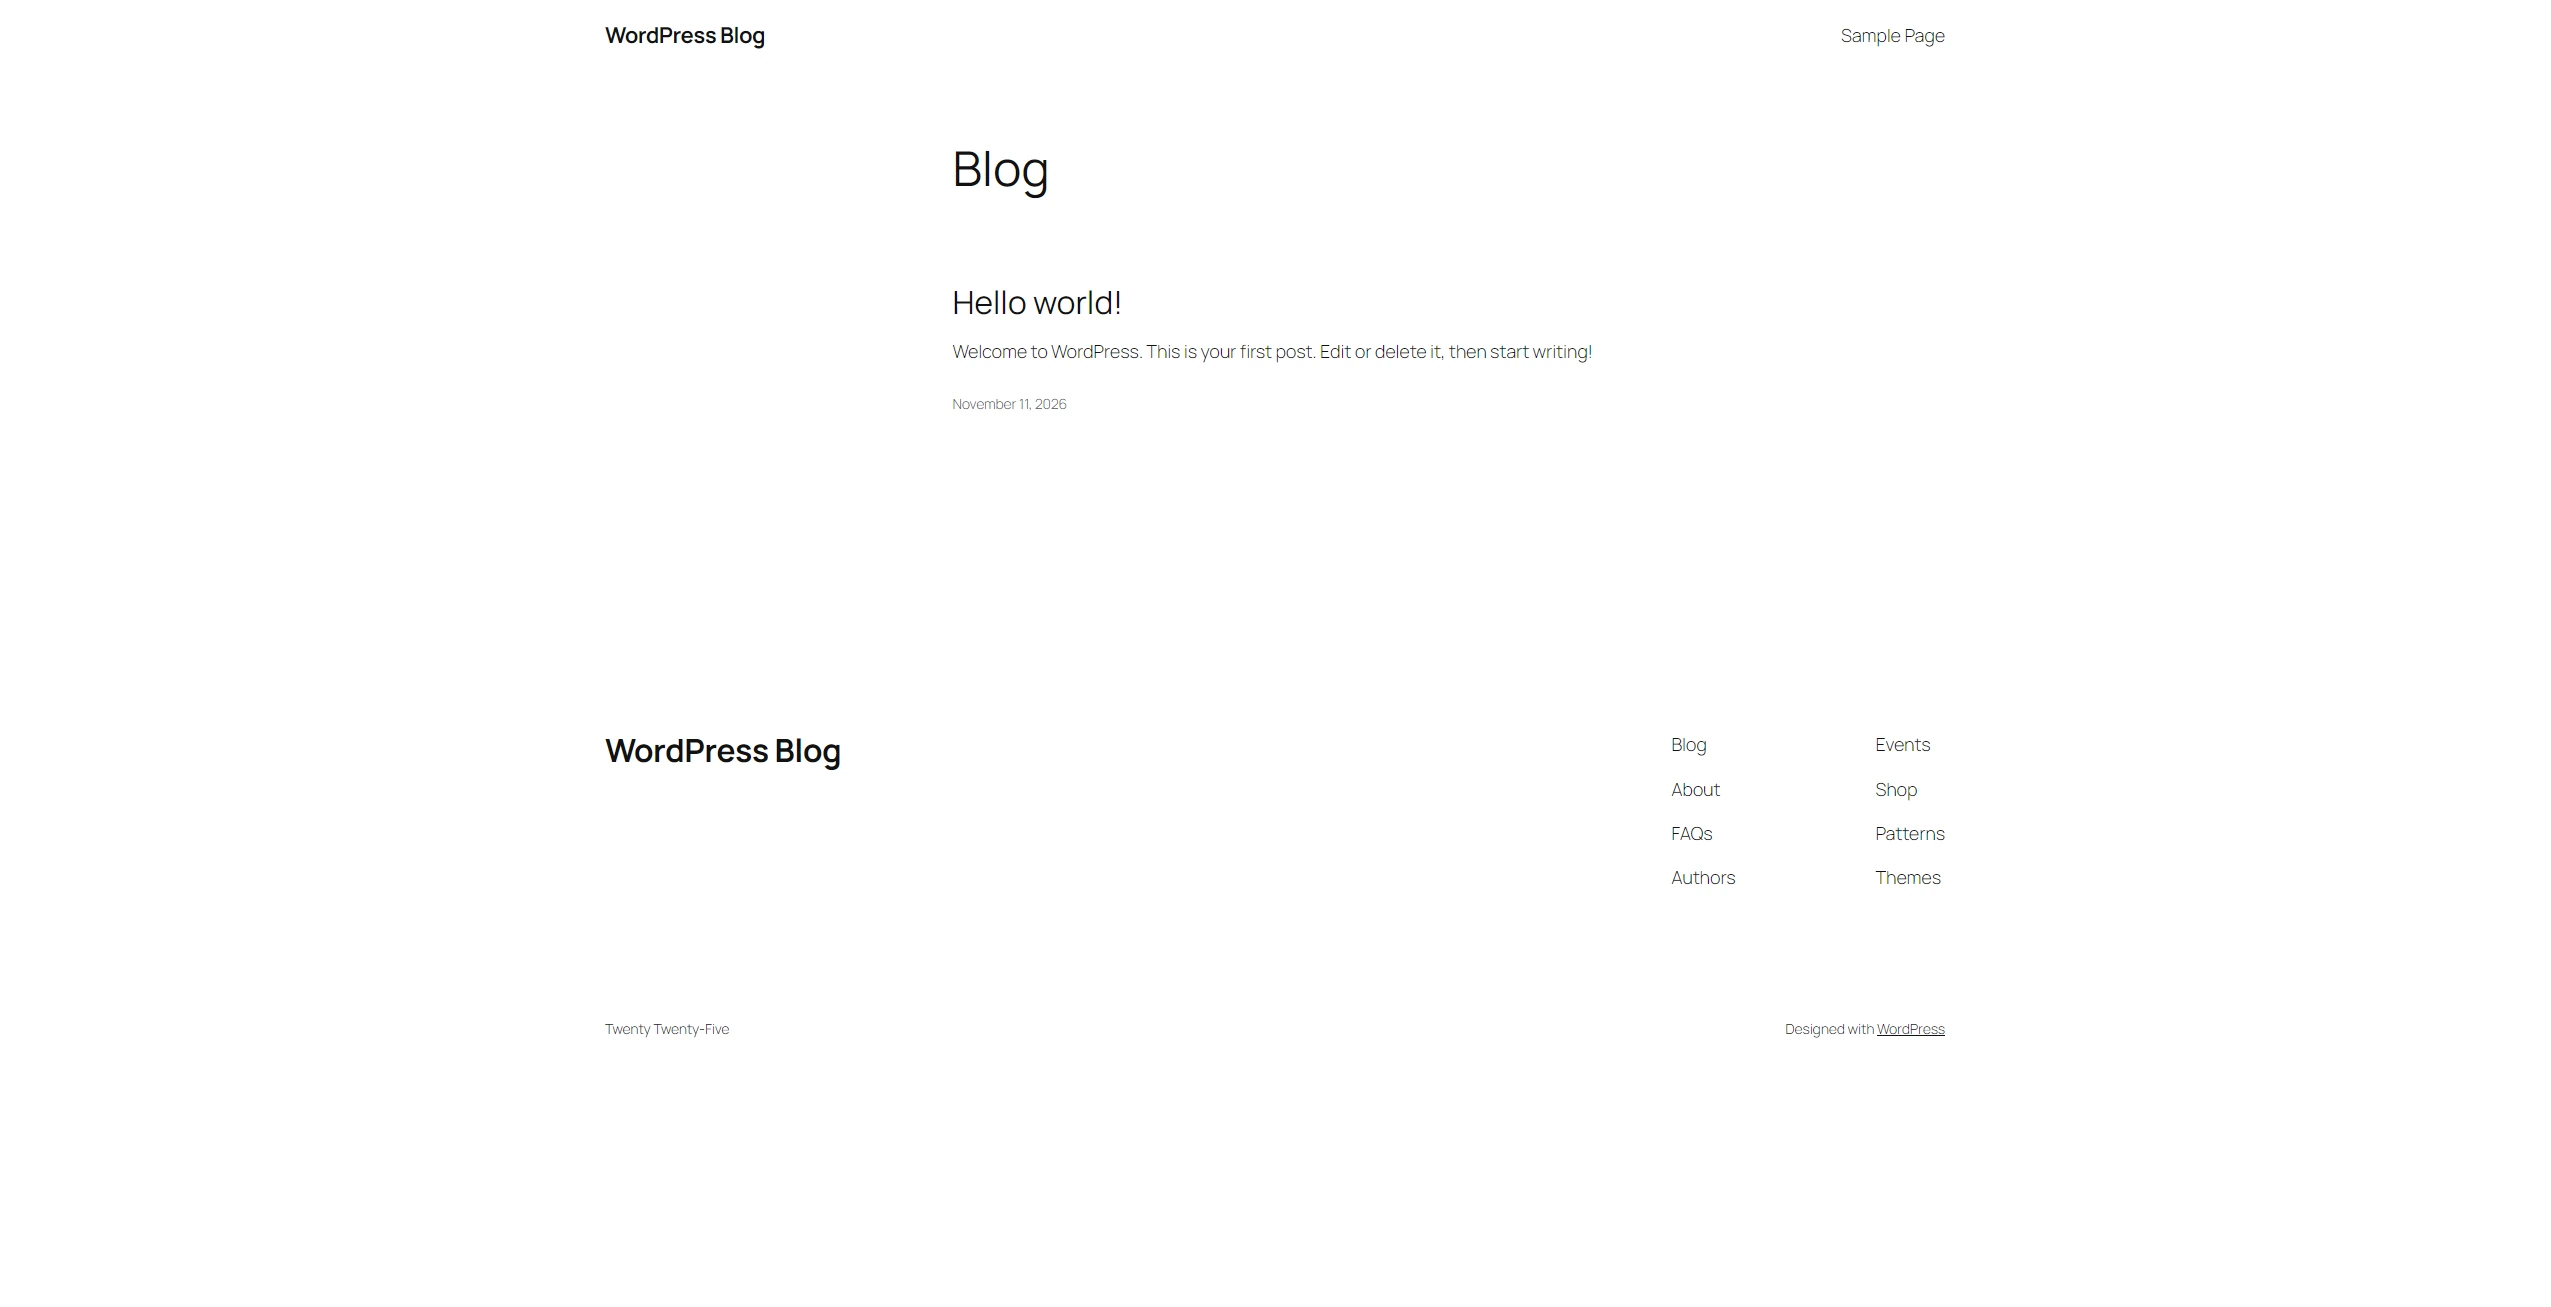
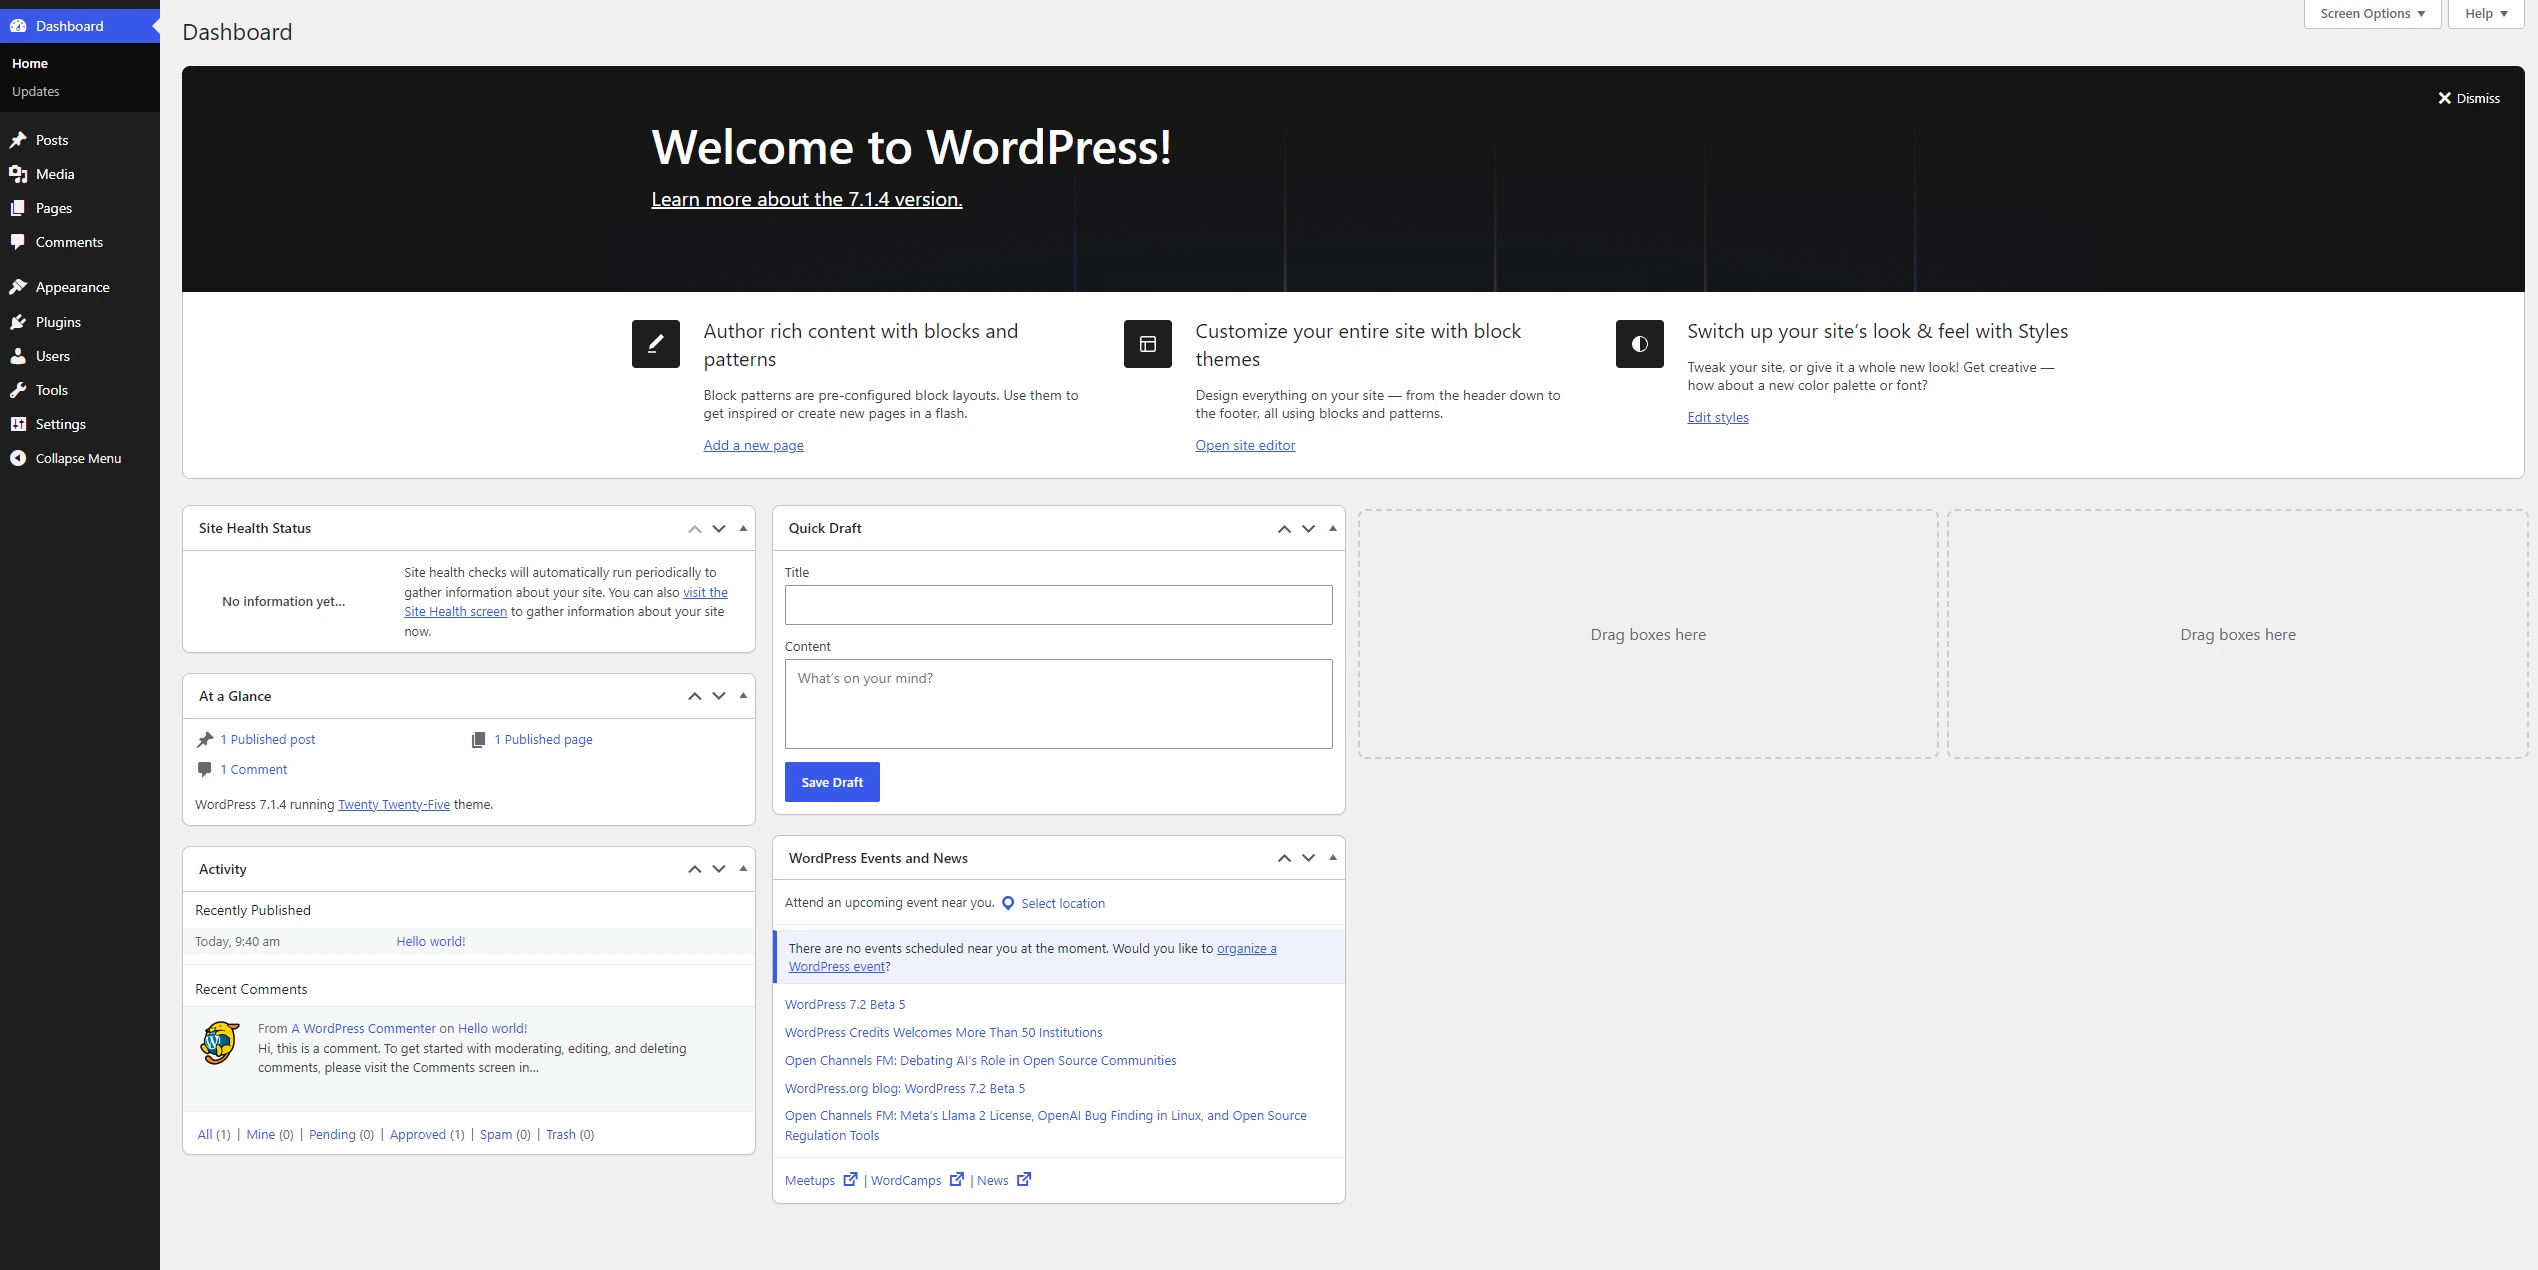
Open https://example.com using your own domain to check the public site. Then open https://example.com/wp-admin/ and sign in with the WordPress credentials you just created.